
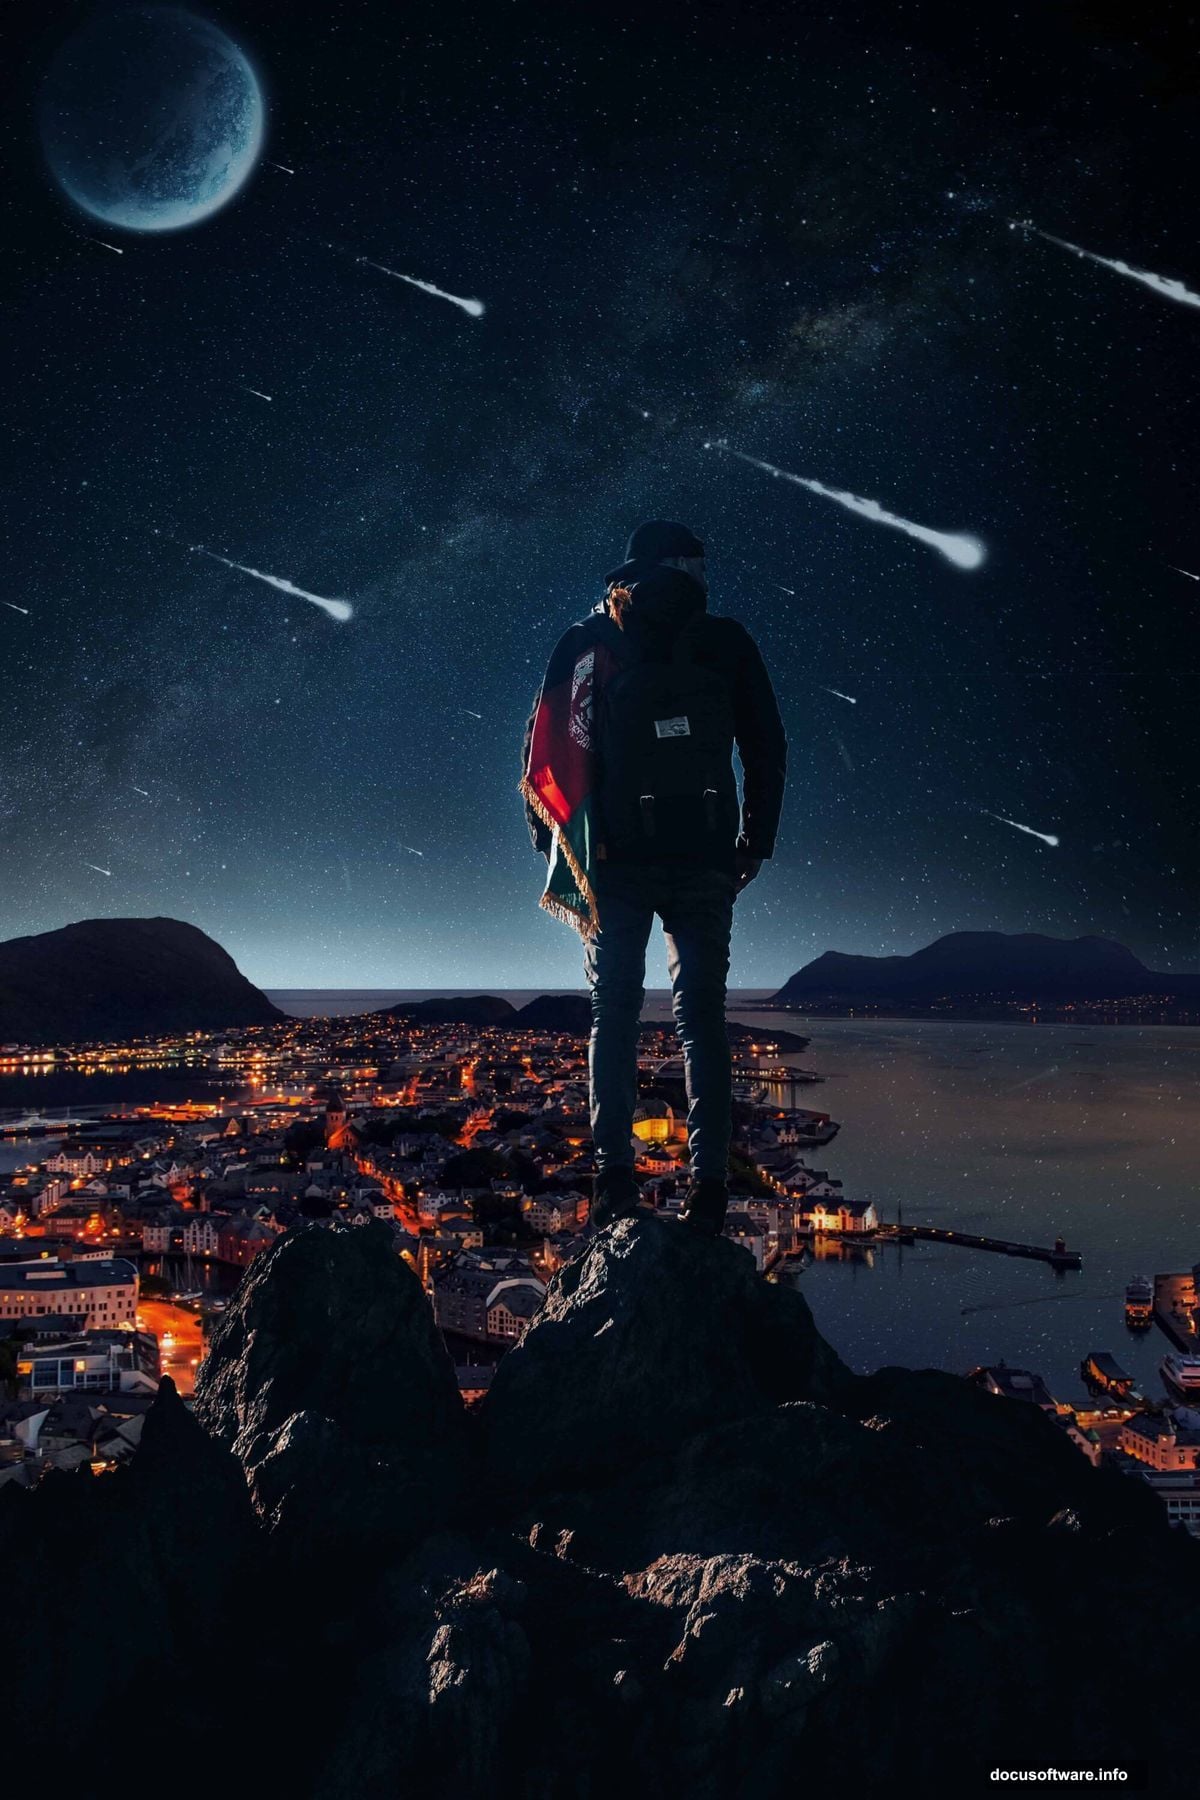
Want to blend reality with imagination? This tutorial shows exactly how to create stunning surreal photo composites in Photoshop.
Photo manipulation isn’t just about slapping images together. It’s about creating believable fantasy scenes that make viewers question what’s real. We’ll combine multiple stock photos, master advanced masking techniques, and use adjustment layers to craft a cohesive dreamscape.
By the end, you’ll know how to seamlessly merge different elements into one surreal image. Plus, you’ll learn professional techniques that work for any composite project.
Gather Your Resources First
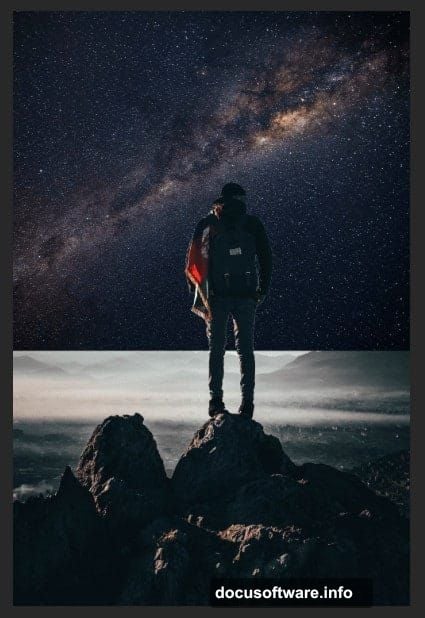
Before opening Photoshop, download these specific stock images. You’ll need a human subject, a starfield background, and an urban cityscape. The tutorial uses particular stocks, but similar images work fine.
Make sure your images are high resolution. Low-quality stocks create muddy final results. Aim for at least 2000 pixels on the longest side for each element.
Also grab some comet and particle brushes. These add atmospheric effects later. Many free brush packs exist online if you don’t have premium ones.
Set Up Your Canvas Properly
Create a new Photoshop document with these exact dimensions. Go to File > New and input these values.
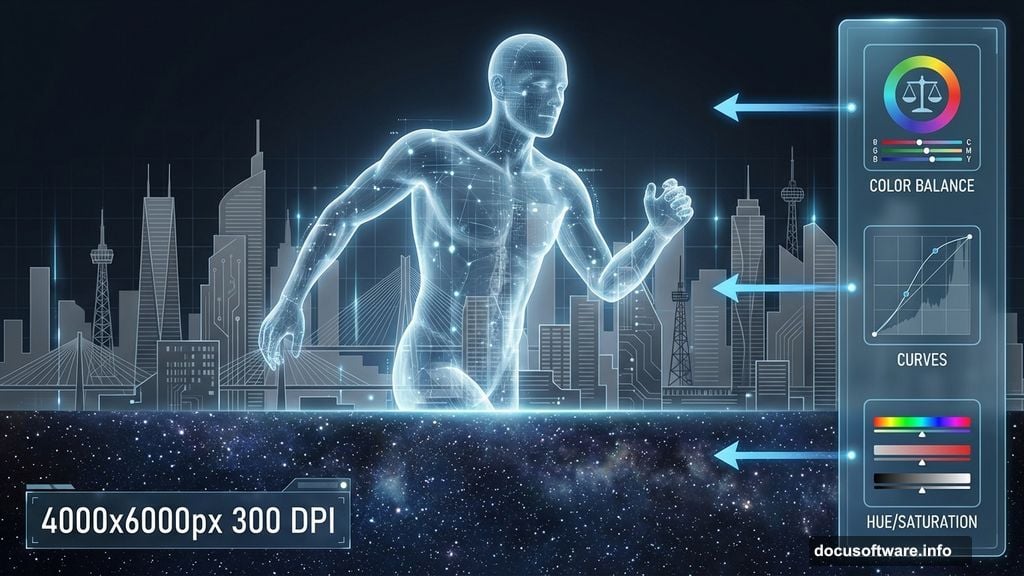
Set width to 4000 pixels and height to 6000 pixels. This gives you plenty of working space without bogging down your computer. Resolution should be 300 DPI for print-quality output.
Choose RGB color mode at 8-bit depth. That’s standard for digital artwork. Set the background to transparent so you’re working with a clean slate.
These dimensions seem huge. But you’ll thank yourself later when scaling and positioning elements. Plus, you can always resize down without losing quality.
Import and Position Your Subject
Now bring in your main character. Go to File > Place and select your human subject photo.
Photoshop drops it into your canvas as a smart object. That’s perfect because you can resize it without quality loss. Use the Transform tool (Ctrl/Cmd + T) to scale and position your subject.
Hold Alt + Shift while dragging corners to maintain proportions. Position your subject where they’ll anchor the composition. Usually center or slightly off-center works best.

Don’t worry about the background yet. We’ll remove that next with precision masking.
Master the Pen Tool for Clean Selections
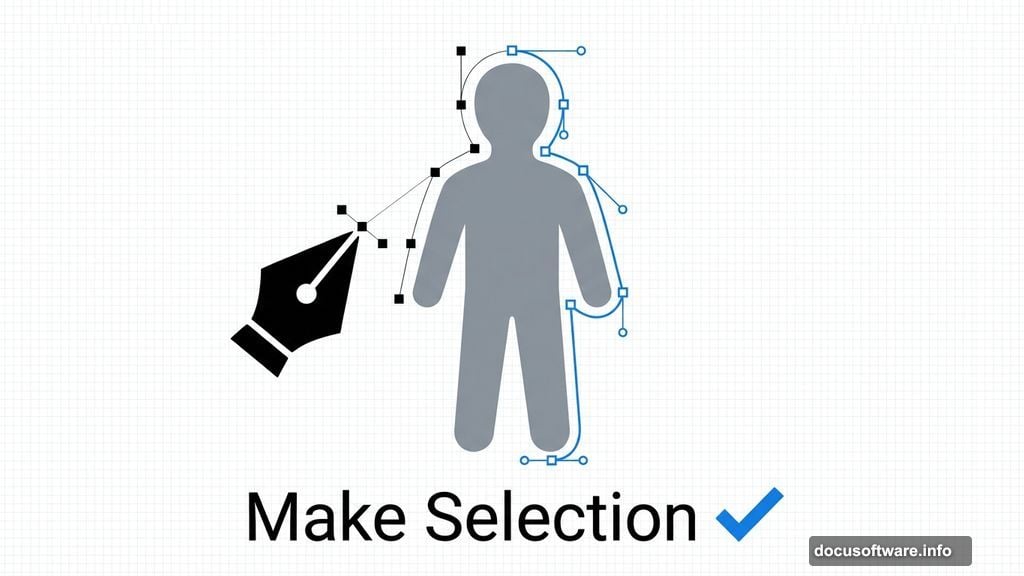
Here’s where many beginners struggle. But the Pen Tool creates the cleanest selections possible.
Select the Pen Tool from your toolbar. Click to set your first anchor point where your subject’s outline begins. Then click again and drag to create curved paths that follow your subject’s contours.
The trick? Extend direction lines about one-third the distance to your next anchor point. This creates smooth curves instead of jagged edges. Work slowly around your entire subject.
When you complete the path, right-click and choose “Make Selection.” Set Feather Radius to 0.5 pixels. Check “Anti-aliased” and set Operation to “New Selection.” Hit OK.
Now press Ctrl/Cmd + J to duplicate just your selected subject onto a new layer. Hide the original layer. You’ve got a perfectly cut-out subject with smooth edges.
Add the Starfield Background Layer
Time to create that dreamy space atmosphere. Select your background layer and go to File > Place to import your starfield stock.
The stars drop in as another smart object. Use Transform (Ctrl/Cmd + T) to scale them until they fill your entire canvas. Hold Alt + Shift while scaling to maintain the aspect ratio.
Here’s the magic part. Change the blend mode to Soft Light at 100% opacity. This creates an ethereal, dreamy effect where stars interact with whatever sits above them.
Position the starfield by clicking inside the transform box and dragging. Enter specific X and Y values in the options bar for precise placement. X sets horizontal distance from the left edge, Y sets vertical distance from the top.
Integrate the Urban Cityscape Element
Open your city stock photo in a separate Photoshop window. Select the Rectangular Marquee Tool (M) from the toolbar.
Drag across the city portion you want to use. Hold Shift while dragging to constrain your selection to a perfect rectangle. This matters for keeping buildings level and architectural lines straight.
Copy your selection (Ctrl/Cmd + C), then paste it into your main document (Ctrl/Cmd + V). Photoshop drops it in as a new layer.
Scale and position this city layer using Transform. Blend it with your other elements by adjusting opacity or changing blend modes. Screen and Lighten modes work well for integrating city lights.
Blend Everything with Adjustment Layers
Raw composites look fake because lighting doesn’t match across elements. Fix this with adjustment layers.
Click the adjustment layer icon at the bottom of your layers panel. Add a Curves adjustment layer first. Drag the curve to match overall brightness and contrast across all elements.
Then add a Color Balance adjustment. Shift all elements toward the same color temperature. If your background is cool blue, warm up your subject slightly so they don’t look pasted in.
Use layer masks on adjustments to control where they affect your image. Paint with a soft black brush on the mask to hide adjustments from specific areas. Paint with white to reveal them.
Add Atmospheric Effects with Brushes
Import your comet and particle brushes. Go to the Brush Tool, click the brush preview in the options bar, then select the gear icon. Choose “Load Brushes” and navigate to your downloaded brush files.
Create a new layer above everything else. Set your foreground color to white or light blue. Select a comet brush and click once to stamp it into your scene.
Lower the layer opacity to around 30-50% so effects feel subtle and atmospheric. Add multiple particle layers at different opacities for depth.
Use soft, large brushes with low opacity to paint light hazes around your subject. This simulates atmospheric scattering and helps elements feel like they exist in the same environment.
Fine-Tune with Selective Masking
Almost done. But some areas probably still look off. Add layer masks to individual elements for precise control.
Select a layer and click the mask icon at the bottom of the layers panel. This adds a white mask. Paint with a black brush to hide parts of that layer. Paint with white to reveal them again.
Use soft-edged brushes at low opacity for gradual transitions. This technique blends element edges seamlessly. Hard edges scream “fake composite.”
Pay special attention to where your subject meets the background. Soften those edges slightly so they integrate naturally.
Match Color and Light Direction
Step back and look at your whole composition. Does light come from consistent directions across all elements?
If your starfield glows from the left but your subject is lit from the right, viewers notice immediately. Fix this by adding adjustment layers clipped to specific elements.
Create a Curves adjustment layer. Alt/Option-click between the adjustment and the layer below to clip it. Now adjustments only affect that one layer. Darken one side of your subject to match your overall light direction.
Add a subtle gradient overlay to suggest directional light. Create a new layer, set blend mode to Overlay, and paint a soft gradient from light to dark following your chosen light direction.
Final Polish with Selective Sharpening
Zoom to 100% and check sharpness across your image. Some elements probably need sharpening while others look crisp already.
Merge all visible layers into a new layer at the top (Ctrl/Cmd + Alt/Option + Shift + E). This creates a flattened copy without destroying your layers below.
Go to Filter > Sharpen > Unsharp Mask. Start with Amount around 80%, Radius at 1 pixel, and Threshold at 0. Adjust until details pop without creating halos.
Add a layer mask to your sharpened layer. Paint with black to hide sharpening from areas that look oversharpened, like smooth skin or blurred backgrounds.
Save Your Work Properly
Save your working file as a PSD to preserve all layers. You’ll want to make changes later, guaranteed.
Then flatten a copy and save it as a high-quality JPEG for sharing. Go to File > Save As and choose JPEG from the format dropdown. Set quality to 10 or higher for web sharing.
For print work, save as TIFF instead. This maintains maximum quality without compression artifacts.
Create surreal photo manipulations takes practice. Your first attempts might look rough. But these techniques work for any composite project once you master them. Experiment with different stock photos and push your creativity further each time.