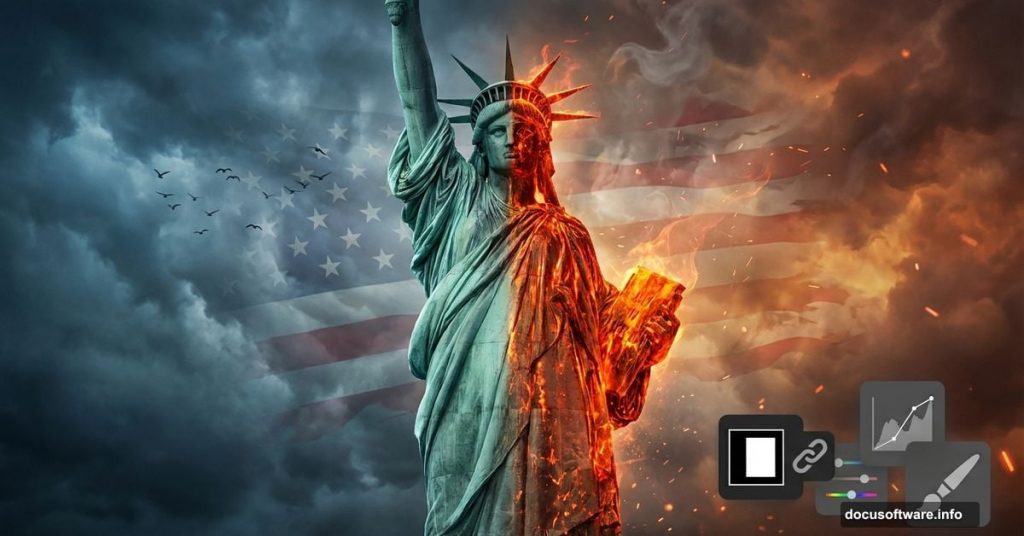
Want to create dramatic photo manipulations that actually look professional? This tutorial walks you through building a symbolic Statue of Liberty scene from scratch.
You’ll learn how to blend multiple images seamlessly, add realistic textures, and create atmospheric effects that make your composition pop. Plus, we’ll cover the masking techniques that separate amateur work from pro-level results.
What You’ll Need Before Starting
Grab these resources first. Trying to find images mid-tutorial kills your creative flow.
Required Images:
- Background sky photo
- American flag texture
- Statue of Liberty stock photo
- Lava or fire texture
- Bird silhouettes (two types work best)
- Crack texture overlay
Photoshop Tools We’ll Use:
- Layer masks (your best friend for blending)
- Adjustment layers (for color matching)
- Pen Tool (for clean selections)
- Custom brushes (clouds and light rays)
- Camera Raw Filter (final polish)
Don’t worry if you’re not a Pen Tool expert yet. I’ll walk you through the selection process step by step.
Set Up Your Canvas Right
First things first. Create a new document that gives you room to work.
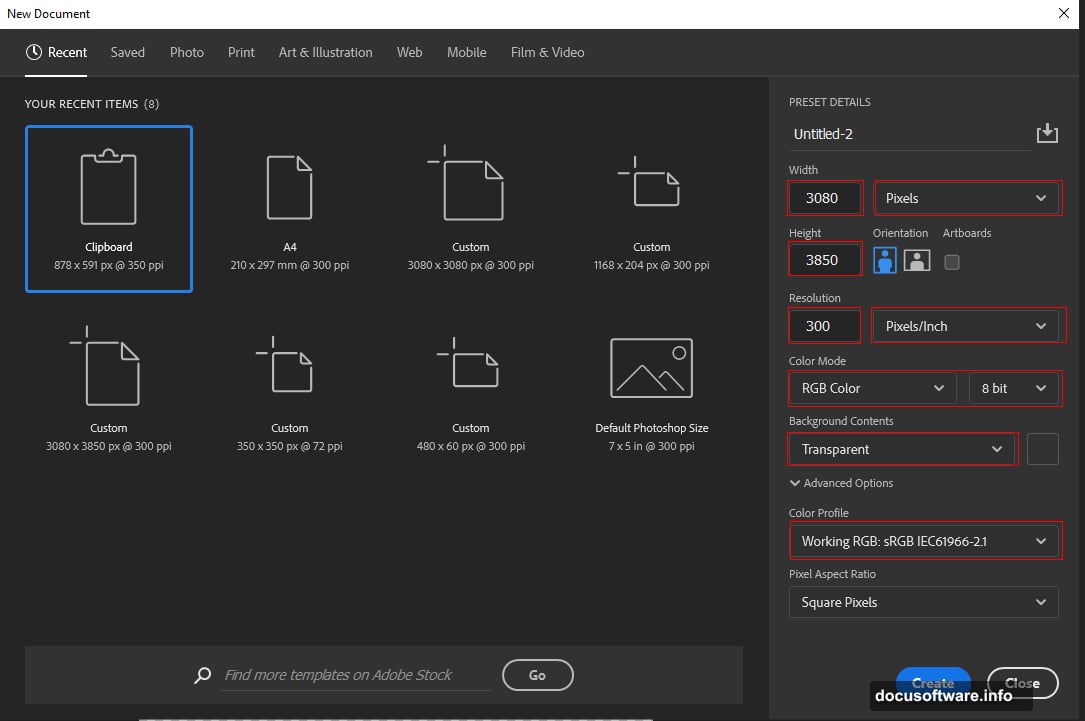
Go to File > New and punch in these settings:
- Width: 3080 pixels
- Height: 3850 pixels
- Resolution: 300 DPI (print quality)
- Color Mode: RGB, 8-bit
- Background: Transparent
Why these dimensions? They’re large enough for professional print work but manageable for most computers. Plus, working at 300 DPI means you won’t lose quality if you need to resize later.
Build Your Background Foundation
Now we’ll place the sky background. This sets the mood for everything else.
Go to File > Place and select your background image. Position it using the Transform tool (Ctrl/Cmd + T). Here’s a trick most tutorials skip: Hold Alt + Shift while dragging corners to resize proportionally from the center. In Photoshop CC, just Alt alone does the job.
The background should fill your entire canvas. Don’t worry about exact positioning yet. We’ll refine everything as we go.
Add the American Flag Element
Next up, the flag. This adds patriotic symbolism to your composition.
Open your flag image and grab the Rectangular Marquee Tool (M). Select the portion you want to use. Then copy (Ctrl/Cmd + C) and paste (Ctrl/Cmd + V) it onto your main canvas.
Transform the flag layer to position it where you want. Maybe draped across the scene or waving in the background. Your call.
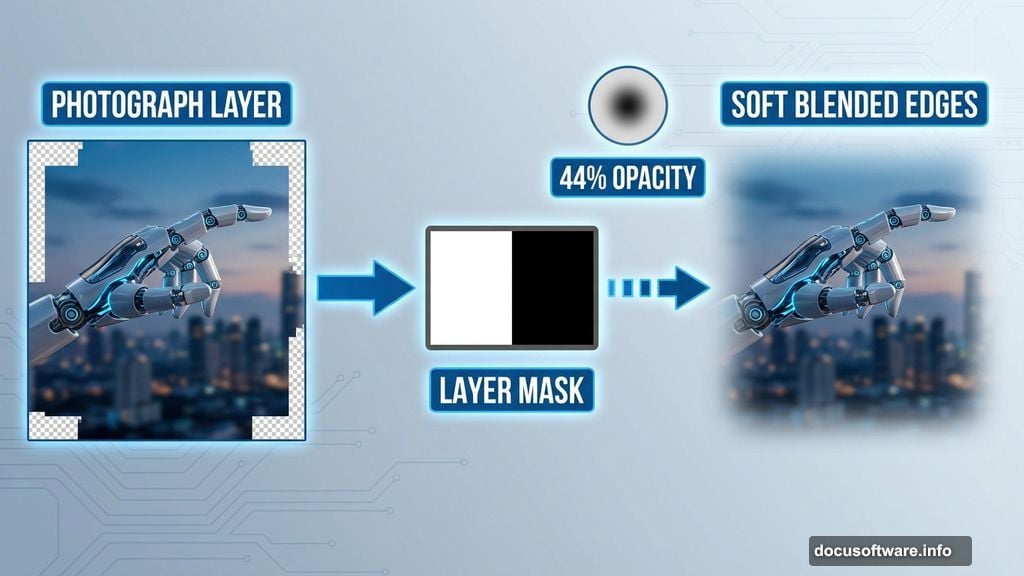
Here’s where layer masks shine. Create a mask on the flag layer. Then grab a soft round Brush Tool (B) with black as your foreground color. Paint over areas you want to fade or remove. Set brush opacity to 44% for subtle blending that looks natural.
This technique beats erasing because you can always bring back what you masked. Non-destructive editing saves you when you change your mind later.
Select and Place the Statue
Time for the main subject. The Statue of Liberty deserves a clean selection.
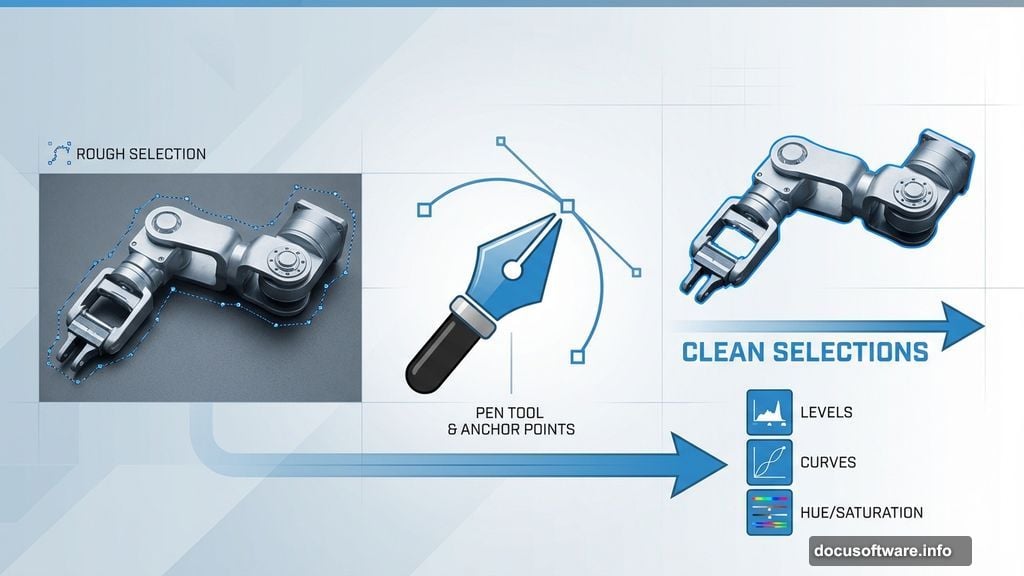
Open your statue image and grab the Pen Tool (P). I know, I know. The Pen Tool scares people. But it’s the only way to get crisp edges on complex shapes.
Pen Tool Basics:
Click to create anchor points around the statue. For straight edges, just click. For curves, click and drag to create handles. Take your time. A careful selection now saves hours of cleanup later.
Once you’ve traced the entire outline, right-click and choose “Make Selection.” Then create a layer mask. Boom. Clean statue, no background.
Paste it onto your main canvas and scale to fit. The statue should dominate the composition but leave room for your other elements.
Blend Everything Together
Raw images pasted together look exactly that. Raw. Now we fix it.
Create adjustment layers for each major element. Go to Layer > New Adjustment Layer and try these:
- Curves (to match brightness)
- Hue/Saturation (to harmonize colors)
- Color Balance (for mood)
The goal? Make everything look like it belongs in the same photograph. Match the light direction. Harmonize the color temperatures. Adjust contrast so nothing jumps out awkwardly.
Pro tip: Use clipping masks for your adjustment layers. Right-click the adjustment layer and choose “Create Clipping Mask.” This applies the adjustment only to the layer directly below it. No accidental changes to your entire composition.
Add Fire and Lava Textures
Want drama? Add fire elements.
Place your lava texture and change the blend mode to Screen or Lighten. This makes dark areas transparent while keeping bright orange flames visible.
Use layer masks (again!) to control where fire appears. Maybe flames licking up the statue’s base or glowing cracks in the ground. Subtlety matters here. Too much fire looks cartoony.
Lower the opacity if the effect seems too intense. Somewhere between 60-80% usually nails the sweet spot.
Add Birds for Scale and Movement

Empty skies feel dead. Birds fix that instantly.
Place your bird silhouettes at different sizes and positions. Larger birds in the foreground, smaller ones in the distance. This creates depth perception your brain registers subconsciously.
Layer them at varying opacities. Distant birds should be faint and slightly blurred. Use a subtle Gaussian Blur (Filter > Blur > Gaussian Blur) set to 1-2 pixels on background birds.
Mix bird types if you grabbed multiple stock images. Seagulls make sense near the Statue of Liberty. Maybe add some distant eagles for symbolic punch.
Paint Clouds and Light Rays
Download those cloud and ray brushes I mentioned earlier. Custom brushes speed up atmospheric effects dramatically.
Create a new layer and grab your cloud brush. Use soft, white strokes with low opacity (20-30%). Build up clouds gradually. Too much at once looks painted on.
For light rays, create another new layer and set the blend mode to Screen. Paint rays with a yellow-white color. Position them to match your light source direction. If sunlight comes from the right, rays should angle that way too.
Realism check: Light rays only show up in dusty or foggy air. So add a slight haze to your overall image. A subtle Photo Filter adjustment layer in warming filter (85) at 15% density works perfectly.
Add Cracks for Destruction Theme
If you’re going for a dystopian or weathered look, crack textures sell it.
Place your crack texture over the statue. Change blend mode to Multiply or Overlay. Then mask away areas where cracks don’t make sense. Stone cracks along stress points and edges, not randomly everywhere.
Lower opacity until cracks look weathered in, not pasted on. Around 40-60% usually works.
Final Polish with Camera Raw
Almost done. Time for the finishing touch that makes everything cohesive.
Convert your image to a Smart Object first. Right-click your merged composition and select “Convert to Smart Object.” This lets you re-edit the Camera Raw adjustments later if needed.
Then go to Filter > Camera Raw Filter. Here’s what to tweak:
Basic Tab:
- Increase Clarity (+15 to +25) for midtone contrast
- Boost Vibrance (+10 to +20) for color pop without oversaturation
- Adjust Exposure if overall brightness needs work
Detail Tab:
- Add Sharpening (Amount: 40, Radius: 1.0, Detail: 25)
- This brings back crispness lost during all that blending
Effects Tab:
- Add subtle vignetting (Amount: -10 to -15)
- Darkens edges, draws eyes to center
Don’t go overboard. Camera Raw works best with subtle adjustments. You’re polishing, not overhauling.
Common Mistakes to Avoid
Harsh selection edges: Always feather selections by 0.5-1 pixels before masking. It prevents that cutout look.
Mismatched lighting: Every element needs consistent light direction and color temperature. If your flag is warm-toned but your statue is cool-toned, they’ll never look integrated.
Overusing effects: More isn’t better. One dramatic element (fire OR cracks OR dramatic lighting) works better than cramming in everything.
Forgetting resolution: Working at 72 DPI then trying to print looks terrible. Start at 300 DPI, always.
Skipping layer names: Name your layers. “Layer 47” means nothing when you return to edit later. “Statue_masked” actually helps.
Why This Technique Matters
Photo manipulation isn’t just about making cool art. It teaches you essential Photoshop skills that apply everywhere.
Masking techniques transfer directly to product photography retouching. Blend modes help in portrait editing. Adjustment layers improve every type of image work. Color matching skills make you better at composite photography for clients.
Plus, symbolic compositions like this statue scene train your eye for what makes images emotionally impactful. That’s worth more than any single technical skill.
The Statue of Liberty works as a subject because everyone recognizes it instantly. That familiarity lets you subvert expectations with your creative treatment. Damaged? Triumphant? Abandoned? Your choice shapes the entire message.
Practice these techniques on other iconic subjects. The Eiffel Tower. Big Ben. The Golden Gate Bridge. Each one teaches you new challenges in perspective, scale, and atmospheric blending.
Start experimenting. The worst that happens? You delete it and try again. That’s how skills actually develop.