
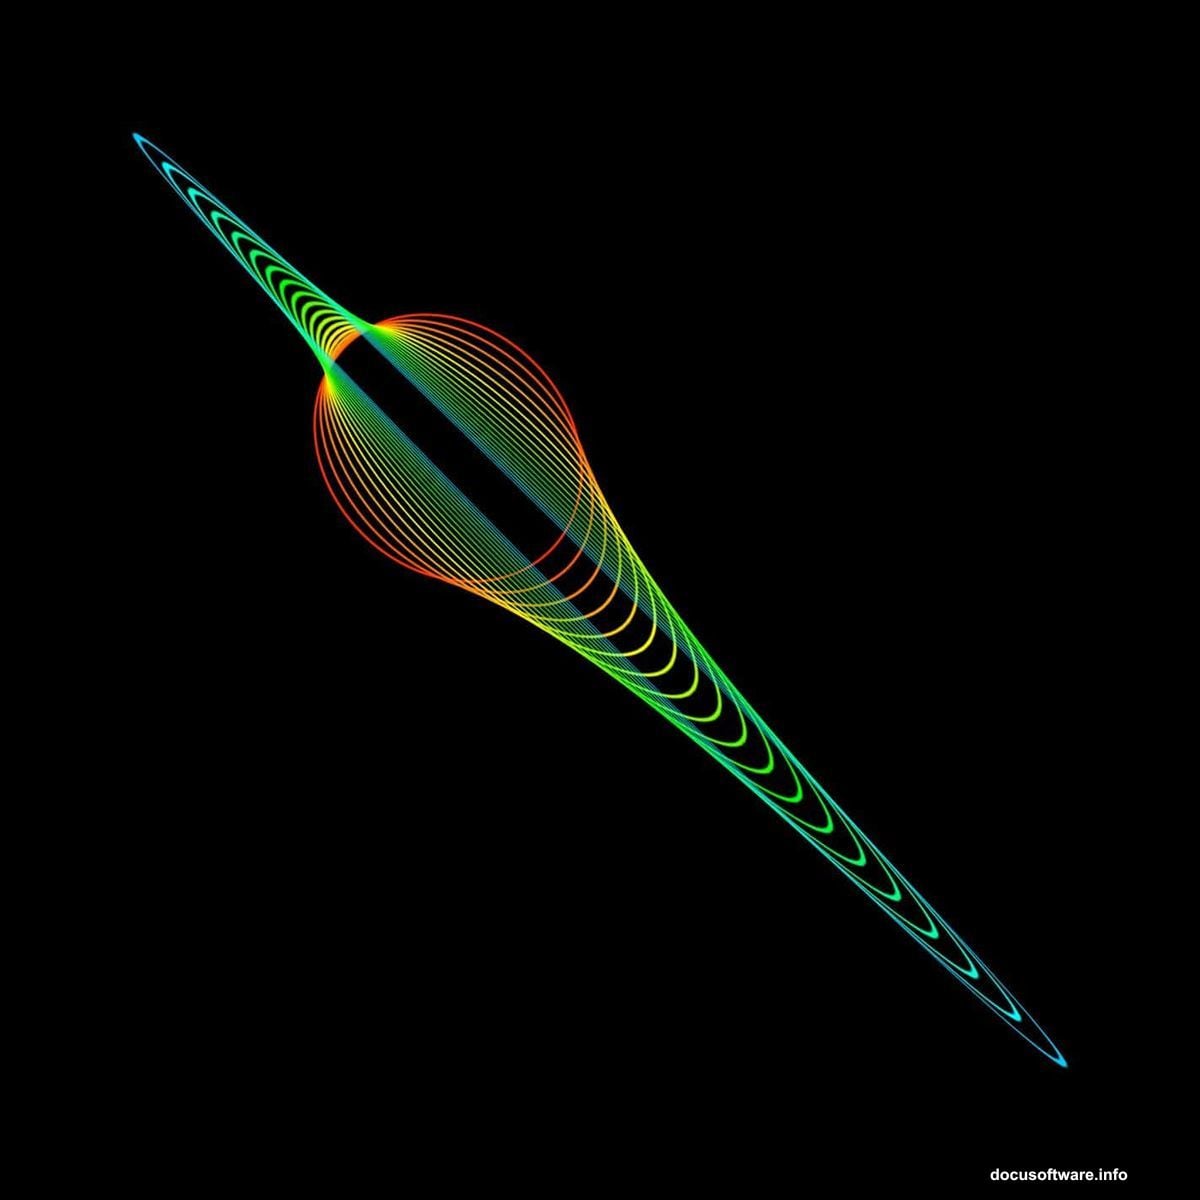
Spirographs look impossibly complex. But here’s the secret: they’re ridiculously easy to make in Photoshop.
These mesmerizing patterns work perfectly as standalone art, design elements, or backgrounds for photo manipulations. Plus, once you learn the basic technique, you can generate hundreds of variations in minutes. Let’s dive into the simple process that creates these eye-catching fractals.
Start With a Basic Shape
First, create a new 2000×2000 pixel document with a black background. You can adjust the size based on your project needs.
Add a new layer and grab the Ellipse Tool. Set the mode to “Shape”, fill to none, and stroke to white. Draw your ellipse in the center of the canvas.
This simple circle becomes the building block for your entire spirograph. Don’t worry about making it perfect. In fact, imperfect shapes often create more interesting results.
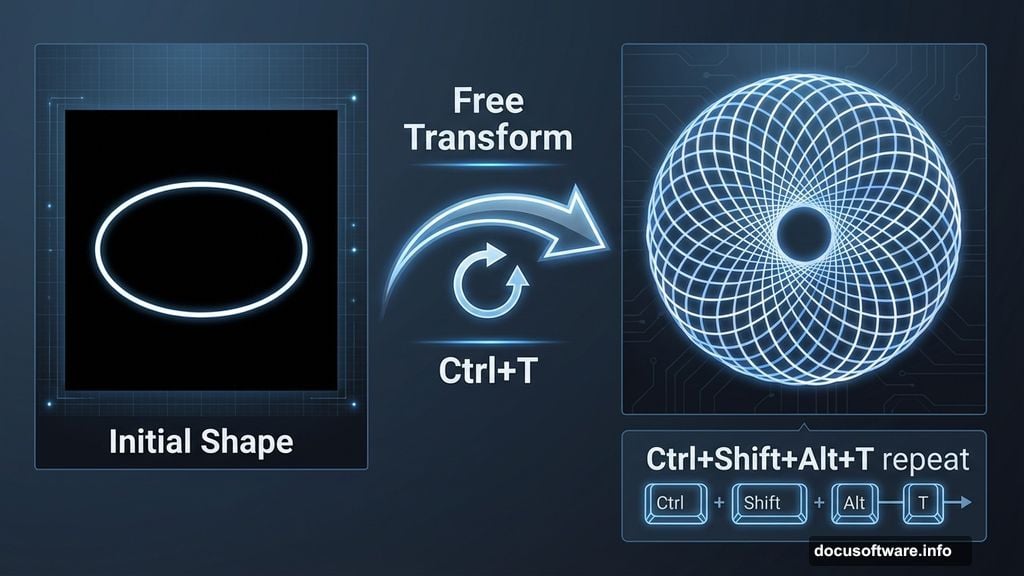
The Magic Rotation Trick
Switch to the Move tool (V) and activate Free Transform (Ctrl/Cmd+T). Drag outside the transform box to rotate your shape. Hold Shift while dragging to snap rotations to 15-degree increments.
Press Enter to apply the transformation. Now here’s where it gets fun.
Instead of manually duplicating and rotating dozens of times, use this keyboard shortcut: Ctrl+Shift+Alt+T (Command+Option+Shift+T on Mac). Press it repeatedly until your shape forms a complete circle.
That’s it. You just created your first spirograph in about 30 seconds.

Experiment With Transform Settings
The basic rotation creates nice patterns. But the real magic happens when you change other transform properties.
Try moving the reference point to different locations before rotating. Shift it to the edge of your shape instead of the center. This creates entirely different spiral patterns.
Also experiment with width and height adjustments. Scale your shape down slightly with each rotation. The resulting spirograph will appear to spiral inward or outward.
You can even add skew transformations. Combine rotation with a slight skew for more organic, flowing patterns. The possibilities multiply quickly once you start mixing different transform properties.
Level Up With Actions

Ready to take complete control? Actions let you customize color, opacity, and blend modes in addition to transforms.
Start by creating a new outline shape. This time, make sure to rasterize vector shapes first. Right-click the layer and choose Rasterize Layer.
Open the Actions panel and create a new action. Record your transform steps, color adjustments, and opacity changes. Stop recording when finished.
Now you can apply complex multi-step transformations with a single keystroke. This workflow lets you iterate dozens of variations in minutes instead of hours.
Advanced Fractal Techniques

Once you master basic spirographs, push further into fractal territory. Use the Offset filter (Filter > Other > Offset) between rotations to create repeating tile patterns.
Try recording actions that combine multiple shapes. Start with a circle, add a square, then a triangle. Apply different rotation amounts to each shape. The layered result creates intricate mandala-style fractals.
Blend modes become crucial at this stage. Experiment with Screen, Overlay, and Color Dodge modes. These create luminous, otherworldly effects that simple opacity adjustments can’t match.
Common Problems and Fixes
Sometimes your spirograph disappears after pressing Enter, leaving only an outline. This happens when vector paths stay selected.
The fix? Click outside your shape to deselect the path before transforming. Or switch to the Move tool first, then activate Free Transform.
Another issue: jagged edges on rotated shapes. This occurs with rasterized layers at lower resolutions. Either work at higher resolutions (3000+ pixels) or keep shapes as vectors until the final step.
If your keyboard shortcut isn’t working, make sure you’re using the Move tool. The transform repeat shortcut only functions when the Move tool is active.
Color Variations That Pop
Monochrome spirographs look clean and modern. But color transforms them completely.
Try gradient strokes instead of solid colors. Apply a rainbow gradient to your initial shape before rotating. Each duplicate inherits the gradient, creating stunning chromatic patterns.
Or start with a simple color then use Hue/Saturation adjustments in your action. Shift the hue by 10 degrees with each rotation. Your spirograph will cycle through the entire color spectrum.
For more subtle effects, use low-opacity white shapes on colored backgrounds. This creates soft, ethereal patterns perfect for meditation apps or wellness branding.
Real-World Applications
These fractals aren’t just pretty experiments. They solve actual design problems.
Use spirographs as background textures for websites or apps. They add visual interest without overwhelming content. Plus, you can match them to brand colors easily.
Photo composites benefit from subtle fractal overlays. Blend a soft spirograph over portrait backgrounds using Overlay mode at 20% opacity. This adds depth without distracting from the subject.

Graphic designers create entire branding systems around spirograph patterns. Generate multiple variations, then extract individual elements to use as icons, dividers, or decorative accents.
Why This Technique Works
Spirographs tap into something fundamental about how humans perceive patterns. Our brains find satisfaction in geometric repetition and symmetry.
That’s why these simple techniques create such compelling results. You’re not fighting against Photoshop’s limitations. You’re using its transform engine exactly as designed—just in creative ways most people never explore.
The best part? Once you internalize the basic process, creating new spirographs becomes almost meditative. No complicated filters or third-party plugins required. Just shape tools, transforms, and a bit of experimentation.
Start simple with basic rotations. Then gradually add complexity as you discover what works for your style. Within an hour of practice, you’ll generate fractals that look like they took days to create.