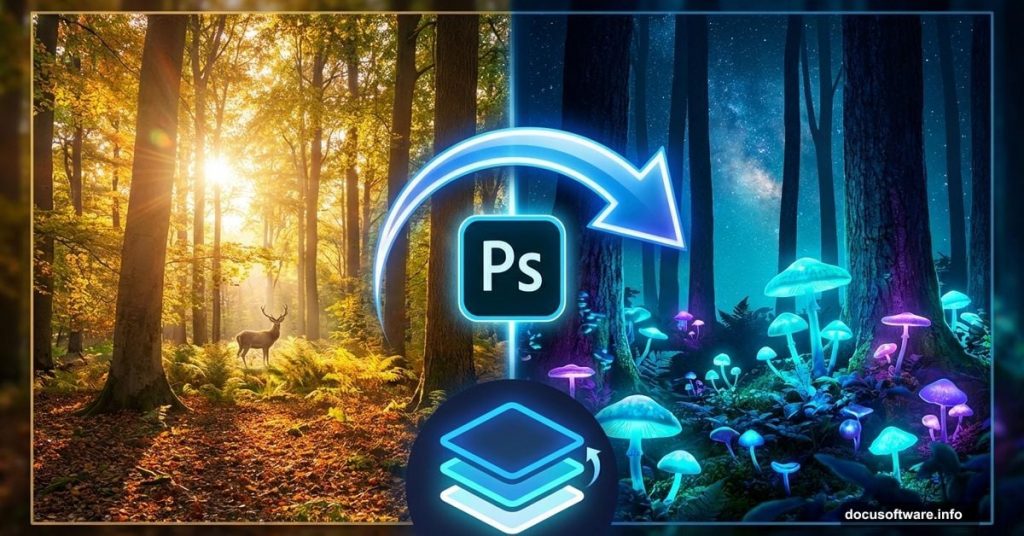
Ever wondered how digital artists create those haunting nighttime scenes that feel impossibly real? The secret lies in layering techniques most tutorials skip.
This Photoshop manipulation walks you through transforming an ordinary daylight photo into a glowing mushroom forest at night. Plus, you’ll learn the adjustment layer combinations that make or break nocturnal scenes.
Let’s break down the process into manageable steps.
Why This Technique Actually Works
Most day-to-night conversions look fake because artists rush the lighting. Instead, this method builds atmosphere gradually through multiple adjustment layers.
Think of it like painting. You don’t slap one coat and call it done. Rather, you build depth through careful layering. The same principle applies here.
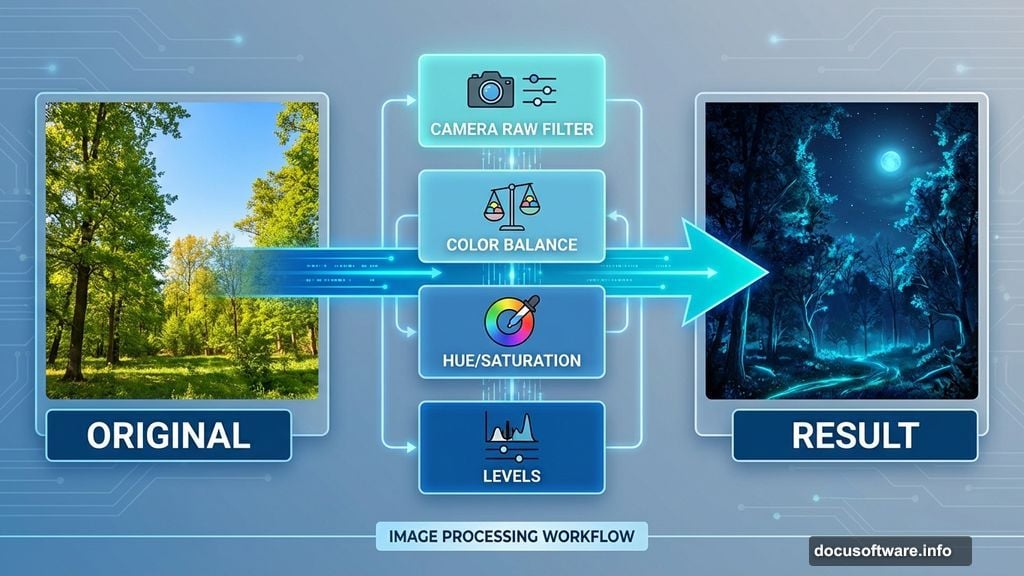
Besides, the Camera Raw Filter at the end ties everything together. That’s the step beginners often skip, then wonder why their results look amateurish.
What You’ll Need Before Starting
Gather these resources first. Having everything ready prevents workflow interruptions:
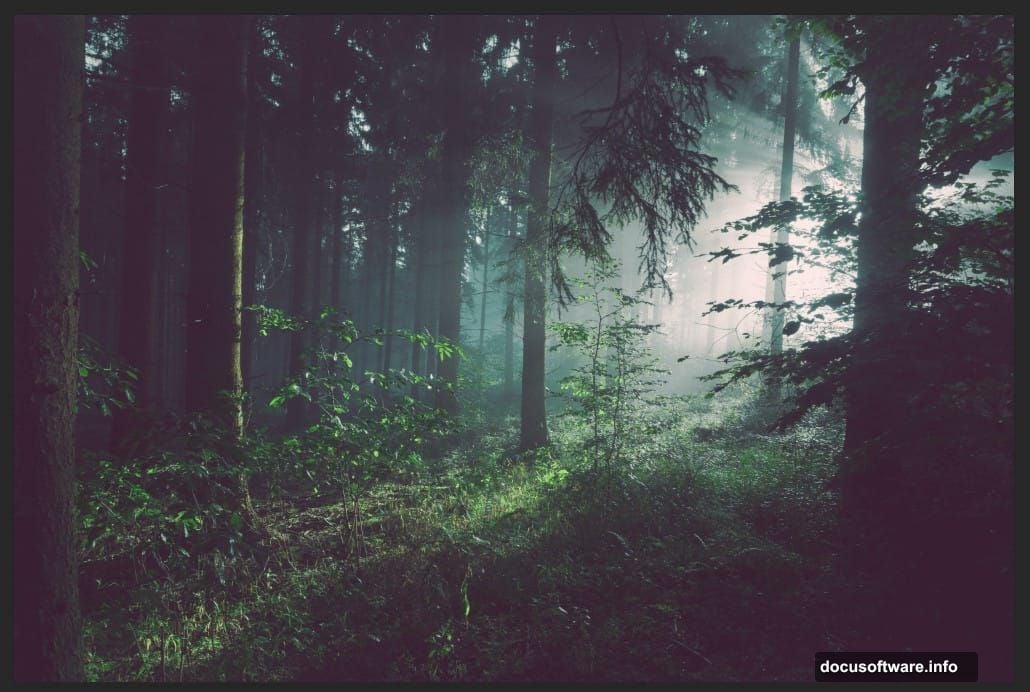
- Background landscape image
- Mushroom photos for foreground elements
- Branch or tree silhouettes
- Butterfly images for atmospheric detail
- Model photo (optional)
- Photoshop CC or later versions
So make sure you download high-resolution images. Low-quality sources create muddy results no amount of editing can fix.
Setting Up Your Base Scene
Start by opening your background landscape in Photoshop. Right-click the layer and select “Convert to Smart Object.” This preserves editing flexibility later.
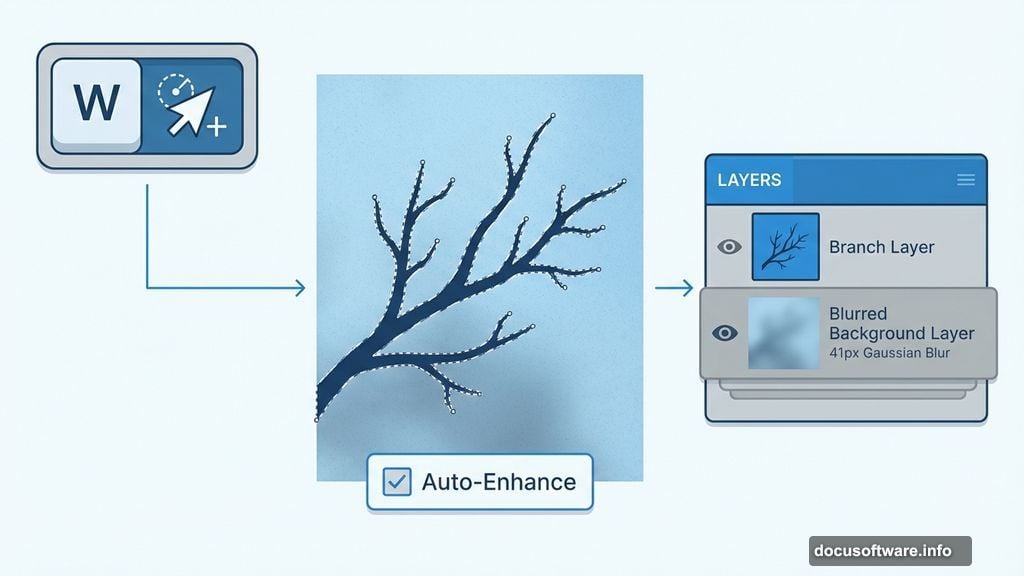
Next, apply Gaussian Blur at 41px radius. Why blur the background? It creates depth and makes foreground elements pop. Plus, it mimics how camera lenses naturally render distance.
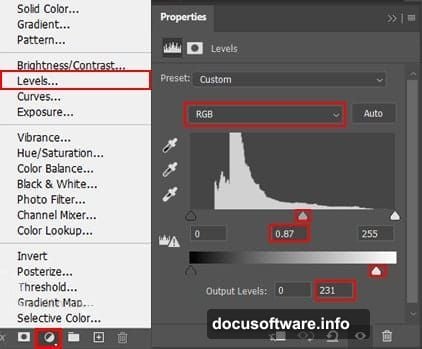
Now add a Levels adjustment layer. Drag the middle slider left to darken midtones. Don’t go overboard yet. You’re building darkness gradually across multiple layers.
Creating the Night Color Palette
Here’s where magic happens. Add a Hue/Saturation adjustment layer above your Levels layer.
Reduce saturation by 30-40%. Night scenes contain less color intensity than daylight. Moreover, this desaturation creates that eerie moonlit quality.
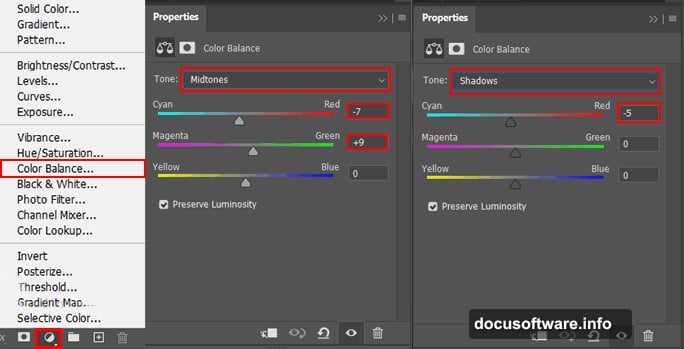
Then add a Color Balance adjustment layer. Push shadows toward blue and cyan. Midtones should lean slightly toward cool colors too. Meanwhile, leave highlights relatively neutral.
These color shifts mimic how human eyes perceive nighttime environments. Our vision shifts toward blue-green sensitivity in low light.
Adding Your Foreground Elements
Open your branch image separately. Use the Quick Selection Tool (press W) to isolate the branch from its background.
Quick tip: Enable “Auto-Enhance” in the Options bar. This makes selections cleaner along edges. Click and drag across the branch. The tool automatically finds edges and stops at boundaries.
Copy your selection (Ctrl/Cmd + C) and paste it into your main canvas (Ctrl/Cmd + V). Position it using the Transform tool (Ctrl/Cmd + T).
Hold Alt + Shift while dragging corner handles to resize proportionally. In Photoshop CC, holding just Alt works fine. Scale the branch to create a natural frame element.
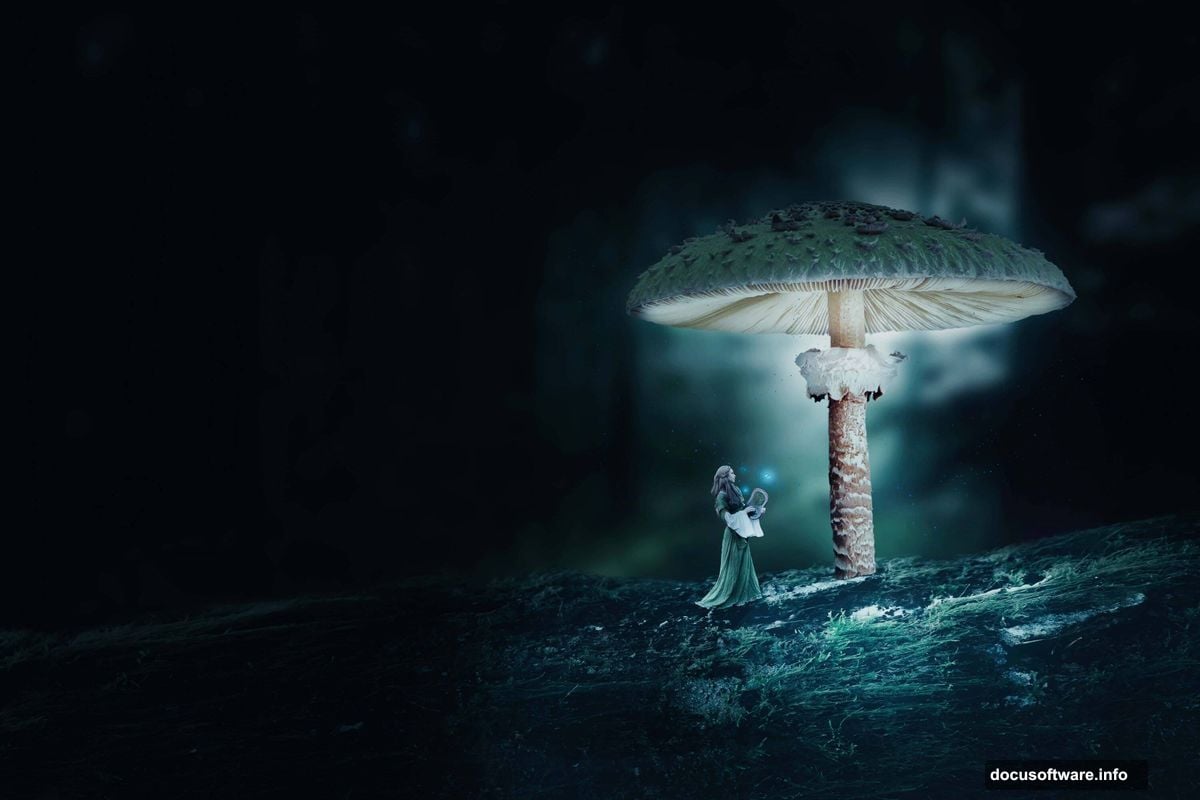
Building the Mushroom Cluster
Open your mushroom photo. Select the largest mushroom using Quick Selection Tool. Take your time here. Clean selections prevent weird halos later.
After selecting, copy and paste the mushroom into your scene. Transform and position it in the foreground. Scale it larger than realistic proportions to create that surreal fantasy vibe.
Add a Levels adjustment layer clipped to your mushroom layer. Darken it to match the overall night scene. The mushroom should feel part of the environment, not pasted on.
Creating Luminous Glow Effects
New layer time. Name it “Glow.” Set blend mode to Screen or Linear Dodge (Add).
Grab a soft brush. Pick a warm yellow-orange color. Paint gently under mushroom caps where bioluminescence would naturally occur.
Lower the layer opacity to 60-70%. Subtle glows look more believable than intense ones. Furthermore, use multiple glow layers with different colors for depth.
Add another glow layer with pale blue-green. Paint this around edges and background elements. It suggests moonlight filtering through the forest canopy.
Adding Atmospheric Butterflies
Import your butterfly images. Extract them from backgrounds using Quick Selection Tool.
Scale them small and position them throughout the scene. Place some in sharp focus, others slightly blurred. This creates depth and movement.
Add a slight motion blur (Filter > Blur > Motion Blur) to some butterflies. Just 2-3 pixels at a slight angle. It suggests they’re fluttering through the scene.
Final Polish With Camera Raw Filter
Here’s the secret sauce most tutorials ignore. Select all your layers. Right-click and choose “Convert to Smart Object.”
Then go to Filter > Camera Raw Filter. This opens Adobe’s powerful raw editing interface.
Increase clarity by 20-30 points. This adds punch and definition. Next, boost vibrance slightly to make colors pop without oversaturating.
Adjust the tone curve. Pull down the highlights slightly and lift the shadows a touch. This creates that signature moody look.
Finally, add a subtle vignette. Set amount to -15 or -20. Feather it nicely so it’s barely noticeable. The vignette draws eyes toward your glowing mushrooms naturally.
Common Mistakes to Avoid
Don’t make your night scene too dark. Viewers should still see detail and form. Aim for “nighttime” not “black void.”
Similarly, avoid oversaturating your glow effects. Real bioluminescence is subtle and diffused. Neon-bright mushrooms look cartoonish, not surreal.
Moreover, match your light direction across all elements. If moonlight comes from the left, all shadows should fall right. Inconsistent lighting screams “fake.”
Why This Approach Beats Simple Filters
You might wonder why not just use a “night effect” filter. Simple answer: filters lack nuance.
This layered method gives you precise control over every element. You’re not applying a one-size-fits-all effect. Instead, you’re crafting a specific mood and atmosphere.
Plus, the techniques you learn here apply to countless other manipulations. Understanding adjustment layers and blend modes opens up endless creative possibilities.
Taking It Further
Once you’ve mastered the basic technique, experiment. Add light rays filtering through trees using the pen tool and motion blur.
Try incorporating a model into the scene. Just remember to match lighting and color temperature. Nothing ruins a composite faster than mismatched elements.
Consider adding fog using cloud brushes on low-opacity layers. Fog enhances depth and creates that mysterious forest atmosphere.
The beauty of this workflow is its flexibility. Each layer remains editable. So you can tweak and refine until the scene feels exactly right.
Your surreal mushroom forest awaits. Start experimenting with these techniques and watch ordinary photos transform into otherworldly nightscapes.