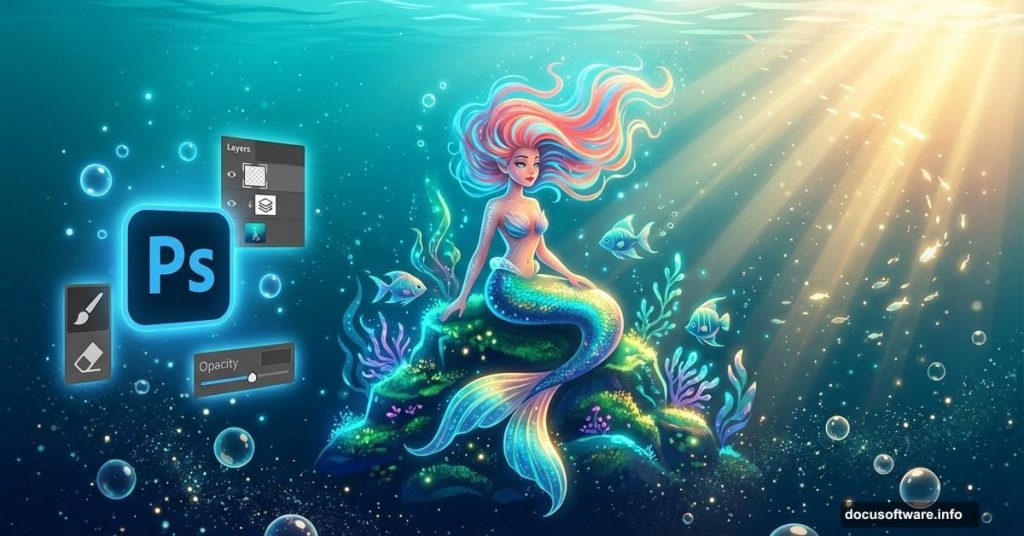
Creating magical underwater scenes sounds complex. But this Photoshop tutorial breaks it down into simple steps anyone can follow.
You’ll learn how to build an entire underwater world using minimal stock images. Plus, you’ll discover techniques for drawing realistic mermaid tails and crafting bubbles from nothing. The best part? These methods work for any underwater photo manipulation project.
Let’s dive into the techniques that make professional-looking underwater scenes possible.
Build Your Underwater Foundation
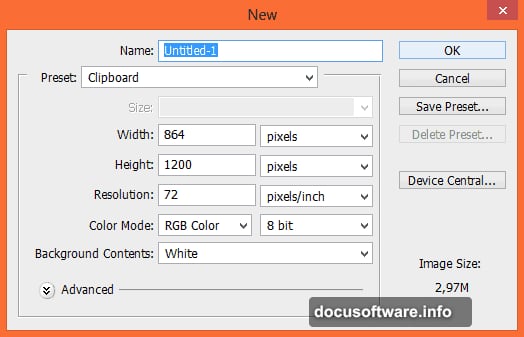
Start with a new Photoshop file at your desired dimensions. The foundation matters more than you think.
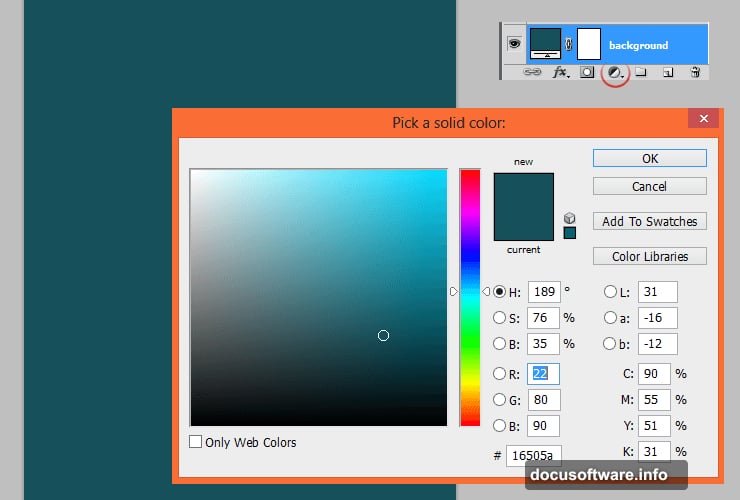
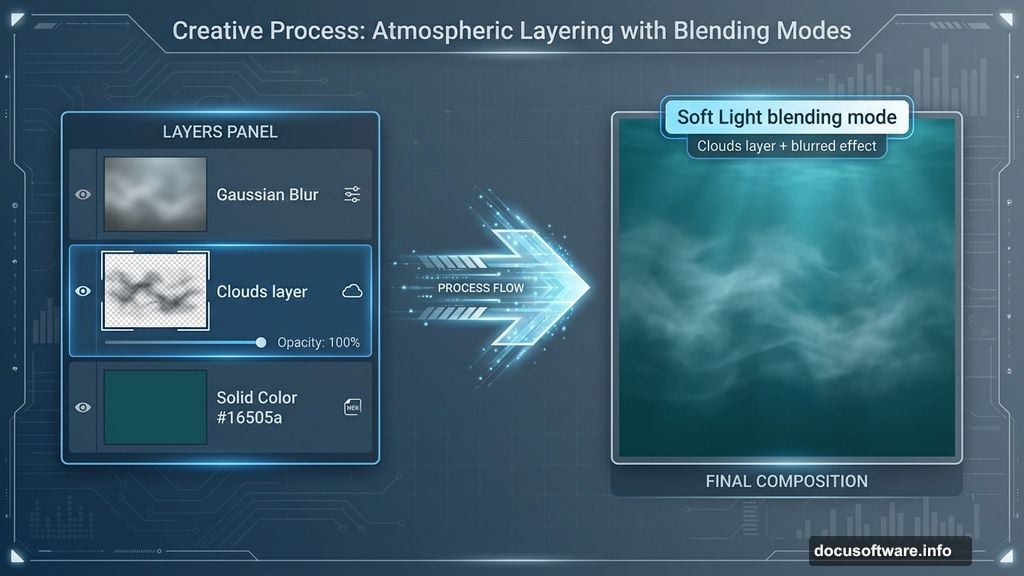
First, create a Solid Color adjustment layer for your background. Pick a deep teal like #16505a. This establishes your underwater color palette right away. However, feel free to experiment with different ocean hues.
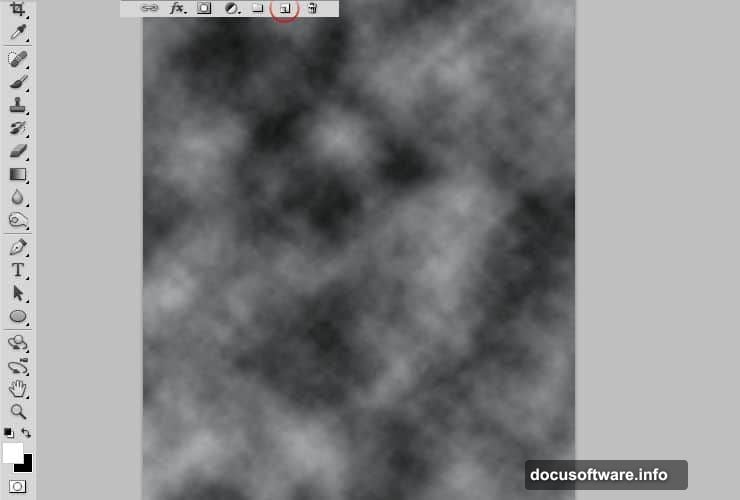
Next, add a new layer and set your color picker to black and white. Navigate to Filter > Render > Clouds. This creates organic underwater texture automatically.
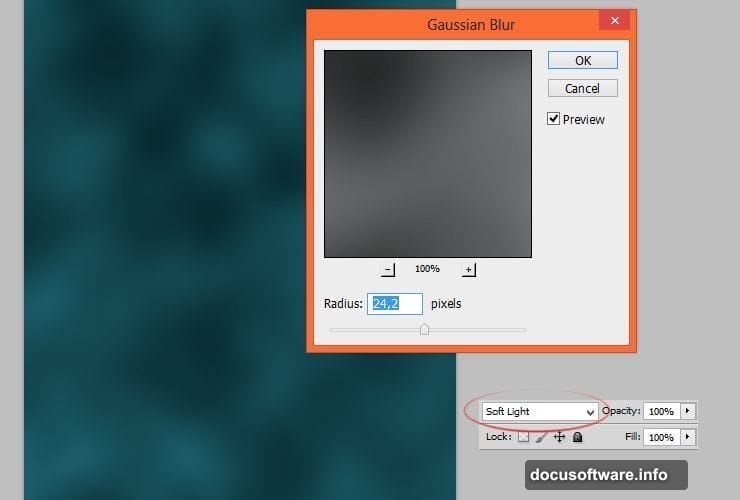
Then apply Gaussian Blur to that cloud layer. Change the blending mode to Soft Light. Now you’ve got subtle depth that mimics real water conditions.
Create Realistic Light Behavior
Underwater lighting follows physics. Light penetrates from above and fades toward the bottom.
Add a gradient fill adjustment layer. Use a linear black-to-transparent gradient pointing downward. Set opacity to 55%. This darkens the lower portions naturally.
Moreover, important subjects need emphasis. Create another gradient fill using your dark teal color (#16505a). Make this one radial instead of linear. Change the blending mode to Multiply at 55% opacity. The center stays brighter while edges fade.
This technique draws viewer attention exactly where you want it.
Add Underwater Particle Effects
Real underwater scenes contain floating particles. They catch light and add realism.
Place your underwater stock image into the file. Change its blending mode to Color Dodge. Drop the opacity to 53%. This extracts just the particle elements without overpowering your scene.
Notice harsh light splashes at the top? Click the layer mask and grab a large, soft brush. Gently paint black on the mask to fade those problem areas. The mask lets you control visibility without destroying pixels.
Craft Convincing Light Rays
Sunlight filtering through water creates gorgeous rays. You can fake this effect beautifully.
Add a fresh layer and grab a large, soft brush. Pick a blue that’s monochromatic with your background color. Not sure which color works? Try Adobe’s Kuler tool for perfect color harmony.
Paint one large dot where your light source hits the water. This becomes the origin point for your rays. The soft edges blend naturally with your underwater environment.
From here, you’ll build the actual ray structure using similar techniques repeated at different angles.
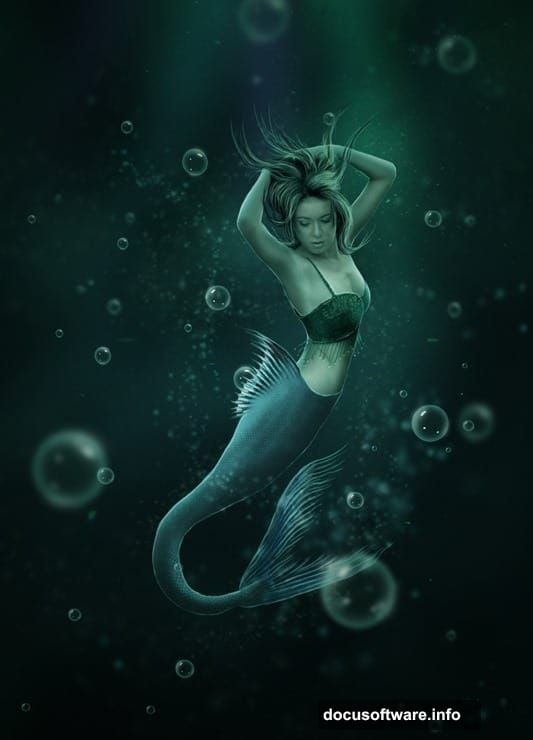
Design a Hand-Drawn Mermaid Tail
Stock photos rarely include perfect mermaid tails. So you’ll create one from scratch using Photoshop brushes.
Download silky scale brushes designed specifically for this purpose. These brushes mimic fish scales realistically. Load them into Photoshop through the Brush Presets panel.
Start with your base model photo. Use the Pen Tool to outline where the tail should attach. Create a new layer beneath your model. Begin painting scales using your downloaded brushes, building up texture gradually.
Vary your brush size and opacity as you work. Real tails show dimensional variation, not uniform patterns. Pay special attention to where the tail meets the body. Smooth transitions sell the illusion.
Generate Water Bubbles Naturally
Underwater scenes need bubbles. But stock bubble images often look fake. Make your own instead.
Create a new layer and grab a hard round brush. Set your foreground color to white. Click once to create a perfect circle. Then select Filter > Blur > Gaussian Blur at about 2-3 pixels.
Add a layer style with Inner Glow using a light blue color. This creates the translucent bubble edge. Include a small white highlight dot on one side for reflection.
Save this bubble as a custom brush. Now you can scatter realistic bubbles throughout your scene at various sizes. Some should be sharp, others slightly blurred to suggest depth.
Balance Colors Across Elements
Different stock images bring different color temperatures. Your job is unifying them.
Add a Color Balance adjustment layer affecting your entire composition. Push the Cyan-Red slider slightly toward cyan. Shift the Yellow-Blue slider toward blue. These adjustments reinforce your underwater color palette.
Then add a Curves adjustment layer. Lift the shadows slightly in the RGB channel. This prevents your scene from looking muddy. Underwater environments have natural brightness even in darker areas.
Finally, consider a subtle Hue/Saturation adjustment. Boost saturation by 10-15% to make colors pop. But don’t overdo it. Subtlety creates believability.
Fine-Tune With Finishing Touches
Professional work lives in the details. These final steps separate good from great.
Add floating particles using your sparkle brushes. Scatter them sparingly near light sources. Real particles cluster where light reveals them, not everywhere uniformly.
Include small fish silhouettes in the background. They add scale and reinforce the underwater setting. Keep them dark and slightly blurred since they’re background elements.
Check your mermaid’s hair. It should float naturally, not hang down like it does on land. Use the Liquify filter to adjust hair strands into flowing positions. Small adjustments make massive believability differences.
Common Mistakes to Avoid
New creators often over-saturate colors. Underwater scenes look murky, not neon. Keep your colors rich but muted.

Another trap? Uniform lighting throughout the scene. Real underwater environments show dramatic light falloff. Your bottom areas should be significantly darker than top portions.
Also, watch your scale proportions. Bubbles vary in size based on depth. Bigger bubbles rise faster and appear near the surface. Smaller ones linger deeper down.
Advanced Techniques Worth Exploring
Once you’ve mastered these basics, try adding caustic light patterns. These are the dancing light patterns water creates on surfaces. Download caustic overlays or create them using displacement maps.
Experiment with chromatic aberration. Underwater photography naturally shows slight color separation at high-contrast edges. Add this subtly for extra realism.
Consider creating multiple depth layers. Place some elements deliberately out of focus to simulate real camera depth of field. The human eye reads this as professional photography.
This tutorial teaches fundamental techniques that apply beyond mermaid scenes. You can use these same methods for any underwater photo manipulation. The key is understanding how light, color, and particles behave in water environments. Master those principles and your underwater scenes will always look convincing.