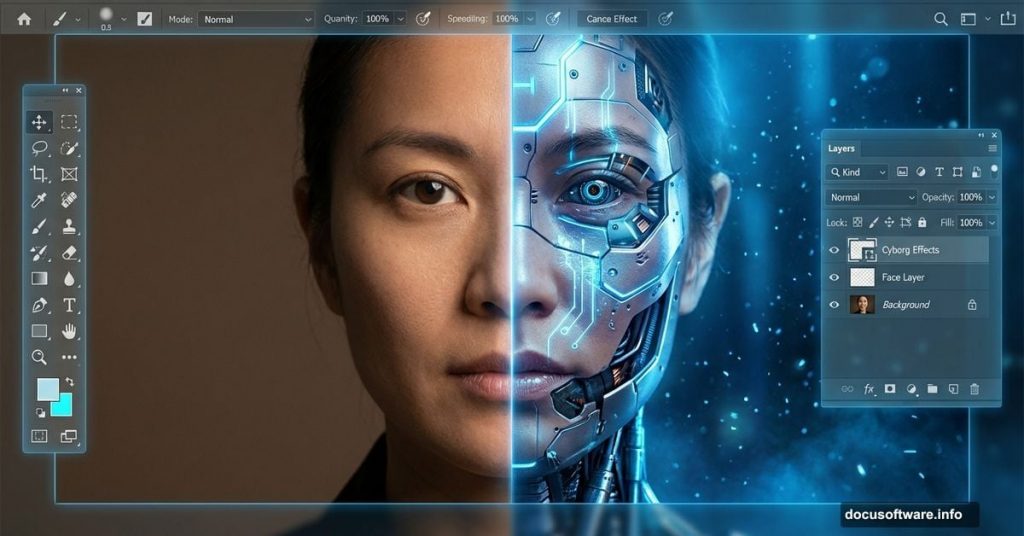
Creating a cyborg scene sounds complex, but it’s surprisingly achievable with the right technique. This tutorial breaks down the process into manageable steps that blend sci-fi aesthetics with practical Photoshop skills.
You’ll learn how to combine urban backgrounds with robotic elements, add atmospheric glows, and apply finishing touches that make your image pop. Plus, the techniques work for other composite projects beyond cyborgs.
Set Up Your Canvas for Maximum Detail
Start with proper dimensions. Your canvas size determines final image quality and flexibility for printing or display.
Create a new file with these specs: 3080px width, 3850px height, and 300 DPI resolution. Use RGB color mode with a transparent background. These dimensions give you room to work without sacrificing detail.
Higher resolution means larger file sizes. But it prevents pixelation when you need to zoom in or make adjustments later. So the extra megabytes pay off.
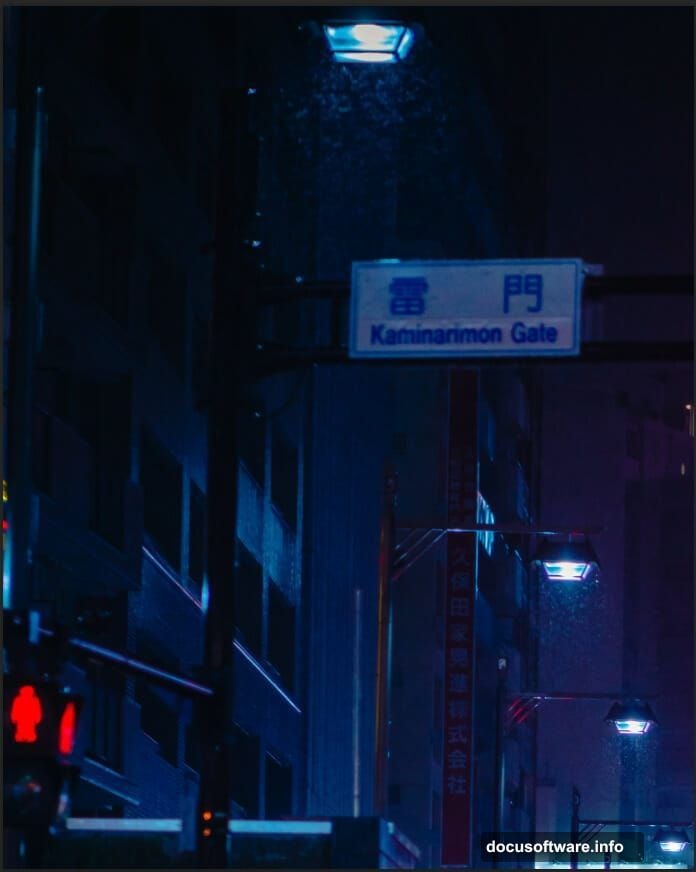
Build the Foundation With Urban Atmosphere
Place your city background first. This establishes the scene’s mood and perspective before adding other elements.
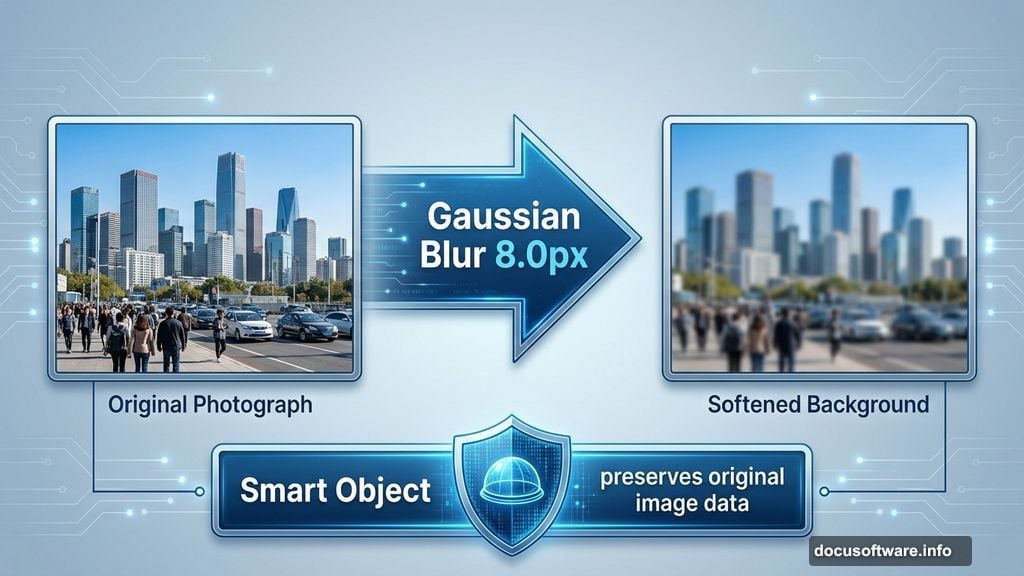
Go to File > Place and select your city image. Use the Transform tool (Ctrl/Cmd + T) to position and scale it properly. Hold Alt + Shift while dragging corners to maintain proportions. Then convert the layer to a Smart Object.
Why Smart Objects? They preserve original image data. So you can resize or filter without permanent quality loss. That flexibility matters when you’re experimenting with composition.
Apply Gaussian Blur at 8.0px radius. This creates depth by softening the background slightly. The blur makes foreground elements stand out more sharply when you add them later.
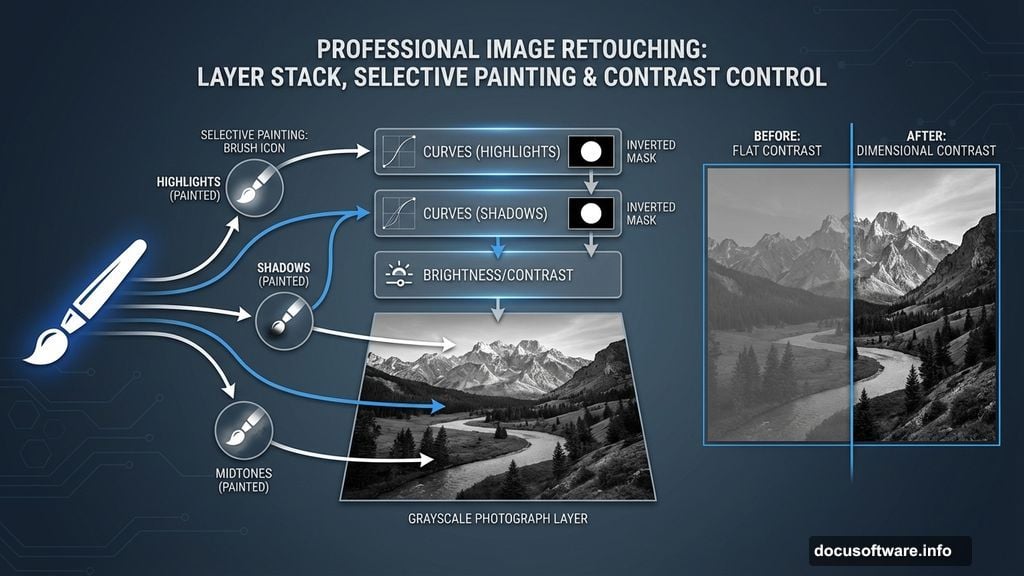
Shape Light and Shadow With Curves
Adjustment layers control tone without destroying pixels. Start by adding a Curves adjustment layer and invert it (Ctrl/Cmd + I).
The inverted mask hides the adjustment initially. Now grab a soft round brush with white foreground color. Paint over highlighted areas you want to brighten. The mask reveals the Curves effect only where you paint.
Add a second Curves layer for shadows. Repeat the inversion process. Then paint with white on darker areas to deepen them selectively. This creates dimensional contrast that makes scenes feel three-dimensional.
Follow up with a Brightness/Contrast adjustment layer. Increase contrast slightly to make the tonal differences more pronounced. Small adjustments work better than dramatic shifts.

Add Atmospheric Glow Effects
Create a new layer and change its blend mode to Linear Dodge (Add). This mode brightens underlying colors intensely, perfect for light effects.
Choose a blue foreground color like #2367c1. Paint streaks where you want light rays to appear. The Linear Dodge mode makes these strokes glow naturally against the background.
Vary your brush opacity as you paint. Lighter touches create softer glows. Heavier strokes produce intense highlights. This variation keeps the effect from looking artificial.
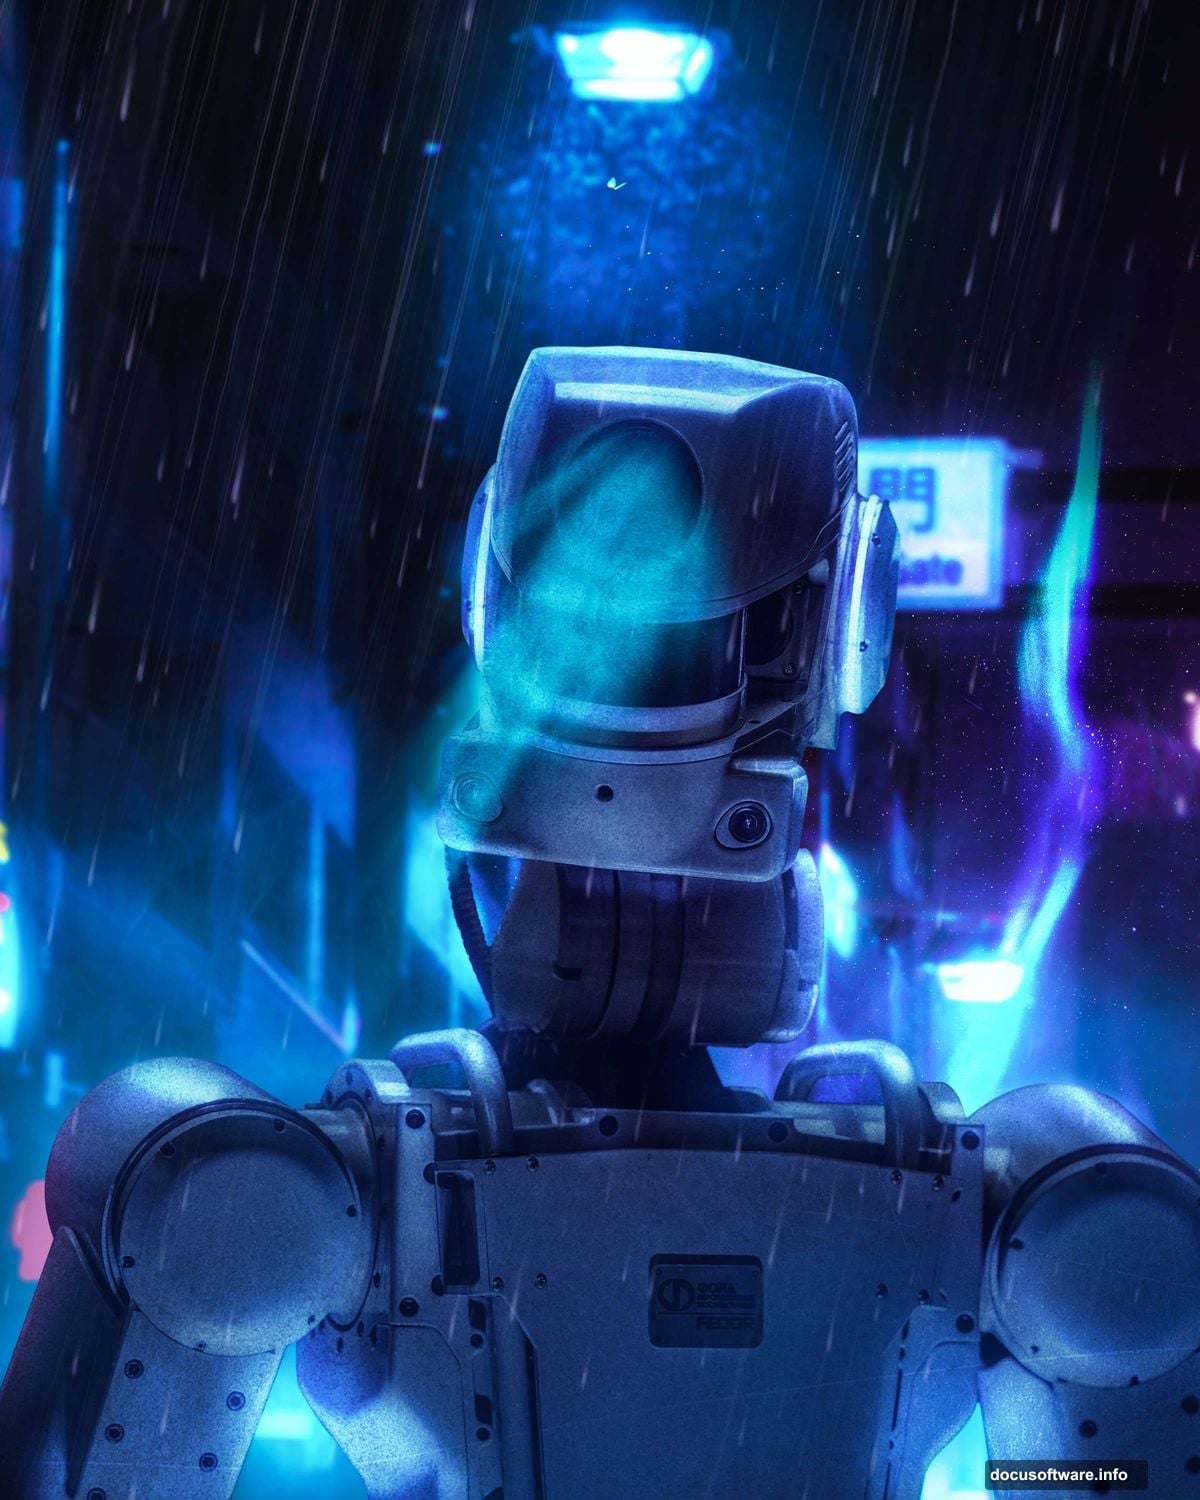
Integrate the Cyborg Element
Open your robot or cyborg image. Use the Lasso Tool (L) to select the parts you need. Make a rough selection first, then refine edges if necessary.
Copy the selection (Ctrl/Cmd + C) and paste it into your working canvas (Ctrl/Cmd + V). Position it using Transform (Ctrl/Cmd + T). Hold Alt to scale from the center while maintaining aspect ratio.
The cyborg should feel integrated, not pasted on. So blend its edges with the background using layer masks. Paint with a soft brush at low opacity around edges where the figure meets the environment.
Add a Brightness/Contrast adjustment layer clipped to the cyborg layer. Match its lighting to the background. If the scene has blue tones, add cooler tones to the cyborg. If it’s warm, adjust accordingly.
Layer Textures for Depth
Textures add visual complexity that makes composites feel complete. Place your first texture using File > Place. Position it over your scene.
Change the texture layer’s blend mode. Try Overlay, Soft Light, or Multiply to see which works best. Each mode interacts differently with underlying colors. Reduce opacity until the texture enhances without overwhelming.
Add a second texture layer with a different blend mode. Multiple textures at varying opacities create rich surface detail. But don’t overdo it. Two or three texture layers usually suffice.
Mask out areas where textures don’t work. Use a soft brush on layer masks to hide texture from faces or key focal points. Textures should add atmosphere, not distract from your subject.
Create Dynamic Rain Effects

Download rain brushes or create your own streak patterns. Create a new layer above your other elements. Set the foreground color to light blue or white.
Select a rain brush and adjust its size. Paint rain streaks at various angles to suggest motion. Concentrate more streaks in certain areas for realism. Rain doesn’t fall uniformly in photos.
Change the rain layer’s blend mode to Screen or Linear Dodge. Reduce opacity to around 30-40%. This makes rain look translucent rather than solid white lines.
Add a second rain layer with smaller brush sizes. This creates depth by suggesting rain at different distances. Foreground rain appears larger and more defined than background rain.
Apply a slight Motion Blur to rain layers. Go to Filter > Blur > Motion Blur. Set the angle to match your rain direction and use a subtle distance value. This reinforces the sense of falling motion.
Apply Light Rays for Drama
Install ray brushes or use built-in lighting effects. Create a new layer and change its blend mode to Screen or Linear Dodge.
Set your foreground color to light blue or white. Paint rays emanating from light sources in your scene. Street lights, windows, and the cyborg’s glowing parts make natural ray sources.
Vary ray intensity by adjusting brush opacity. Stronger rays near light sources, fainter ones as they extend. This creates realistic light falloff.
Lower the ray layer’s opacity to around 40-60%. Subtle rays add atmosphere. Overly bright rays look fake. So err on the side of subtlety.
Polish With Camera Raw Filter
The Camera Raw filter provides final color grading and sharpening. Go to Filter > Camera Raw Filter to open it. This works in Photoshop CC and later versions.
Start with basic adjustments. Increase contrast slightly for punch. Adjust highlights and shadows to balance tones. Reduce highlights if areas are blown out. Lift shadows if dark regions lose detail.
Move to the color tab. Adjust temperature and tint to establish mood. Cooler blues work for cyberpunk aesthetics. Warmer tones create different vibes. Experiment with the sliders.
Add clarity or texture for definition. Clarity enhances midtone contrast. Texture brings out fine detail. But both can look harsh if overused. Start with small values around +10 to +20.
Apply sharpening in the Detail tab. Amount controls strength. Radius determines affected edge width. Detail controls how much fine detail gets sharpened. Set Amount to 40-60 for starters.
Use color grading for creative color shifts. The color wheels let you add different tones to shadows, midtones, and highlights separately. Try adding blue to shadows and warm tones to highlights for a cinematic look.
Final Refinements Matter Most
Step back and review your composition. Does the eye flow naturally through the scene? Does the cyborg integrate convincingly with the background?
Check for consistency in lighting direction. All elements should respect the same light sources. Shadows should fall in matching directions. Highlights should appear on corresponding sides.
Look for edge quality around your cyborg and other elements. Hard edges look cut out. Use layer masks with soft brushes to blend transitions. Sometimes lowering edge layer opacity by 5-10% helps integration.
Save your working file as a PSD to preserve layers. Then flatten and export as JPEG or PNG for sharing. Keep that layered version for future edits. You’ll thank yourself later.
This technique extends beyond cyborgs. Use the same approach for any composite that combines characters with atmospheric backgrounds. The principles of layering, blending, and lighting remain constant.
Practice matters more than perfection. Your first attempt might not match pro work. But each project builds skills. So keep experimenting with different images, blend modes, and adjustment layers.