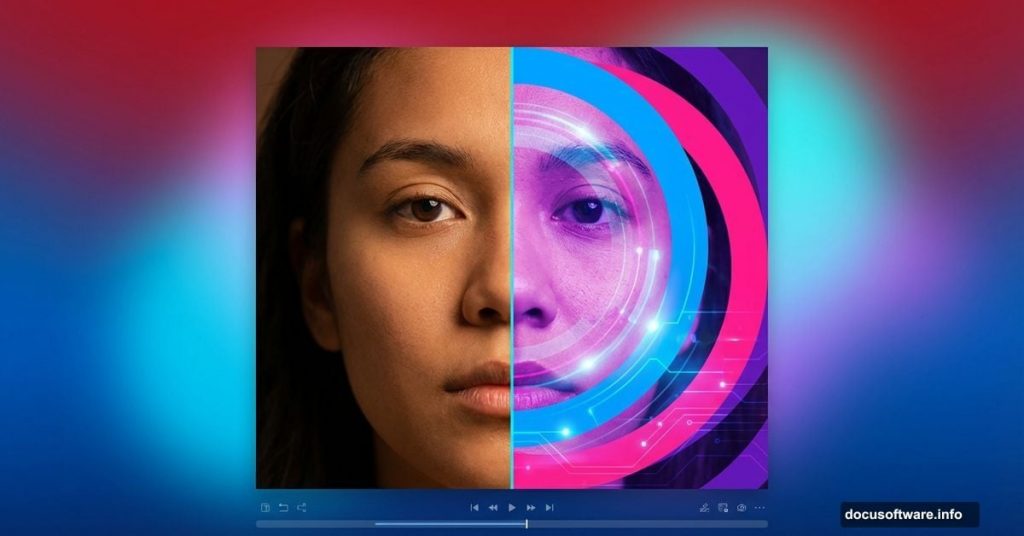
Want to transform a simple portrait into stunning digital art? This technique combines modern geometric shapes with vibrant lighting effects to create eye-catching results.
You’ll learn how to build dynamic backgrounds, work with abstract elements, and enhance your portraits with professional color grading. Plus, the process is more straightforward than it looks.
Set Up Your Canvas and Base Gradient
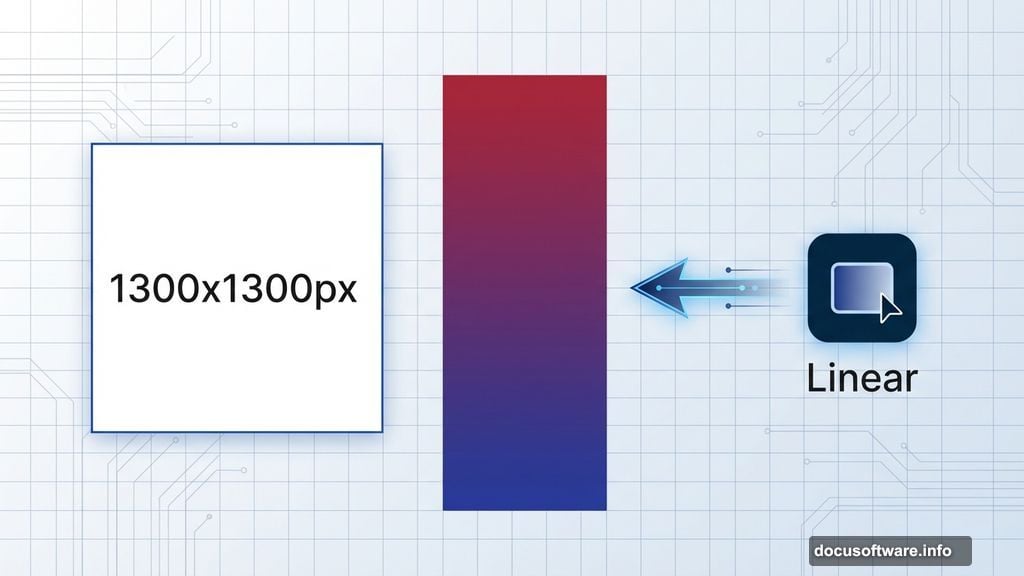
Start by creating a 1300×1300 pixel document in Photoshop. Fill it with white as your foundation.
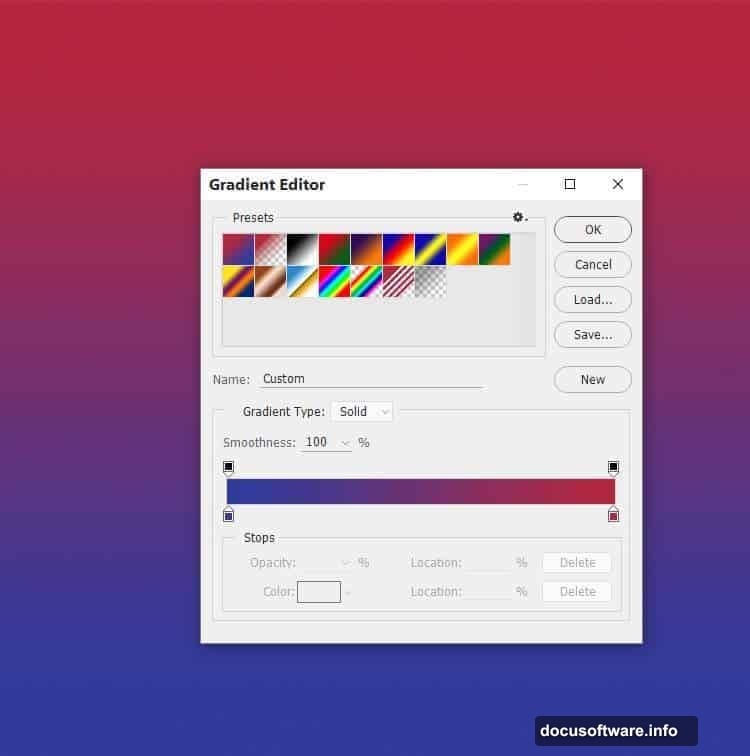
Hit Ctrl+Shift+N for a new layer. Then press G to activate the Gradient Tool. Select Linear Gradient and choose two colors: #b62741 (deep red) and #2e3b9f (rich blue).
Drag from top to bottom across your canvas. This creates a vibrant gradient that forms your background base. The color transition should flow smoothly between the warm and cool tones.
Build Depth with Layered Shadows
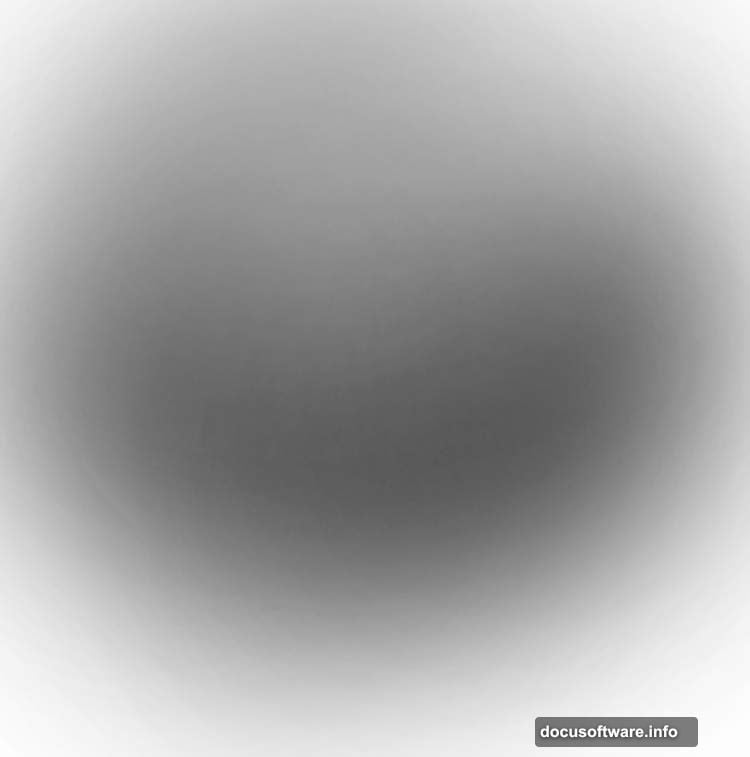
Create another new layer and fill it completely with black. Now click the mask icon at the bottom of your Layers panel.
Grab a soft round brush set to 10% opacity with black selected. Paint on the middle section of your canvas. This technique creates a subtle vignette effect that draws attention to the center.
The low opacity lets you build up the effect gradually. So you maintain complete control over how dark the edges become.
Add Color Lighting Effects
Make a fresh layer and switch to a soft brush with color #6db1bd (soft cyan). Paint across the middle of your canvas with broad strokes.
Change this layer’s blend mode to Hard Light at 100%. This creates a glowing effect that adds dimension to your background.
Next, create another layer and paint around the canvas edges using color #885ca9 (purple). Set this layer to Color mode at 50% opacity. Then add a layer mask and use a soft black brush at 10-15% opacity to remove the color effect from the center area.
This step creates beautiful color gradients that frame your subject. Moreover, the masking technique keeps your focal point clear and vibrant.
Create Geometric Circle Elements
Now for the fun part. Create a new layer and press U to activate the Custom Shape Tool.
Select Circle Frame from the shape options. Pick color #63a1ec (bright blue) and draw a circular shape in the middle of your canvas.
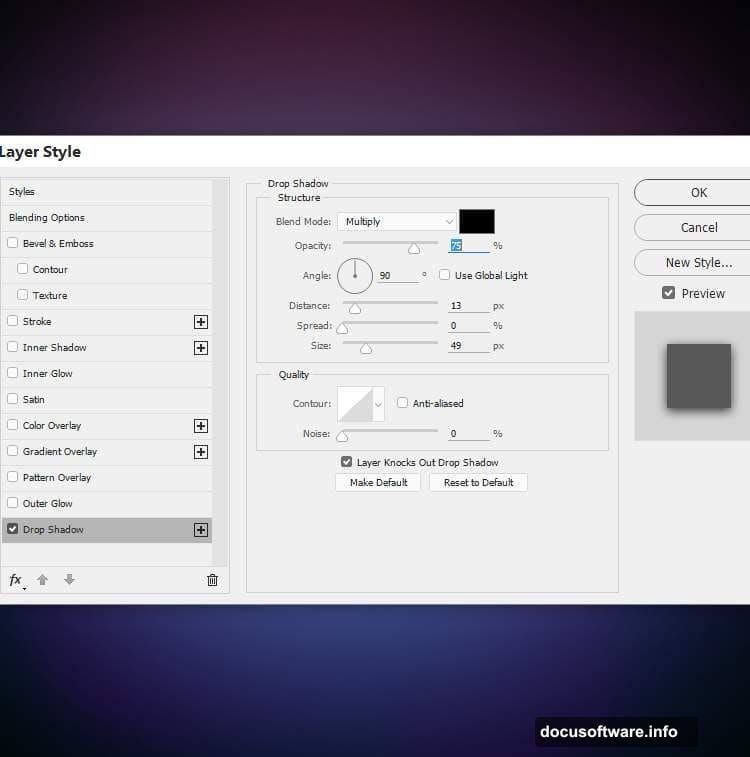
Double-click the layer to open Layer Styles. Choose Drop Shadow and set the shadow color to black. This adds depth to your geometric element.
Layer Multiple Circles for Visual Interest
Duplicate your circle layer. Change the color to #360955 (deep purple). Right-click and choose Clear Layer Style to remove the shadow.
Use the Move Tool (V) to shift it slightly left. Then change the blend mode to Overlay at 50%. This creates a translucent effect that blends beautifully with your background.
Duplicate this shape again and change the color to #ec63bd (hot pink). Move it to the right of your first circle. Set the blend mode to Overlay at 30%.
Add a mask to this pink circle. Use a soft black brush at 20% opacity to erase the left edge. This creates a smooth transition between overlapping circles.
Add Final Circle Accents
Duplicate the pink circle layer one more time. Move it slightly left and change the color to #ec6663 (coral red).
The overlapping circles create a dynamic, modern look. Each circle adds another layer of visual interest without overwhelming your composition.
You can adjust the blend modes to show more or less of the original colors. Experiment with different opacities until you find the perfect balance.
Integrate Your Portrait Subject
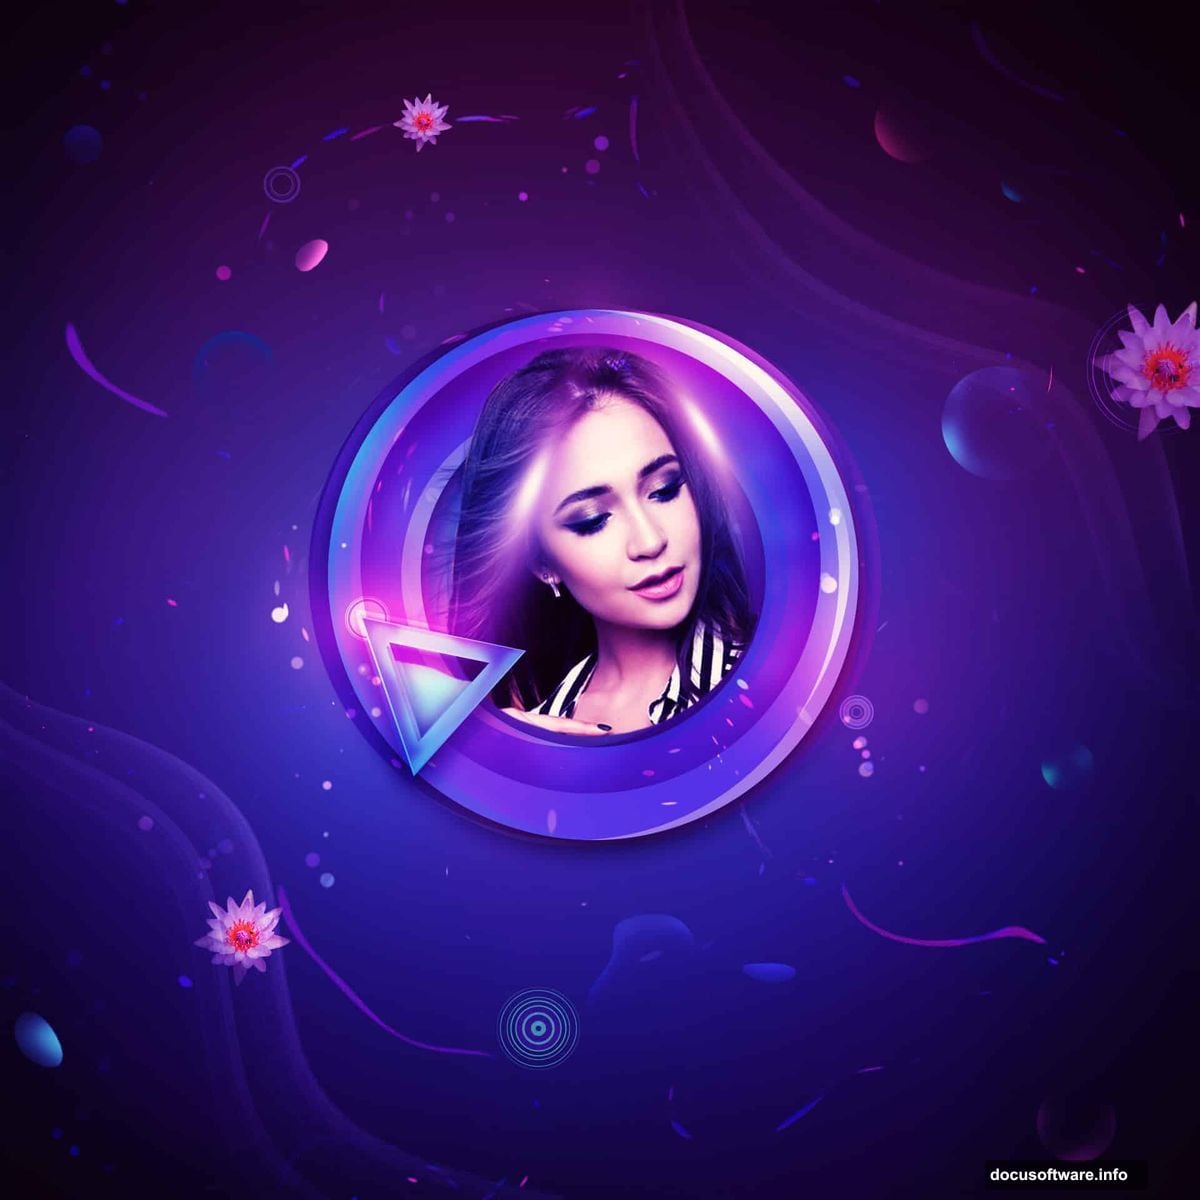
This background setup creates the perfect foundation for your portrait. The geometric circles add modern flair while the color gradients provide depth and atmosphere.
When you add your portrait subject, position them within or slightly overlapping the circle elements. The geometric shapes will frame your subject naturally.
Use layer masks to blend the portrait edges smoothly into the background. This creates cohesion between your subject and the abstract elements.
Fine-Tune Your Color Balance
Once your portrait is in place, create adjustment layers to refine the overall look. Curves adjustments help enhance contrast and make colors pop.
Color Balance layers let you push the warm or cool tones to match your vision. Hue/Saturation adjustments can intensify specific colors without affecting the entire image.
The key is making subtle adjustments. Small changes accumulate to create professional results without looking overdone.
Master the Blend Mode Strategy
Understanding blend modes transforms how your circles interact with the background. Overlay mode works great for translucent effects that maintain color vibrancy.
Color mode preserves the underlying values while changing only the hue. Hard Light creates strong, dramatic effects with increased contrast.
Experiment with different modes on duplicate layers. You can always delete versions that don’t work. This trial-and-error approach helps you discover unexpected combinations.
This portrait technique combines simple geometric shapes with strategic color placement. The result looks complex but follows straightforward steps anyone can master.
Start with strong background colors. Add geometric elements thoughtfully. Then blend everything together with smart masking and blend modes. Your portraits will stand out with this modern, artistic approach.