Want to recreate that iconic striped mask effect from The Bourne Legacy movie poster? You’re in the right place.
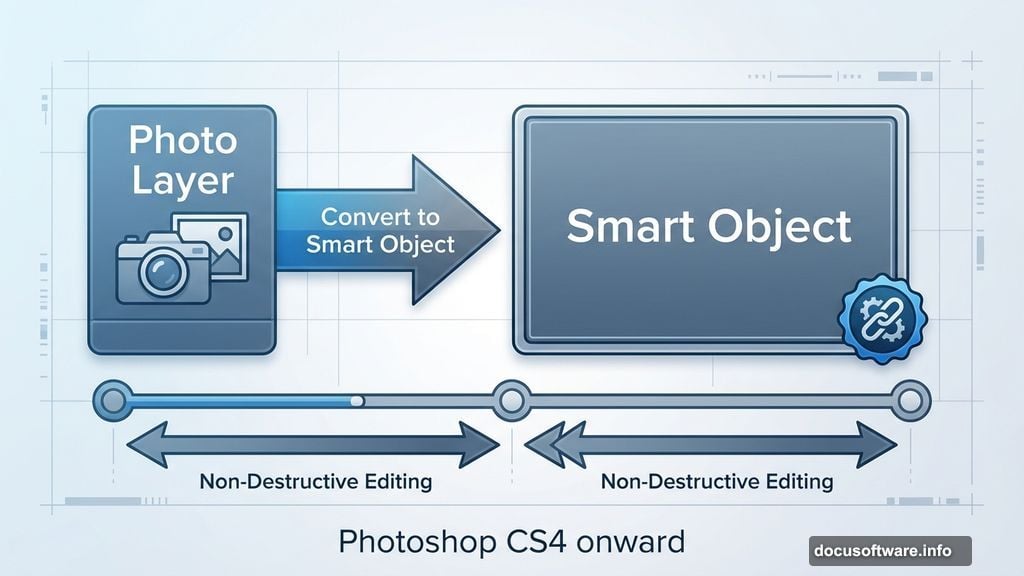
This Photoshop technique works with any version from CS4 onward. Plus, it relies entirely on non-destructive editing. That means you can tweak settings anytime without starting over. Perfect for beginners who want professional results.
What You’ll Need to Get Started
Before diving in, grab these essentials. First, you need Photoshop CS4 or newer. The tutorial works best with CS6, but older versions handle it fine with minor adjustments.
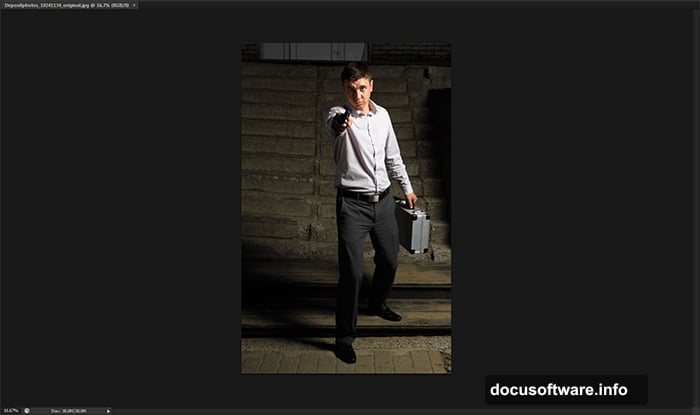
For your base image, choose a dramatic photo. Action shots work best. Think intense expressions, dynamic poses, or urban settings. The example uses a professional photo of someone in a suit, but any portrait with strong contrast works great.
However, don’t stress about finding the perfect stock image. Any high-resolution photo with good lighting will do. Just make sure it’s at least 2000 pixels wide for best results.
Setting Up Your Photoshop Workspace
Start by opening your chosen image in Photoshop. Go to File > Open and select your photo.
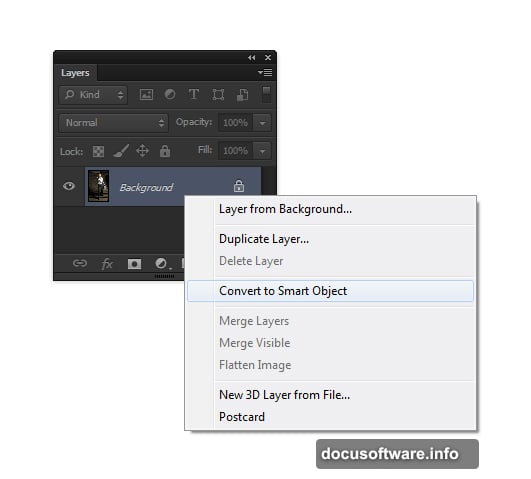
Now comes the smart part. Right-click your image layer and select Convert to Smart Object. This step matters more than you think. Smart Objects let you apply filters and adjustments without permanently changing pixels. So if something looks wrong later, you can always go back and fix it.
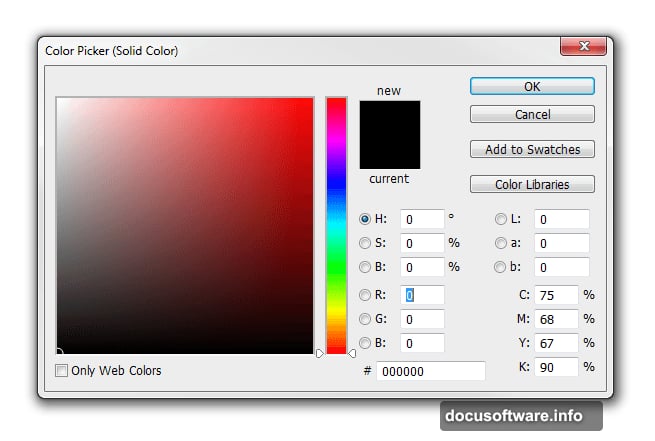
Next, add a black background layer. Navigate to Layer > New Fill Layer > Solid Color. Choose pure black then click OK. In your Layers panel, drag this Color Fill layer below your photo layer.
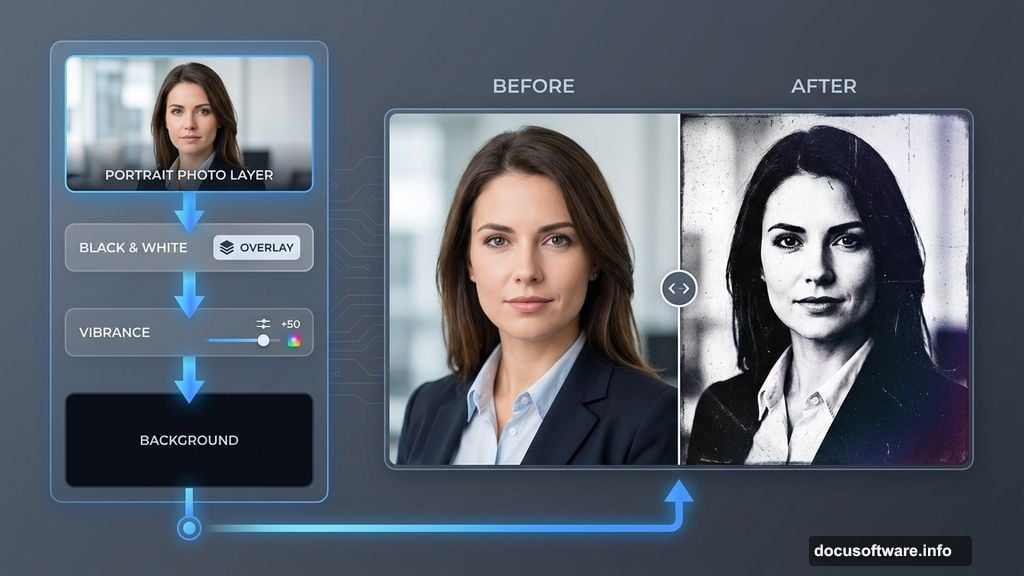
Rename your layers to stay organized. Double-click the layer names and change them to “Photo” and “Background” respectively. Trust me, this saves confusion later.
Creating That Gritty Photo Effect
The Bourne posters have a distinctive grungy look. Here’s how to nail it.
Add a Black & White adjustment layer by going to Layer > New Adjustment Layer > Black & White. But here’s the trick. Change the blending mode of this adjustment layer to Overlay. This creates instant grunge without completely desaturating your image.
Moreover, you can fine-tune the effect in the Properties panel. Adjust individual color sliders to emphasize different tones. Play around until it feels right.
Now add a Vibrance adjustment layer. Go to Layer > New Adjustment Layer > Vibrance. Reduce the Vibrance slider until just a hint of color remains. The goal is subtle color, not full black and white.
Bringing Back Lost Detail
Those adjustment layers add atmosphere. But they also darken shadows and hide detail. Let’s fix that.
Select your Photo layer in the Layers panel. Then go to Image > Adjustments > Shadows/Highlights. This tool rescues detail from dark and bright areas.
Set Shadows to around 35% and Highlights to around 15%. These numbers aren’t magic. Adjust based on your specific image. The key is making sure your subject doesn’t blend into the black background.
So the stripes stay visible later, your photo needs good separation from that black background. If your image still looks too dark, bump the Shadows slider higher.
Building the Stripe Pattern Mask
Now for the signature effect. This is where it gets fun.
Create a new layer above everything. Go to Layer > New > Layer and name it “Stripes.” Fill this layer with white by pressing Shift+F5, selecting white, then clicking OK.
Next, you’ll create the stripe pattern using filters. Go to Filter > Pixelate > Mezzotint. Choose the Medium Strokes option. This creates a random striped texture.
But those stripes probably run the wrong direction. Rotate them by going to Edit > Transform > Rotate 90 Degrees Clockwise. Now your stripes run vertically like the movie poster.
The stripes look too uniform right now. Add some variety by going to Filter > Blur > Motion Blur. Set the angle to 90 degrees and distance to around 10 pixels. This softens the stripes slightly.
Masking Your Subject Through the Stripes
Here’s where the effect comes together. You need to make those stripes reveal your subject underneath.
With your Stripes layer selected, change the blending mode to Multiply. Suddenly, the white stripes disappear and black stripes remain. But they’re covering everything equally. That’s not what we want.
Add a layer mask to your Stripes layer. Click the Add Layer Mask button at the bottom of the Layers panel. Now select the Gradient Tool from the toolbar.
Make sure your foreground color is black and background is white. Then drag a gradient from your subject’s face toward the edges. This gradually fades the stripes, making them strongest around your subject.
You can paint on this mask with a soft black brush to reveal more of your subject. Or paint with white to bring stripes back. That’s the beauty of layer masks – complete control without destroying anything.
Adding Text Like a Movie Poster
Every movie poster needs a title. Here’s how to make text that fits the aesthetic.
Create a new text layer and type your text. Use a bold, sans-serif font for maximum impact. The Bourne posters typically use Impact or similar condensed fonts.
Position your text at the bottom of the poster. Then right-click the text layer and select Blending Options. Add a subtle drop shadow to make the text pop against the background.
For extra polish, reduce the text layer opacity to around 80-90%. This helps it feel integrated with the overall design rather than pasted on top.
Fine-Tuning the Final Look
Almost done. Now you’ll add finishing touches that make it pop.
Consider adding a vignette. Create a new Curves adjustment layer. Pull down the curve to darken the image overall. Then paint with a black brush on the layer mask to reveal the center. This draws eyes toward your subject.
You might also add a slight color tint. Create a Color Balance adjustment layer. Add a tiny bit of blue to shadows and yellow to highlights. This gives that cinematic color grade.
Finally, if something feels off, remember everything is non-destructive. Toggle adjustment layer visibility to see before and after. Adjust layer opacity to dial effects up or down. Change blend modes to experiment with different looks.
Common Problems and Quick Fixes
The stripes look too thick or too thin? Go back to your Stripes layer and reapply the Mezzotint filter. Choose a different stroke option. Fine or Coarse strokes give different densities.
Subject blending too much with background? Add a subtle glow. Create a new layer, paint white around your subject with a soft brush, then blur heavily and reduce opacity. This creates separation.
Colors looking flat? Add another Curves adjustment layer. Create a gentle S-curve by pulling highlights up slightly and shadows down slightly. This adds contrast and makes colors more vibrant.
Text getting lost? Try different font weights or colors. White with a dark stroke often works better than solid black. Experiment with blending modes on your text layer too.
Why This Technique Works So Well
This method succeeds because it builds on fundamentals. Non-destructive editing means you can iterate quickly. Layer masks provide precise control. And Smart Objects let you change your mind anytime.
Moreover, the striped mask effect works for more than just action posters. Try it on band posters, event flyers, or social media graphics. The technique is versatile once you understand the core principles.
The key is understanding what each step does. Then you can adapt the process to your specific needs. Change stripe angles for different moods. Vary mask gradients to highlight different areas. Adjust color treatments to match your brand.
This isn’t just about copying a movie poster. It’s about learning a flexible technique you’ll use repeatedly.
So grab a photo and give it a shot. The hardest part is starting. Once you work through it once, you’ll find dozens of ways to apply these skills.