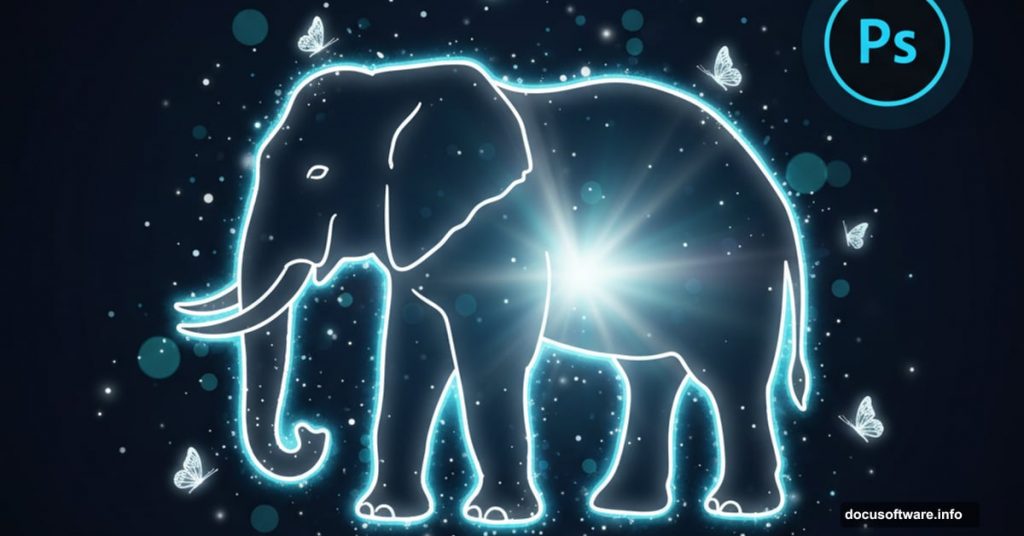
Ever wondered how designers create those magical nighttime scenes with ethereal glowing animals? The kind that make you stop scrolling and stare?
Today we’re building exactly that. A mystical elephant bathed in soft light against a dark backdrop. Plus, you’ll learn adjustment layer techniques that work for any fantasy photo manipulation.
This tutorial takes about 45 minutes. But the skills transfer to dozens of other projects.
What You’ll Need Before Starting
Grab these resources first:
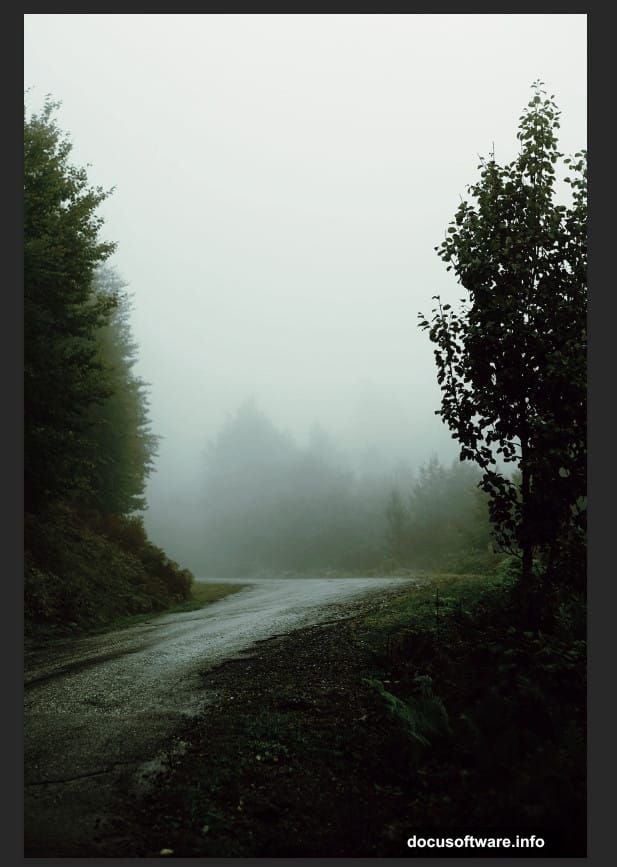
- Background image (nighttime landscape works best)
- Elephant photo with clear edges
- Butterfly brushes for atmosphere
- Bird silhouettes (optional)
- Ivy and leaf assets for foreground depth
Pro tip: High-resolution images make selection easier. So don’t settle for tiny web images if you can avoid it.
Step 1: Set Up Your Canvas Smart
Open your background image in Photoshop. Then right-click the layer and convert it to a Smart Object.
Why Smart Objects? They preserve image quality when you resize or transform. Plus, filters stay editable. That saves hours when clients request changes later.
Common mistake: Skipping Smart Objects seems faster initially. But you’ll regret it when you need to adjust something later and the quality looks terrible.
Step 2: Extract Your Elephant Cleanly
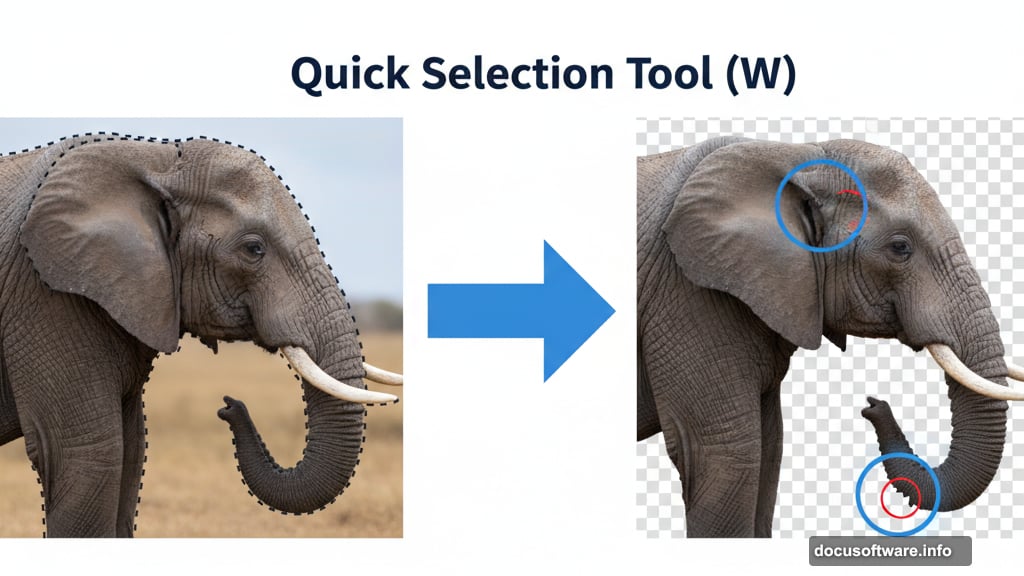
Now open your elephant photo. Select the Quick Selection Tool (W) and start clicking along the edges.
Photoshop’s AI handles most of the work automatically. But zoom in and check problem areas like ears and trunk details. Missing those creates obvious cutout effects that scream “amateur work.”
Once selected, copy (Ctrl/Cmd + C) and paste (Ctrl/Cmd + V) onto your main canvas. Then grab the Transform Tool (Ctrl/Cmd + T) to position and resize.
Hold Alt + Shift while dragging corners. This maintains proportions. In newer Photoshop versions, Alt alone constrains all sides together.
Perfect the Lighting Balance
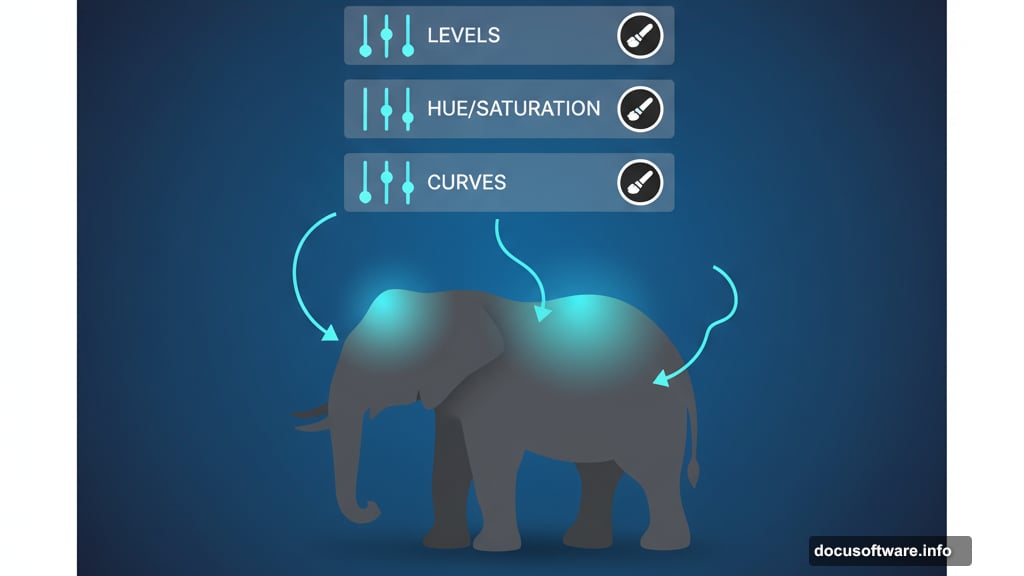
Here’s where magic happens. We’ll stack multiple Curves adjustments to build dimensional lighting.
Initial Tone Correction
Add a Levels adjustment layer first. Clip it to your elephant layer (Alt-click between layers). This ensures adjustments only affect the animal, not your entire scene.
Drag the middle slider slightly left. This brightens midtones without blowing out highlights. Aim for subtle changes. You can always add more later.
Color Harmony Adjustment
Next, add Hue/Saturation. Drop saturation by 15-20%. This removes competing colors and helps the elephant blend with the moody background.
Why this matters: Real objects in dim light lose color saturation. Keeping your elephant too vibrant breaks the illusion immediately.
Build Highlight Glow
Add another Curves layer. But this time, press Ctrl/Cmd + I to invert the mask to black. Nothing visible yet.
Now grab a soft round brush (B) with white foreground color. Paint where light would naturally hit – the elephant’s back, ears, and forehead. This creates that characteristic ethereal glow.
Start with low flow (around 20%). Build up gradually. Heavy-handed painting looks fake fast.
Deepen Shadow Areas
Repeat the previous step, but invert your curve downward instead. Invert the mask again and paint shadows under the belly, behind legs, and on the side away from your light source.
This contrast between highlights and shadows creates three-dimensional form. Without it, your elephant looks flat and pasted on.
Create Convincing Ground Shadows
Shadows sell realism harder than almost anything else. So let’s build believable ones.
Duplicate your elephant layer (Ctrl/Cmd + J) and move it below the original. Press Ctrl/Cmd + U to open Hue/Saturation. Slide Lightness all the way to -100.
Now you have a solid black silhouette. Open Transform (Ctrl/Cmd + T) and flip it vertical. Hold Ctrl/Cmd and drag the bottom corners to create perspective distortion.
The shadow should stretch away from the elephant’s feet. Think about where your light source sits and how that affects shadow direction.
Soften Shadow Edges
Go to Filter > Blur > Gaussian Blur. Set radius around 5 pixels. Real shadows have soft edges, especially under diffused nighttime lighting.
Drop layer opacity to 35%. Shadows shouldn’t compete with your main subject. They exist to ground the object, not dominate it.
Add Contact Shadow
Create a new layer. Grab your soft brush again with black foreground. Lower flow to 10%.
Paint directly under the elephant’s feet where it touches ground. This “contact shadow” is darker and sharper than the main shadow. It’s tiny but crucial for making the elephant feel planted, not floating.
Layer in Atmospheric Elements
Now we add depth with environmental details.
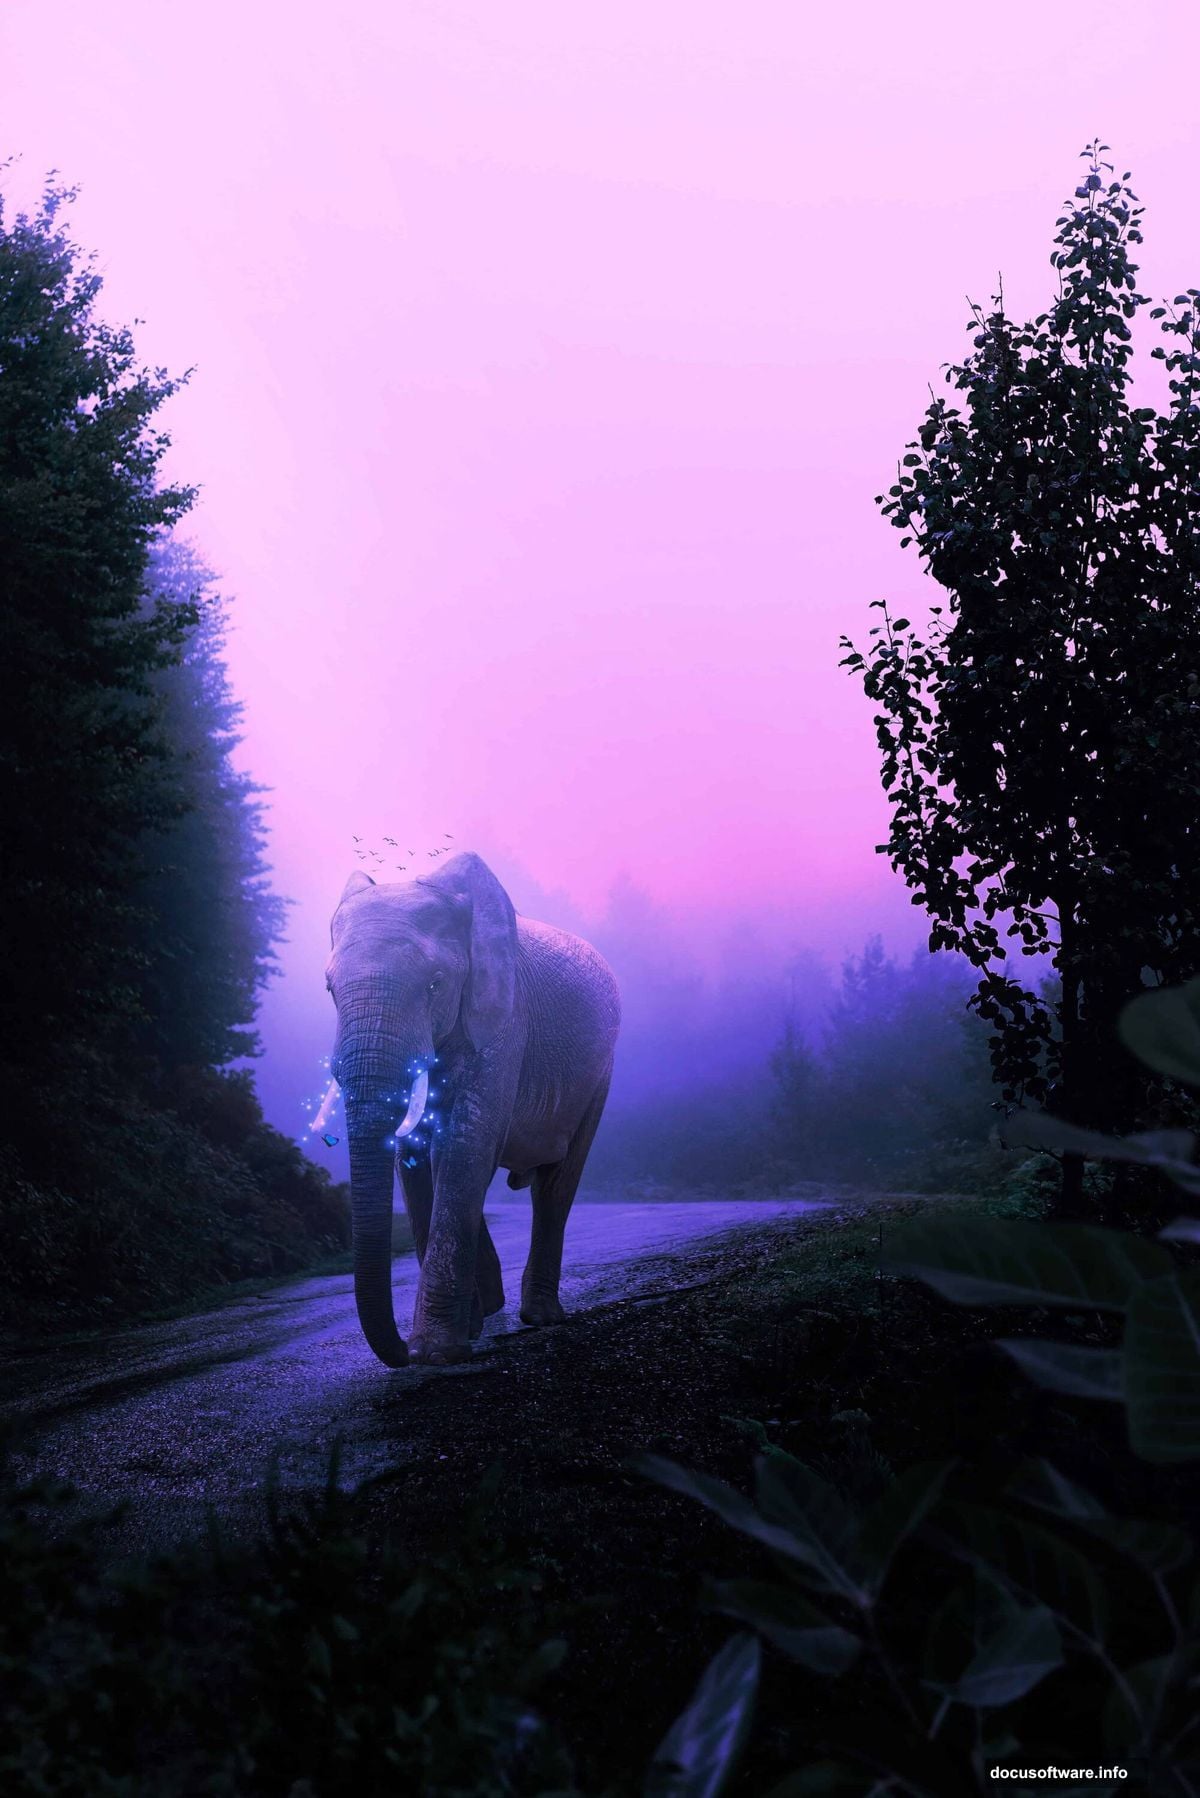
Open your butterfly brushes. Create a new layer and scatter a few butterflies around the elephant. Vary sizes – smaller ones appear farther away.
Color tip: Sample colors from your background and use those for butterflies. This creates color harmony that ties everything together.
Add birds in the distance if you want. Keep them small and slightly blurred to push them back in space. Remember: atmospheric perspective makes distant objects less sharp and lower contrast.
Build Foreground Depth
Import your ivy and leaf assets. Position them in the bottom corners and along edges.
These elements frame your composition and add depth layers. But keep them dark – almost silhouettes. You don’t want foreground details stealing focus from your glowing elephant.
Apply a slight Gaussian Blur to foreground elements. This mimics depth of field and keeps attention on your main subject.
Final Polish With Camera Raw
Here’s the secret sauce that elevates everything. Go to Filter > Camera Raw Filter.
Increase clarity by 15-20 points. This adds midtone contrast and makes details pop without oversharping.
Add a touch of dehaze to strengthen atmosphere. But don’t overdo it – too much kills the moody vibe you’ve built.
Warm up color temperature slightly. Shift it maybe 200-300 points toward yellow. This creates that magical golden hour feeling even in nighttime scenes.
Finally, add vignetting. Drop exposure in corners by 0.5-1 stop. This naturally draws eyes toward your bright elephant in the center.
Common Problems and Quick Fixes
Edge halos: If you see bright outlines around your elephant, your selection needs refinement. Use Select and Mask (Alt/Opt + Ctrl/Cmd + R) and adjust Edge detection.
Flat lighting: Not enough contrast between highlights and shadows. Go back and strengthen your Curves adjustments. Be bolder.
Color mismatch: Elephant doesn’t match the scene’s color palette. Add a Color Balance adjustment and shift toward cooler or warmer tones to match your background.
Floating appearance: Shadow isn’t convincing. Revisit shadow placement and make sure it connects properly to the elephant’s feet.
Why This Technique Matters
These aren’t just tricks for fantasy art. Understanding light behavior, shadow construction, and atmospheric effects transfers to every type of photo editing.
Product photography needs convincing shadows. Portrait retouching requires dimensional lighting. Composite work lives or dies on these fundamentals.
So master the basics here. Then apply them everywhere.
The glowing effect itself works for any subject – mystical animals, fantasy portraits, dramatic product shots. Change the subject and color palette. But the technique stays the same.
Practice this a few times with different animals or objects. You’ll develop instincts for where highlights and shadows should fall. That intuition becomes invaluable for all future projects.
