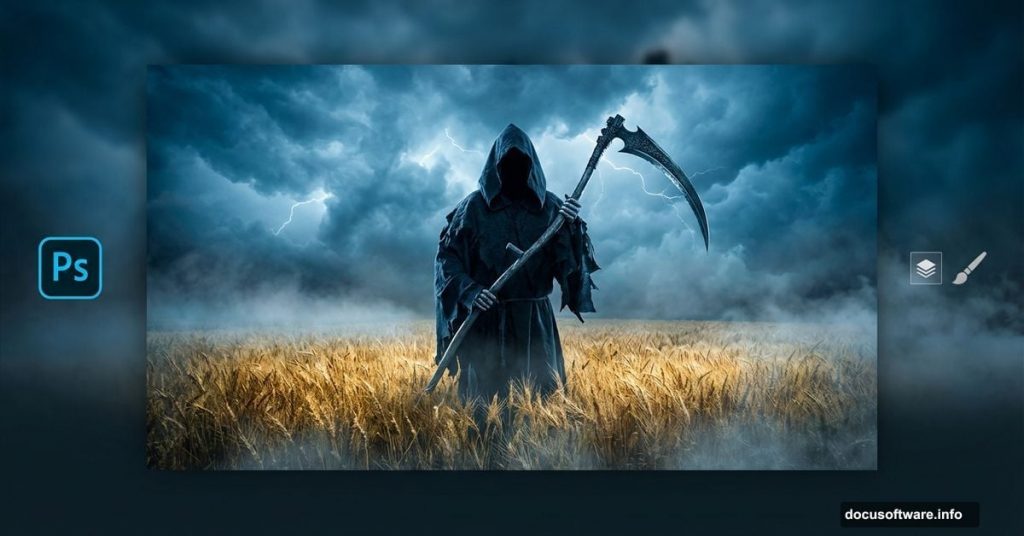
Ever wanted to create a chilling photo manipulation that makes people do a double-take? This Grim Reaper composition turns death’s harbinger into an unlikely gardener. Plus, it’s simpler than you think.
This tutorial walks you through combining multiple images, warping elements into your scene, and applying a haunting blue color effect. No advanced skills required. Just follow along and you’ll nail this atmospheric piece.
What You’ll Need Before Starting
Grab these free resources before diving in:
- Straw field image from Bergadder on Pixabay
- Cloud photo from lancealot21us on Pixabay
- Grim Reaper figure from mjranum on DeviantArt
- Scythe image from mynoahsart on DeviantArt
Download everything first. That way you won’t lose momentum hunting for files mid-tutorial.
Setting Up Your Canvas
Open the straw field image in Photoshop first. This becomes your base layer.
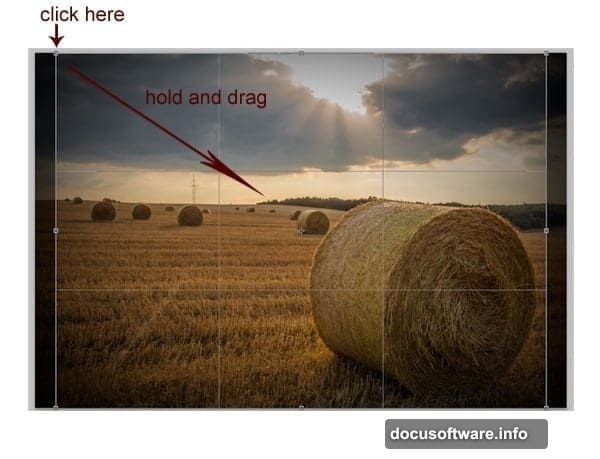
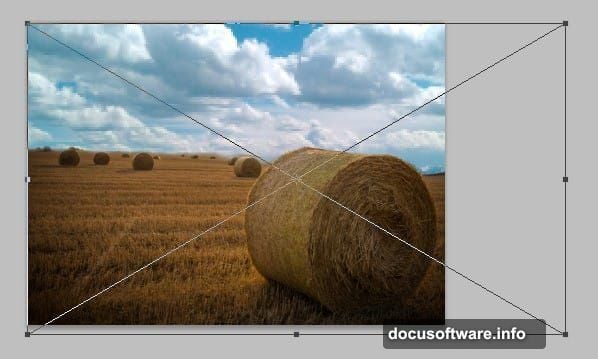
Hit C on your keyboard to grab the Crop tool. Click and drag from the upper left corner down to the lower right. This tightens your composition and removes unnecessary edges.
Press Enter to apply the crop. Your canvas should now focus on the field itself without excess sky.
Masking Out the Sky
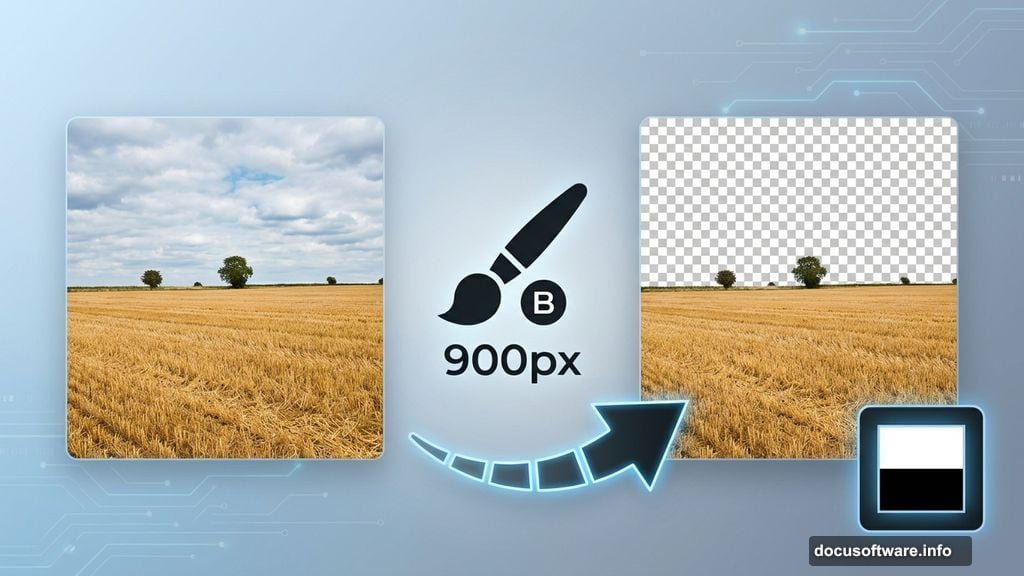
Time to hide that original sky. Click the Layer Mask icon at the bottom of your Layers panel. A white thumbnail appears next to your layer.
Now grab your Brush tool by pressing B. Set it to Soft Round with 0% hardness and roughly 900 pixels in size. Make sure your foreground color is black.
Paint over the sky area with black. The mask hides everything you paint, revealing the transparent background underneath. Don’t worry about perfection here. Rough edges actually add atmosphere.
Here’s a quick tip: Double-click your Background layer to convert it into a regular layer. Name it something like “BG” so you can work with it freely.
Adding Dramatic Clouds
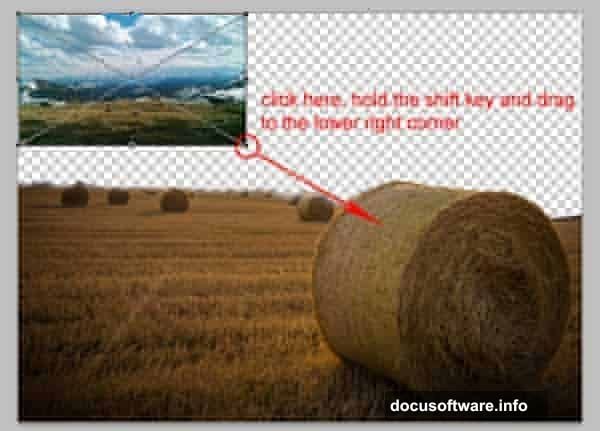
Open your cloud image. It appears as a new layer above your BG layer automatically.
Drag this cloud layer below your BG layer in the Layers panel. Just click, hold, and pull it down until it slots underneath.
Press Ctrl+T to activate Free Transform. Click one of the corner handles and drag outward until the clouds fill your blank canvas space. The clouds should peek through wherever you masked the original sky.
Scale it larger than you think you need. Oversized clouds create better depth and atmosphere.
Softening the Cloud Texture
With your cloud layer still selected, navigate to Filter > Blur > Surface Blur. This smooths harsh textures while preserving cloud edges.
Set your Radius to around 40 pixels and Threshold to 40 levels. These values blend the clouds naturally without turning them into mush.
Surface Blur works better than Gaussian Blur here because it maintains defined cloud shapes. You want dreamy, not blurry.
Bringing in the Grim Reaper
Open your Grim Reaper image. This layer goes above your BG layer.
Use the Quick Selection tool (press W) to select just the figure. Click and drag across the Reaper to select him. If you grab too much, hold Alt and click to subtract from your selection.
Once selected, click the Layer Mask icon. This isolates your Reaper from his original background.
Position him in your scene using Free Transform (Ctrl+T). Scale him down until he looks like he’s standing naturally in the field. Remember: objects farther away appear smaller.
Warping the Reaper Into Position
With your Reaper layer selected, go to Edit > Transform > Warp. A grid appears over your image with control points.
Click and drag these points to bend the Reaper’s body. Match the natural perspective of your field. His feet should align with the ground plane.
This warping technique makes separate elements feel like they belong together. Take your time here. Small adjustments make huge differences.
Adding the Scythe
Open your scythe image. Repeat the same selection and masking process you used for the Reaper.
Position the scythe in the Reaper’s hand using Free Transform. Rotate it by hovering near a corner until you see the rotation cursor, then drag.
The scythe should look like he’s gripping it naturally. Angle matters here. Study how people hold long tools for reference.
Creating Clipping Masks for Color Matching
Right-click your Reaper layer and choose “Create Clipping Mask.” This links adjustment layers directly to your Reaper without affecting other elements.
Add a Curves adjustment layer (Layer > New Adjustment Layer > Curves). Because it’s clipped, it only affects the Reaper.

Pull down the middle of the curve slightly to darken him. This matches the moody lighting of your field.
A clipping mask lets you adjust one element without wrecking your entire composition. It’s essential for photo manipulation work.
Applying the Cold Blue Effect
Create a new Color Lookup adjustment layer above everything. Go to Layer > New Adjustment Layer > Color Lookup.
In the properties panel, choose a preset like “Moonlight” or “Teal Orange Plus Contrast.” These presets instantly shift your entire color palette toward cold, eerie tones.
The blue cast eliminates mismatched colors between your source images. Everything harmonizes under this single color treatment.
Play with opacity if the effect feels too strong. Drop it to 70-80% for subtlety.
Fine-Tuning with Hue and Saturation
Add a Hue/Saturation adjustment layer. Lower the Saturation slider to around -20 or -30.
Desaturating slightly enhances that cold, lifeless atmosphere. Too much color feels cheerful. We want unsettling.
You can also shift the Hue slider a few degrees toward cyan. This reinforces the blue/green cast without looking artificial.
Adding Atmospheric Fog
Create a new layer above everything. Name it “Fog.”
Grab a large, soft brush with white as your foreground color. Set opacity to around 20%.
Paint gentle strokes across the lower third of your image. This ground fog adds depth and mystery.
Lower the layer opacity if your fog looks too obvious. Aim for subtle atmospheric haze, not heavy smoke.
Sharpening the Final Image
Flatten your image by going to Layer > Flatten Image. This merges everything into one layer.
Go to Filter > Sharpen > Unsharp Mask. Set Amount to around 80%, Radius to 1.5 pixels, and Threshold to 0.
This brings back crisp details that adjustment layers sometimes soften. Your final image should pop without looking over-sharpened.
Why This Technique Works So Well
The cold blue color grade does most of the heavy lifting here. Instead of painstakingly matching colors between five different source images, one adjustment layer unifies everything.
Plus, warping tools let you bend reality. Your Reaper doesn’t need perfect perspective in his original photo because you reshape him to fit your scene.
This workflow applies to any photo manipulation project. Master these basics and you’ll composite anything convincingly.
Start with high-quality source images. Spend time on your masks. Let color grading handle the rest. Before you know it, you’re creating scenes that look professionally rendered.