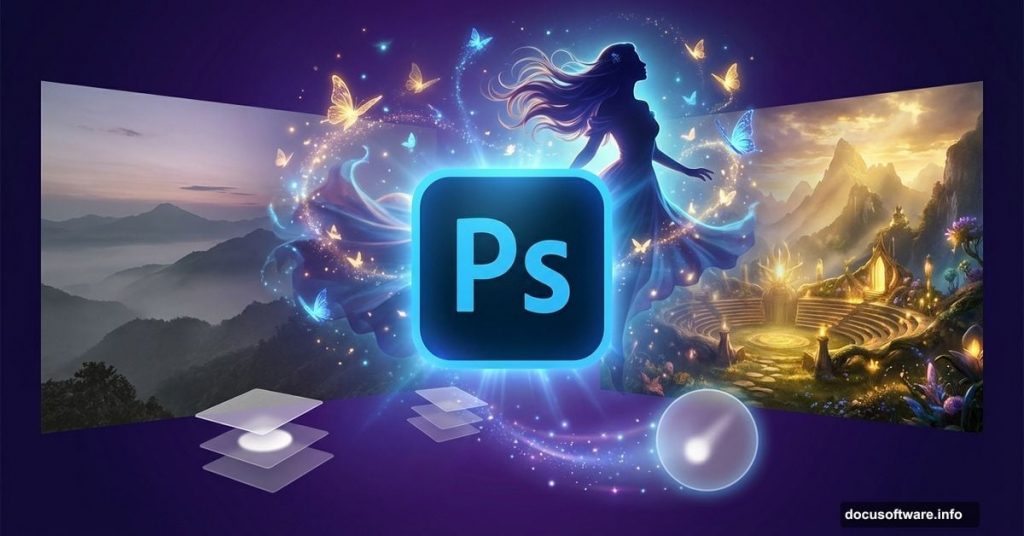
Creating fantasy artwork doesn’t require magic. Just Photoshop, patience, and the right techniques.
This tutorial walks you through building a surreal enchantress scene from scratch. You’ll blend landscapes into otherworldly amphitheaters, add mystical creatures, and polish everything with dramatic lighting. Plus, the techniques work for any fantasy manipulation you dream up.
Let’s break down how to transform ordinary stock photos into extraordinary digital art.
What You’ll Actually Learn
Photo manipulation looks intimidating. But it’s really just layers, masks, and smart blending.
Throughout this guide, you’ll master several core skills. First, landscape blending creates believable fantasy environments. Then character integration makes your subject look naturally placed in the scene. Finally, atmospheric effects add that professional polish.
These same techniques apply whether you’re building fantasy worlds or simpler composites. So the skills transfer beyond this single project.
Gather Your Resources First
Nothing kills creative momentum like hunting for files mid-project. Download everything before starting.
You’ll need landscape photos for the background. Stock images of models provide your enchantress. Then mystical elements like butterflies, smoke brushes, and celestial objects complete the scene.
Most resources come from free stock sites. But organize them in a dedicated folder. That way you’re not scrambling when the tutorial calls for a specific image.
Build Your Foundation Landscape
Every great manipulation starts with a solid base. The landscape sets your entire mood and composition.
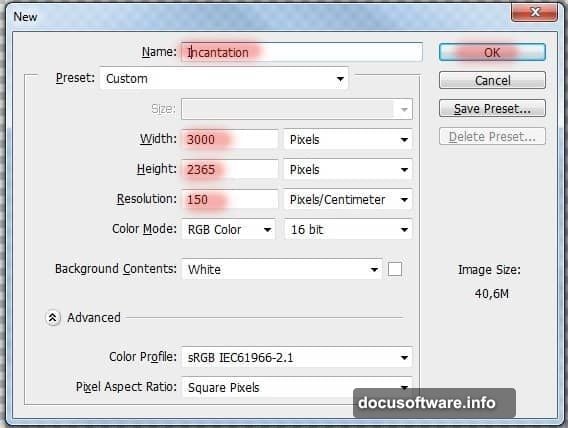
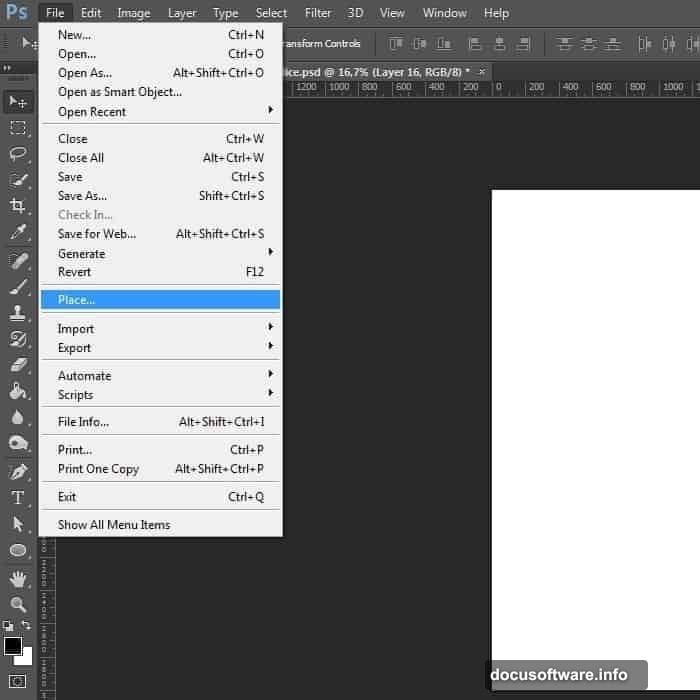
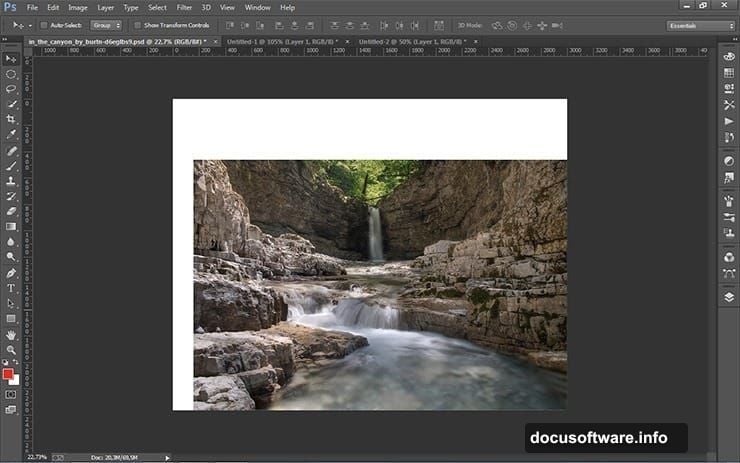
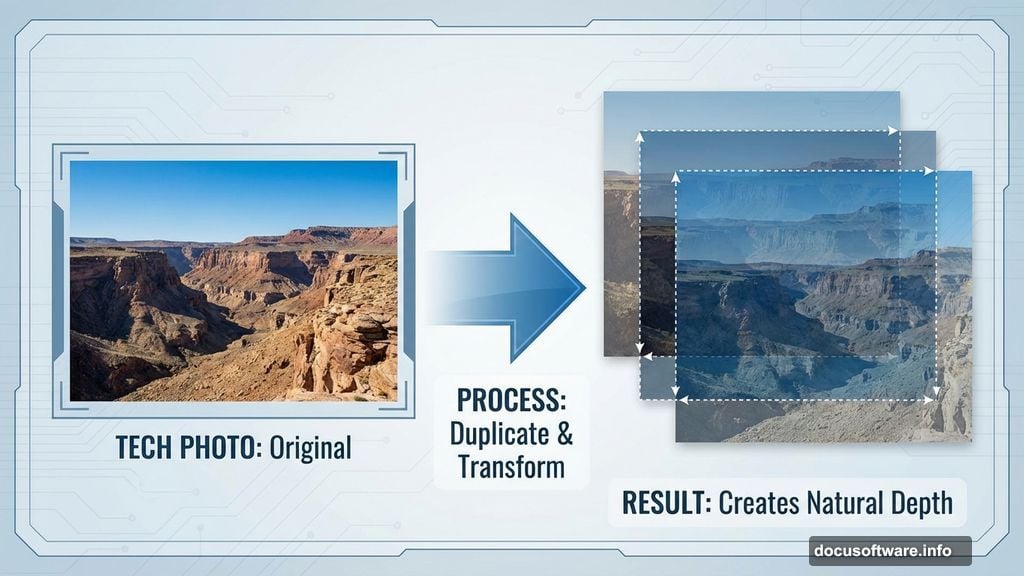
Create a new 3000×2365 pixel document in Photoshop. Then place your canyon landscape image in the lower right corner. Don’t resize it yet.
Now duplicate that landscape layer twice. Transform the first copy slightly larger than your canvas. Place the second copy to the left, also scaled up.
Why the duplication? Single stretched landscapes look fake and distorted. But overlapping multiple copies creates natural depth. Plus, it gives you more raw material for blending.
Shape Your Magical Amphitheater
Time to sculpt those landscape copies into something special. Layer masks make this possible without destroying your originals.
Add a mask to your first landscape copy. Then grab a soft brush and paint black on the mask where you want underlying layers to show through. This gradually reveals the base landscape beneath.
Repeat with your second landscape copy. Paint away edges and blend the layers together. The goal is creating one cohesive scene that looks like a natural amphitheater formation.
This takes experimentation. But that’s the beauty of masks—you can always paint back areas you removed. So don’t fear making mistakes.
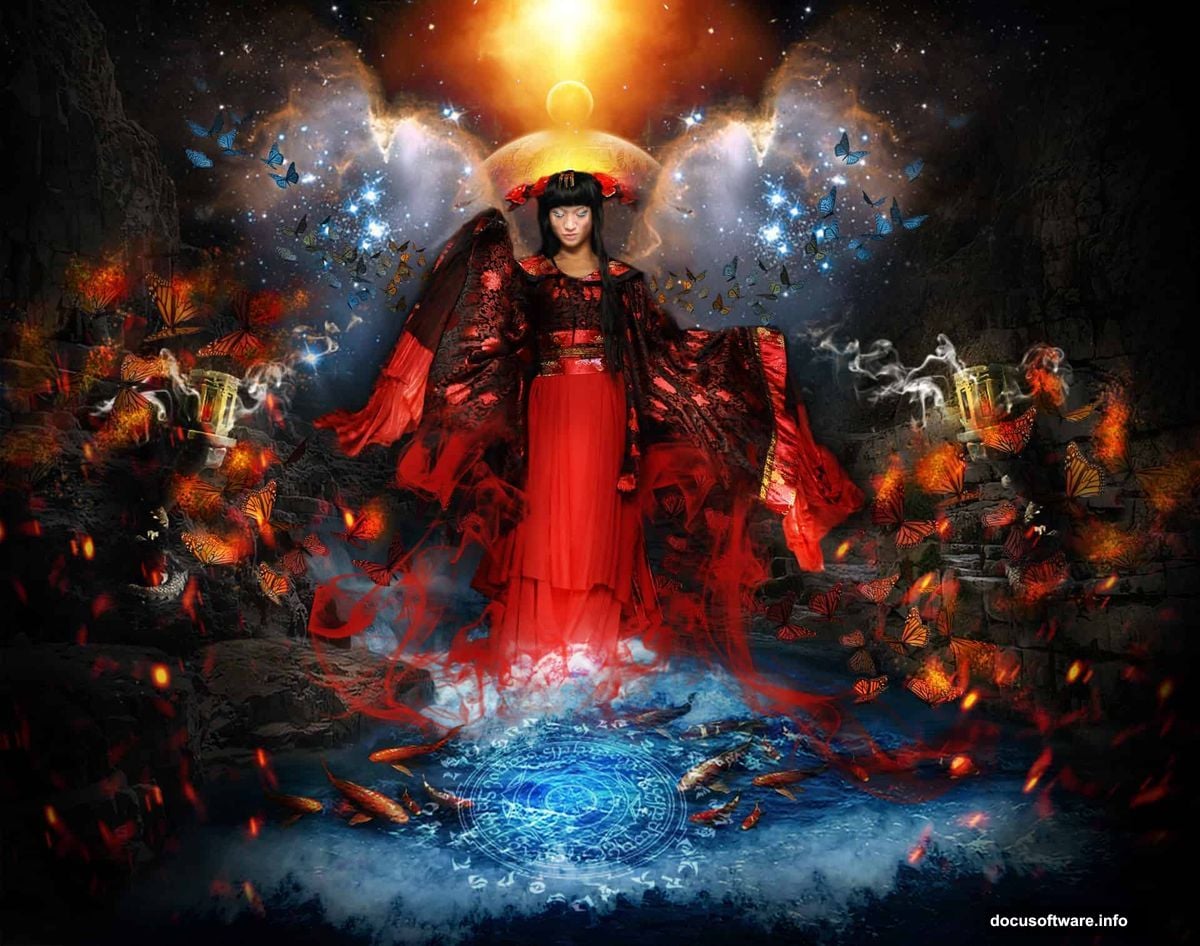
Add Your Enchantress
The landscape provides atmosphere. But characters bring stories to life.
Place your model image into the scene. Position her where she feels naturally part of the environment, not slapped on top. Scale appropriately so proportions match the landscape depth.
Now comes the critical part—matching lighting and color. If your model has warm tones but the landscape runs cool, the composite falls apart. Use adjustment layers to harmonize colors between elements.
Also refine edges with a soft brush on the layer mask. Hard cutout edges scream “fake composite.” But subtle edge softness makes subjects feel integrated.
Integrate Mystical Elements
Fantasy scenes need magical touches. Creatures, smoke, celestial bodies—these sell the otherworldly vibe.
Add butterflies around your enchantress. Place them at varying depths for dimensional interest. Some sharp and close, others soft and distant.
Then layer in smoke effects using custom brushes. Smoke adds atmosphere and helps blend disparate elements. Plus, it creates natural shadows and depth cues.
Finally, drop in planets, stars, or mandalas as background interest. Keep these subtle. They should enhance without overwhelming your main subject.
Perfect Your Lighting
Lighting makes or breaks photo manipulations. Inconsistent light sources look obviously fake.
First, identify your main light direction. Then add shadows to every element based on that single source. Paint shadows on separate layers using soft brushes at low opacity.
Next, add highlights. These go on the opposite side from shadows. Use dodge tool or paint white on overlay blend mode layers.
Finally, consider ambient light. Not everything sits in harsh direct light. Some areas need subtle fill light to feel natural.
Polish With Color Grading
Raw composites look disjointed. But unified color grading pulls everything together.
Add a curves adjustment layer affecting all layers below. Adjust the curve to create your desired mood. Cool tones work great for mystical scenes. But warmer grades can also fit depending on your vision.
Then try a gradient map for stylized color effects. These map your image tones to a color gradient, creating instant atmosphere.
Finally, subtle color overlays add cohesion. Create a new layer, fill with a color matching your mood, then reduce opacity to 5-10%. This tints everything toward a single palette.
Add Finishing Atmospheric Effects
Those final touches separate amateur work from professional pieces. Small details make huge differences.
Consider adding subtle light rays through your scene. These guide the eye and add dimensionality. Paint them on separate layers using soft brushes and blend modes.
Sparks or magical particle effects enhance the fantasy vibe. But use restraint. Too many effects create visual chaos.
Finally, sharpen your main subject slightly while keeping background elements softer. This depth-of-field effect mimics real camera focus and draws attention where you want it.
Common Mistakes to Avoid
Even experienced artists make these errors. Learning them now saves frustration later.
Never stretch images disproportionately. This distorts reality and looks immediately wrong. Instead, use multiple copies or find better-fitting source images.
Also, watch your light consistency. If your enchantress has light from the left but landscape shadows fall right, viewers notice instantly. Match light direction across all elements.
Finally, resist over-editing. More effects don’t automatically mean better results. Sometimes simple composites with excellent fundamentals beat complex scenes with poor basics.

Why These Techniques Transfer
This tutorial focuses on one specific scene. But the skills apply universally to photo manipulation.
Mastering layer masks lets you blend any images convincingly. Understanding light and shadow makes every composite believable. Color grading techniques work whether you’re creating fantasy art or realistic edits.
So treat this as learning fundamentals through a fun project. The enchantress scene gives you something beautiful to create. But the real value is skills you’ll use for years.
Take Your Time
One warning before you start—this tutorial isn’t quick. Creating quality photo manipulations requires patience and experimentation.
Don’t expect perfection on your first attempt. Digital art improves through iteration and practice. So work through the tutorial, then try creating your own fantasy scenes.
Each project teaches new lessons. Soon you’ll develop instincts for what works and what doesn’t. That’s when your personal style emerges.
Start creating. The only way to master Photoshop manipulation is by actually doing it.