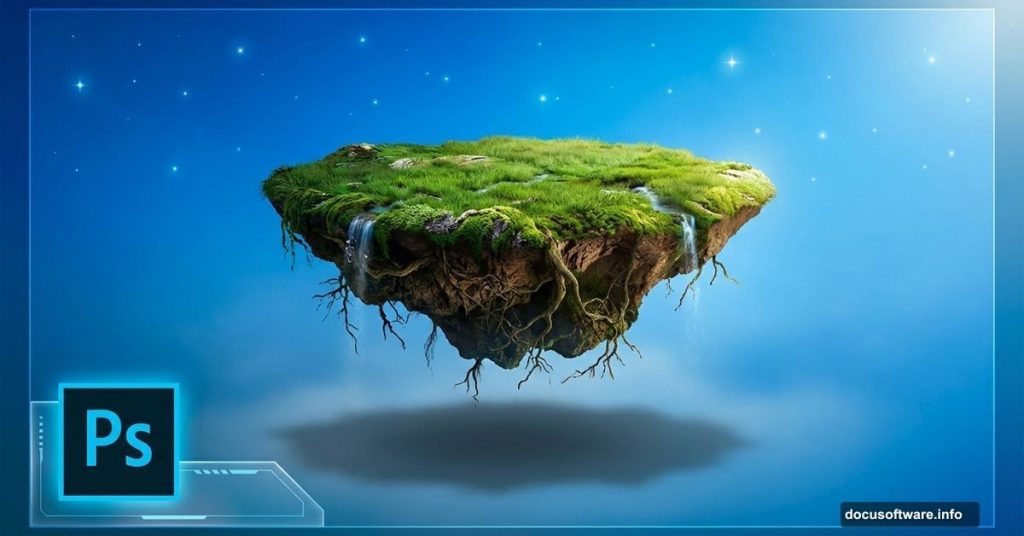
Ever wanted to create surreal floating island scenes that look professionally done? This classic photo manipulation technique combines multiple elements into one believable fantasy landscape.
Plus, you’ll learn smart object workflows that keep your edits non-destructive. That means you can resize and adjust without permanently losing quality. Let’s dive in.
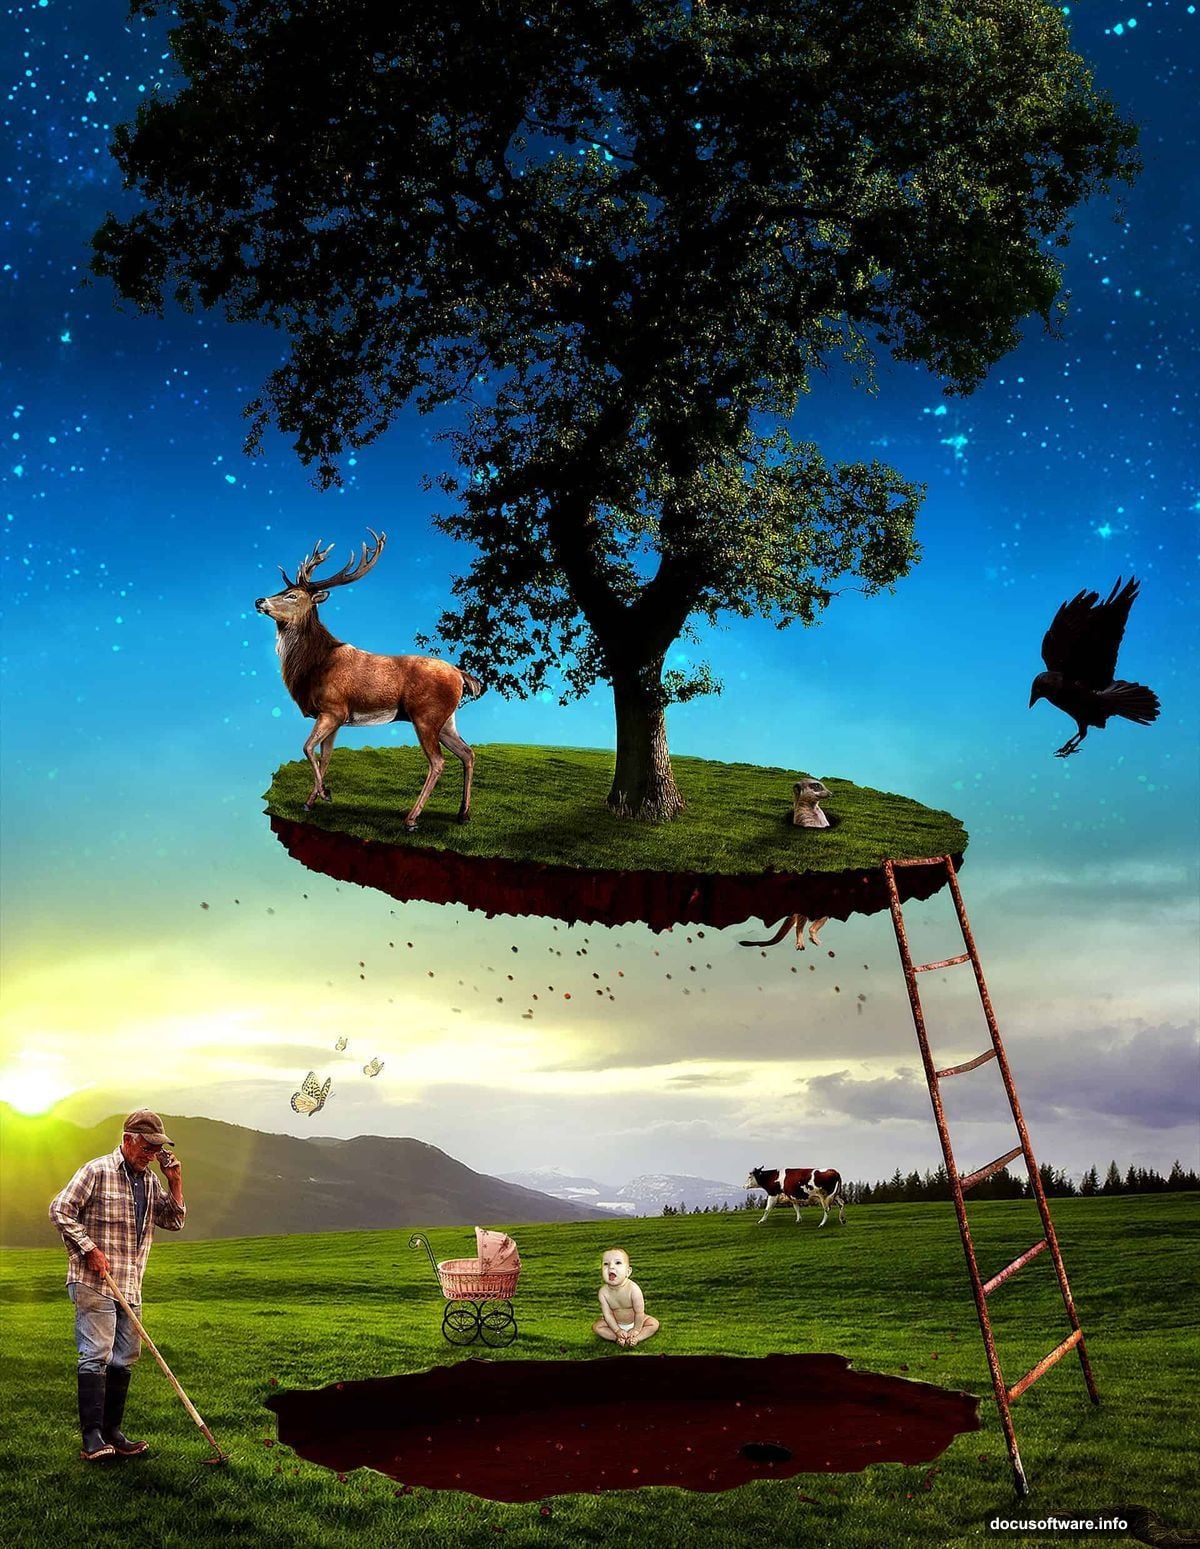
What You’ll Create
This tutorial builds a whimsical floating island scene. Think classic fantasy artwork with unexpected elements mixed in. A grassy island floats in the sky while quirky characters populate the ground below.
The technique works for any floating object scene. Master these fundamentals and you’ll create your own surreal compositions easily.
Before You Start
You’ll need Photoshop CS3 or later. Also, gather your source images first. This tutorial uses stock photos of grass, dirt, trees, animals, and people.
Having everything ready speeds up the process significantly. So download your resources before opening Photoshop.
Build Your Sky Foundation
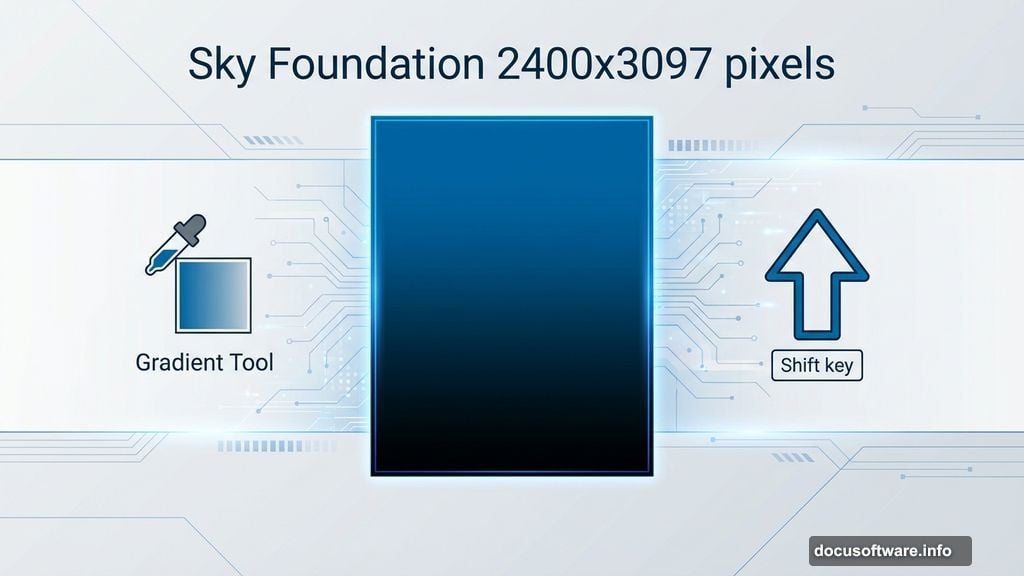
Create a new document at 2400×3097 pixels. That’s large enough for print quality work.
Next, grab the Gradient Tool. Set your foreground color to blue (#0068ae) and background to black. Then drag vertically while holding Shift to create a smooth sky gradient.
This gradient forms your base. Everything else layers on top.
Add Realistic Stars
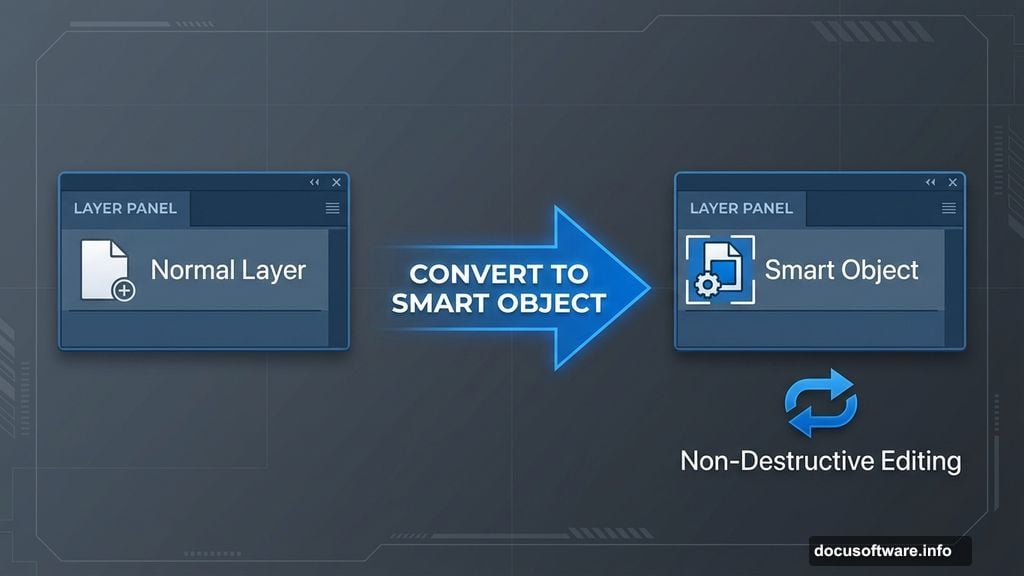
Open your stars image and copy the entire canvas. Paste it into your main document. Now here’s the crucial step: convert this layer to a smart object.
Right-click the layer and choose “Convert To Smart Object.” This preserves all pixel data. You can resize repeatedly without quality loss.
Position your stars using Free Transform (press T). Scale and place them across your sky.
Blend Stars Seamlessly
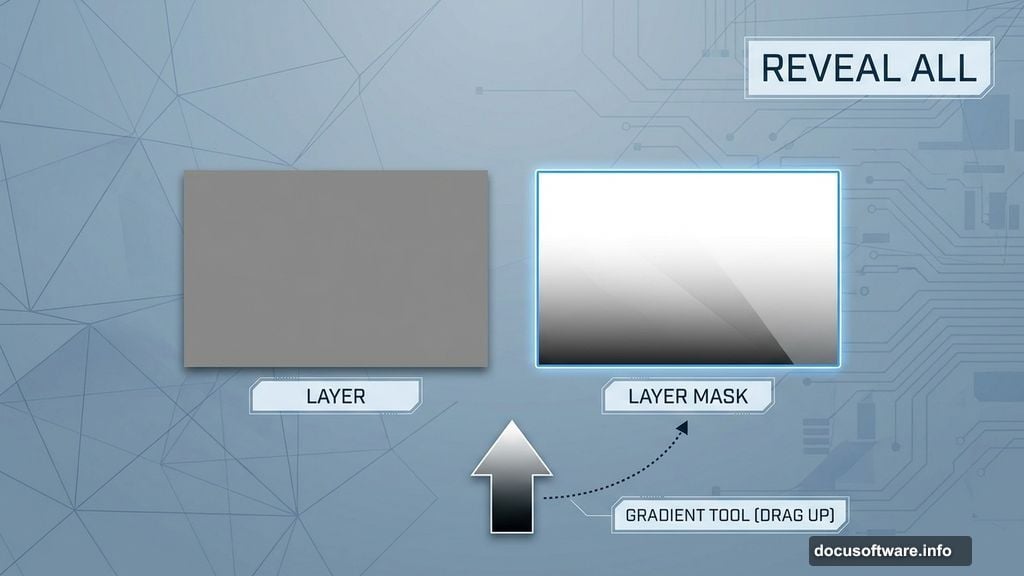
Stars shouldn’t appear uniform across the sky. Add a layer mask to make them fade naturally.

Click Layer > Layer Mask > Reveal All. Then select the Gradient Tool again. Drag from bottom to top on the mask. This fills the lower portion with black, creating a smooth fade.
Finally, change the stars layer blending mode to Color Dodge. The stars now glow realistically against your blue sky.
Brighten Your Scene
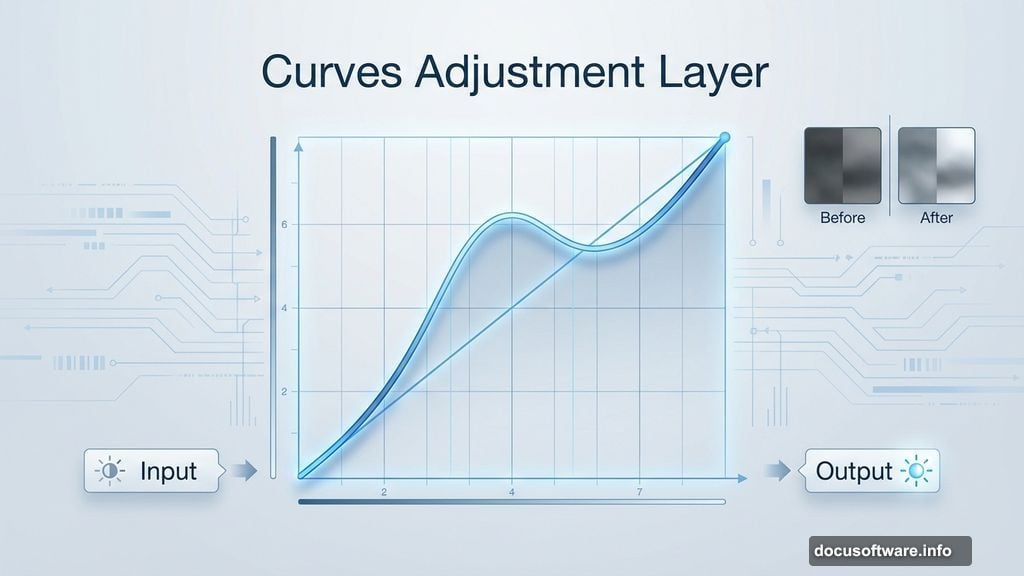
The background needs more punch. Create a Curves Adjustment Layer (Layer > New Adjustment Layer > Curves).
Lift the curve slightly to brighten the overall scene. Don’t overdo it—subtle adjustments look more natural.
Establish Your Ground Plane
Import your grass texture. Copy and paste it into your document. Remember to convert it to a smart object first.
Use Free Transform to position the grass at the bottom of your canvas. This creates your ground plane where characters will stand.
Blend Grass Naturally
Just like the stars, the grass needs smooth blending. Add a layer mask to the grass layer.
Select the Gradient Tool and drag from top to bottom on the mask. The grass now fades seamlessly into your sky background.
No hard edges. No obvious transitions. Just natural blending.
Create the Floating Island
This is where the magic happens. You’ll build an island that appears torn from the ground.
Import your dirt texture and position it carefully. The bottom edge should look rough and natural, like earth that’s been ripped away.
Then add your island grass on top. Make sure the grass edges align with the dirt edges. This sells the illusion that they’re one connected piece.
Add Depth With Shadows
Shadows make or break photo manipulations. Pay attention to your light source direction.
If light comes from the left, all shadows should fall to the right. Consistency matters more than perfection here.
Use soft brushes for shadow layers. Set them to Multiply blending mode at 30-40% opacity. Build shadows gradually rather than painting them dark immediately.
Populate Your Scene
Now the fun part begins. Add your characters and objects one by one.
Start with larger elements like trees and stairs. These establish scale. Then add smaller details like animals and people.
Each element needs its own shadow. Each element needs color correction to match the overall scene lighting.
Match Colors Across Elements
Different stock photos have different color temperatures. Your job is making them look like they belong in the same scene.
Use Hue/Saturation adjustment layers. Clip them to individual elements (Alt-click between layers). This lets you adjust each object’s colors without affecting others.
Aim for consistent color temperature throughout. Warm scenes should have warm elements. Cool scenes need cooler tones.
Add Atmospheric Perspective
Objects farther away appear lighter and less saturated. This atmospheric perspective adds depth.
For distant elements, reduce contrast slightly. Desaturate colors a bit. Add a subtle blue tint if your sky is blue.
These small touches make your scene feel expansive rather than flat.
Fine-Tune Edge Details
Zoom in close and examine every edge. Poor edge quality screams “bad Photoshop job.”
Use layer masks with soft brushes to refine transitions. Sometimes you’ll need to manually paint mask edges for perfect blending.
It’s tedious work. But this attention to detail separates amateur work from professional results.
Balance Your Composition
Step back and evaluate your overall composition. Does your eye move naturally through the scene? Or does it get stuck in one spot?
Adjust element sizes and positions if needed. The floating island should command attention without overwhelming smaller details.
Smart objects make this easy. Just transform them without quality loss.
Polish With Final Adjustments
Create a final Curves adjustment layer at the top of your layer stack. Use this to unify the entire scene tonally.
Small adjustments here have big impact. Lift shadows slightly or add contrast to make everything pop.
Then save your work. You’ve just created a complete floating island scene from scratch.
Why This Technique Matters
Photo manipulation skills transfer across projects. Master floating island scenes and you’ll handle product composites, advertising work, and creative portraits easily.
The principles remain constant. Consistent lighting. Proper shadows. Seamless blending. Color harmony.
Plus, smart objects make experimentation risk-free. Try different arrangements without destroying your original images.
Common Mistakes to Avoid
First, don’t skip the smart object conversion. It seems unnecessary until you need to resize something five times.
Second, watch your shadow directions. Inconsistent lighting destroys believability faster than any other mistake.
Third, don’t over-sharpen edges. Slightly soft edges blend more naturally than razor-sharp cutouts.
Finally, take breaks. Fresh eyes spot problems you’ll miss after staring at your screen for hours.
This floating island manipulation teaches fundamental compositing skills. The whimsical subject matter makes learning enjoyable. But the techniques apply to any photo manipulation project.
Start simple. Build complexity gradually. And most importantly, experiment beyond this tutorial. Your best work comes from applying these principles to your own creative ideas.