
Photo compositing feels impossible until someone shows you the tricks. Then suddenly, creating emotional abstract art becomes surprisingly straightforward.
This tutorial walks through building a symbolic transformation piece in Adobe Photoshop. You’ll blend multiple images into one cohesive composition while learning technical shortcuts that professional artists use daily. Plus, I’ll explain how golden ratio principles guide your design choices.
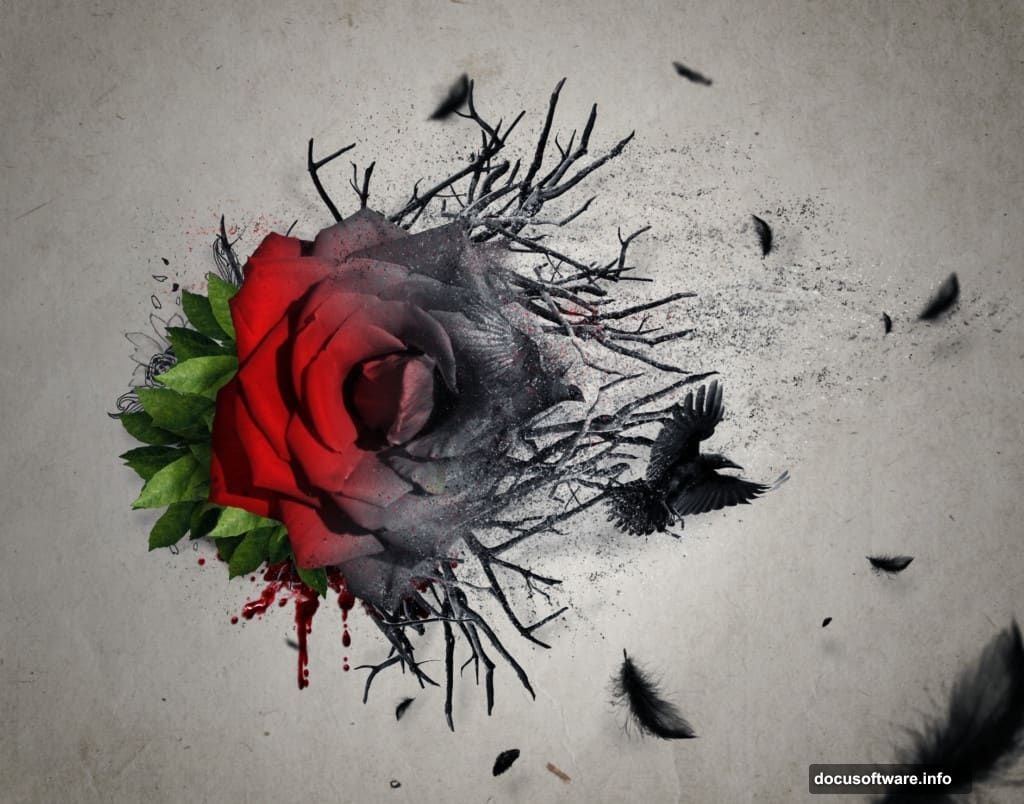
The final result? A moody, hand-drawn style composite featuring ravens, roses, and abstract elements that tell a visual story.
What You’re Actually Building
This project centers on transformation symbolism. A rose surrounded by ravens, scattered feathers, and weathered textures creates an emotional narrative without words.
You’ll master several practical skills. First, masking techniques that don’t require tedious brush work. Second, adjustment layers that do the heavy lifting. Third, composition principles based on the golden ratio. And finally, finishing touches that make digital art feel hand-crafted.
The beauty here? These same techniques work for any photo manipulation project. Learn them once, apply them everywhere.
Gather Your Materials First
You’ll need Photoshop CS5 or newer. Earlier versions lack some adjustment layer features this tutorial relies on.
Stock images form your raw materials. A red rose provides the central element. Foliage adds organic texture. Flying ravens bring movement and drama. Feather brushes create scattered effects. Old paper textures establish the vintage foundation. Dead branches add compositional interest. And debris brushes finish the weathered look.
Most stocks are free from sites like RGBstock and DeviantArt. The tutorial references specific artists, so finding exact matches helps. But similar images work fine if you understand the purpose each element serves.
Build Your Vintage Canvas
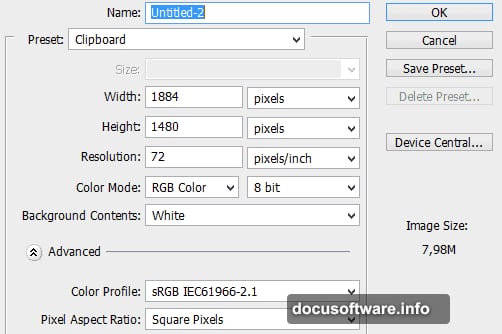
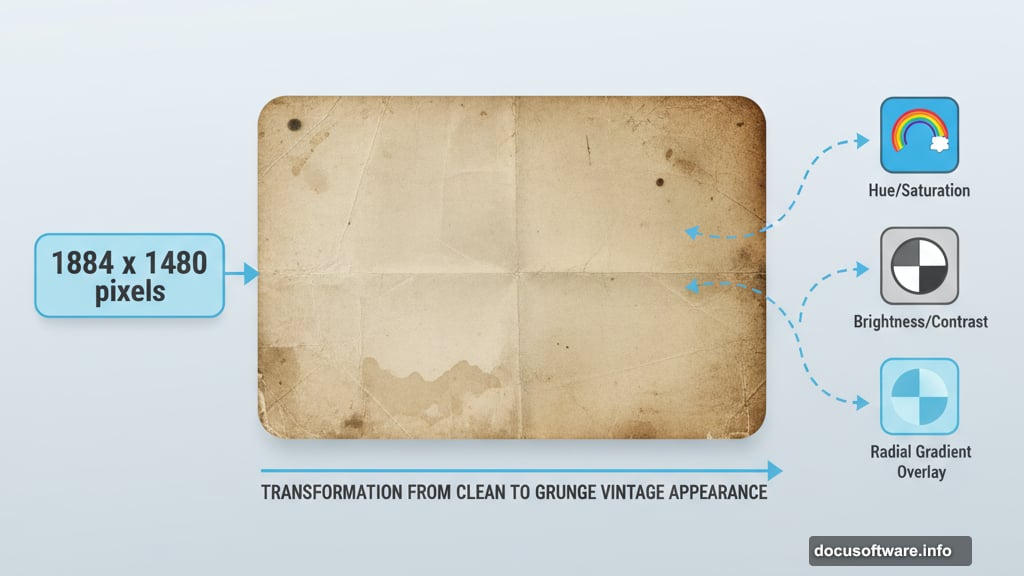
Start with a new document. Make it 1884 x 1480 pixels. That size gives you room to work while maintaining reasonable file size.
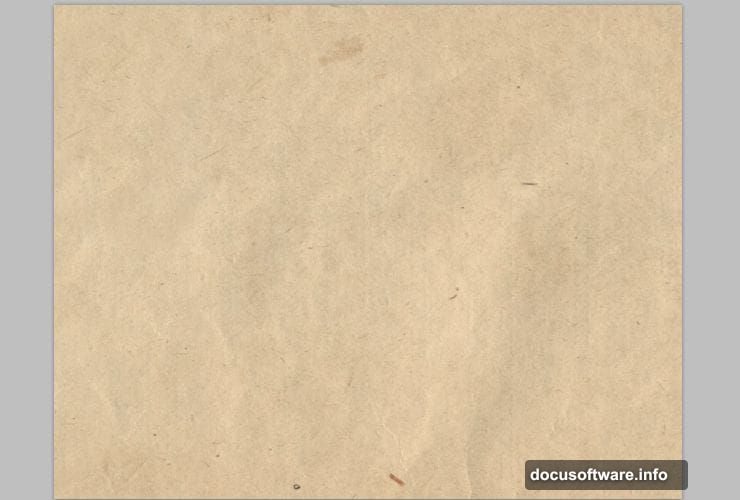
Drop your old paper texture onto the canvas. This becomes your foundation layer. Everything else builds on top of this weathered surface.
Now transform that paper from old to grunge. Add a Hue/Saturation adjustment layer. Push saturation down significantly. Then add Brightness/Contrast. Increase contrast while slightly lowering brightness. This creates harder edges and deeper shadows.
Want extra vintage appeal? Add a radial gradient overlay. Set it to Overlay blend mode at low opacity. Dark edges with a lighter center naturally draw eyes toward your composition’s focal point.
The Game-Changing Masking Trick
Here’s where things get interesting. Most tutorials tell you to carefully brush away backgrounds. That works but takes forever.
Instead, use the stock image itself to create its own mask. This technique works brilliantly with high-contrast subjects like branches against sky.
Place your dead branches stock. Duplicate that layer immediately. Rasterize the duplicate so you can apply adjustments directly. Now go to Image > Adjustments > Brightness/Contrast. Crank both sliders way up.
Next, open Levels. Drag the black and white input sliders toward the middle. You’re creating extreme contrast where branches become pure black and sky becomes pure white.
Still see gray areas? Add Hue/Saturation and drop saturation to -100. Then hit Brightness/Contrast again for fine-tuning.
Use the bucket tool to fill remaining sky areas with white. Clean up any lingering gray spots with a white brush. Finally, invert the entire layer using Image > Adjustments > Invert.
You now have a perfect black and white mask where branches are white and everything else is black.
Turn That Work Into an Actual Mask
Select everything on your created mask layer. Copy it. Now here’s the magic part.
Click on your original branches layer. Hold Alt and click the layer mask thumbnail. You’re now viewing the mask channel directly. Paste your copied mask into this channel.
Exit mask view by clicking the layer thumbnail. Your branches now sit perfectly isolated against transparency. No tedious brushwork required.
This same technique works for any high-contrast subject. Trees, architecture, silhouettes – anything with clear separation between subject and background.
Apply the Golden Ratio for Better Composition
The golden ratio isn’t mystical. It’s just a proportion that human eyes find naturally pleasing – roughly 1.618:1.
Transform your rose element so it hits focal points based on this ratio. Divide your canvas width by 1.618. Place your rose’s center near that position. Do the same vertically.
You don’t need mathematical precision. Close enough works. The goal is avoiding dead-center placement while maintaining visual balance. Golden ratio positioning creates dynamic tension that makes compositions more interesting.
Resize your rose to fill roughly one-third of the canvas. Much bigger feels overwhelming. Much smaller gets lost among other elements.

Build Depth Through Smart Layering
Now comes the fun part. Add your ravens, feathers, and additional texture elements.
Place ravens at different sizes and positions. Larger birds in foreground, smaller ones receding into background. This creates depth through scale variation.
Use feather brushes sparingly. Scatter a few around your rose but don’t overdo it. Too many elements compete for attention. Strategic placement matters more than quantity.
Add foliage elements using similar masking techniques. Blend modes become your best friend here. Try Multiply, Overlay, and Soft Light. Each creates different integration effects. Experiment until elements feel cohesive rather than pasted together.
Create That Hand-Drawn Feel
Digital composites often look too clean. Professional artists deliberately rough up their work to add character.
Start by adding a subtle texture overlay across everything. Set it to low opacity with a blend mode like Overlay or Soft Light. This breaks up smooth digital gradients.
Use debris brushes on a new layer. Set brush opacity low – around 20-30%. Build up grungy edges gradually. Corners and borders benefit most from this treatment.
Add slight blur to background elements while keeping your rose sharp. This mimics camera depth of field and makes the rose pop forward.
Finally, add a slight Gaussian Blur to the entire image – just 0.5 to 1 pixel. Then sharpen slightly. This softens harsh digital edges while maintaining overall clarity. The result feels more like scanned artwork than pure digital creation.
Shadow Work Makes Everything Believable
Beginners skip shadows. Professionals obsess over them. Shadows sell the illusion that disparate elements actually belong together.
For each major element, create a shadow layer beneath it. Use a soft black brush at very low opacity – around 10-15%. Build shadows gradually through multiple strokes rather than one dark pass.
Shadow direction must stay consistent. Pick a light source direction and stick with it. Ravens casting shadows left while roses cast shadows right instantly breaks believability.
Contact shadows matter most. Where objects touch surfaces, shadows become darker and harder-edged. As shadows extend away from contact points, they soften and lighten. This graduated shadow approach creates realistic depth.
Color Harmony Pulls It Together
Your elements come from different sources with different color profiles. Without correction, they’ll never feel unified.
Add a Color Balance adjustment layer above everything. Push shadows slightly toward blues and cyans. Push highlights slightly toward warm tones. This creates cohesive color relationships across all elements.
Try a Photo Filter adjustment layer set to Sepia or Cooling Filter at low strength. This applies a subtle color cast that ties everything together.
Finally, add a Curves adjustment for final contrast tweaking. Create a subtle S-curve for enhanced contrast. Lift shadows just slightly to prevent pure black. Drop highlights a touch to avoid blown-out whites.
The Final Polish
Step back and evaluate your composition with fresh eyes. Does one element dominate too much? Reduce its opacity slightly. Do some areas feel empty? Add subtle texture or scattered debris.
Check your layer organization. Name important layers descriptively. Collapse adjustment layers into folders. Future-you will appreciate this organization if you need to make changes later.
Save a layered master file. Then flatten and export a final JPEG or PNG. Compare the flat version against your layered file to ensure nothing was lost in flattening.
This technique applies far beyond single rose compositions. The principles – smart masking, golden ratio placement, shadow work, color harmony – work for any photo manipulation project. Master them once, use them forever.
The difference between amateur and professional digital art often comes down to these finishing details. Shadows that feel right. Colors that work together. Composition that guides the eye naturally. Technical tricks that save time while improving results.