
Want to create dramatic, cinematic photo composites that look professional? This step-by-step tutorial shows you how to build a stunning nighttime samurai scene from scratch.
You’ll combine multiple images, add realistic fire effects, and master lighting techniques that bring your composite to life. Plus, I’ll walk you through the exact adjustment layers and masking tricks that make everything blend seamlessly.
What You’ll Need Before Starting
Gather these stock images first. Having everything ready saves time and keeps your workflow smooth.
Required Images:
- Nighttime sky photo
- Japanese temple or pagoda
- Model photo (warrior or samurai pose works best)
- Fire reference images (at least two different angles)
- Spark and light texture overlays
You can find free stock photos on sites like Unsplash or Pexels. Or use the tutorial’s recommended resources if available.
Photoshop Skills You’ll Practice:
- Blending multiple images with adjustment layers
- Creating depth with selective blur
- Masking techniques for realistic composites
- Color grading for mood and atmosphere
- Adding fire and light effects
Don’t worry if you’re intermediate level. I’ll explain each step clearly. Just take your time and experiment as you go.
Set Up Your Canvas and Background
Create a new document at 1500×2100 pixels. This vertical orientation works perfectly for dramatic character portraits.
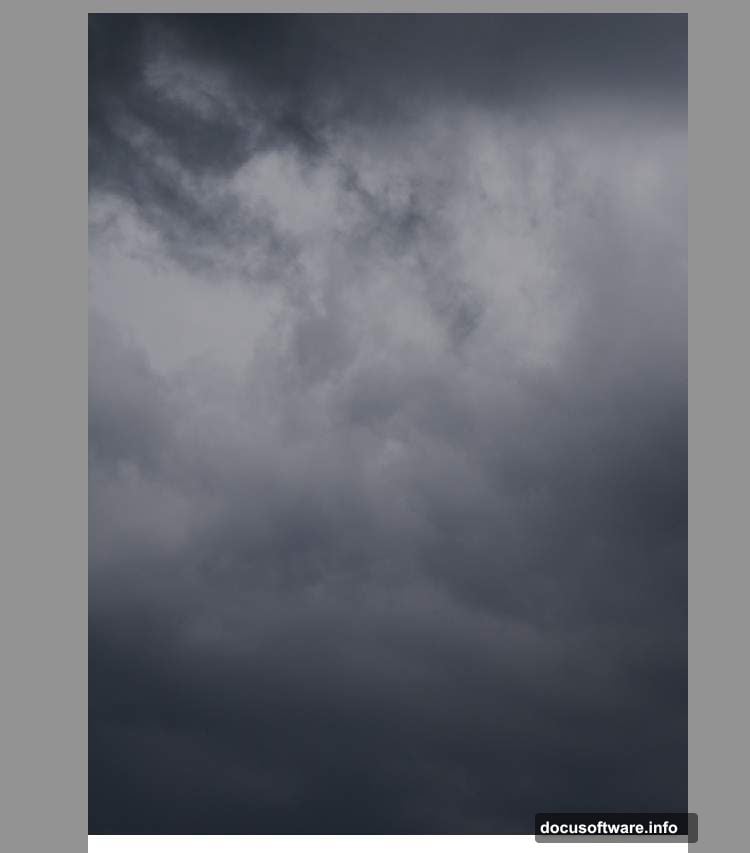
Fill the background with white temporarily. Then drag your sky image onto the canvas using the Move Tool (V). Position it in the upper half of your composition.
Why start with white? It helps you see exactly where gaps exist between images. You’ll cover it completely as you build the scene.
Darken the Sky for Nighttime Mood
Your sky probably looks too bright for a dramatic night scene. So let’s fix that first.
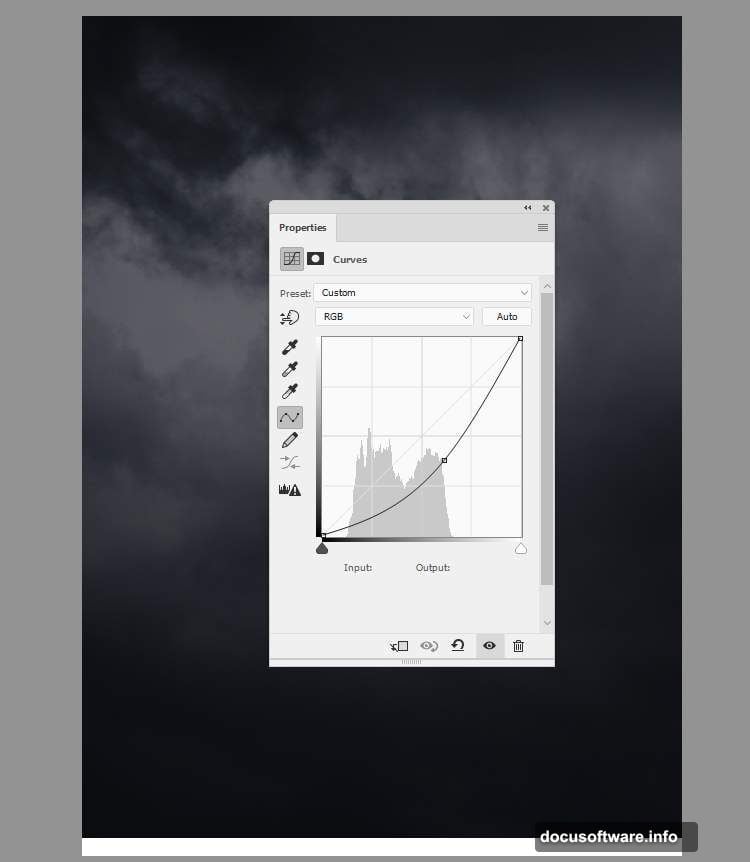
Go to Layer > New Adjustment Layer > Curves. Drag the curve downward to decrease brightness. You want a dark, moody atmosphere that suggests late evening or night.
Don’t go completely black. Keep some detail visible in the clouds. This adds depth instead of creating a flat, lifeless background.
Next, add a Color Balance adjustment layer. Adjust the Midtones slider toward blue tones. This reinforces the nighttime feeling and creates a cooler color palette.
Blue works because our eyes associate it with darkness and moonlight. It’s a simple trick that makes everything feel more cohesive.
Add the Temple and Create Depth
Cut out your temple image using your preferred selection method. Place it in the top right corner of your canvas.
Now here’s the important part. Go to Filter > Blur > Gaussian Blur and set the radius to 8 pixels.
Why blur the temple? This creates depth of field. In photography, distant objects appear less sharp than subjects in the foreground. By blurring the temple slightly, you’re telling the viewer it’s farther away.
This single technique dramatically improves realism in photo composites. Most beginners skip it and wonder why their scenes look flat.
Match the Temple Color to Your Scene
Create a Color Balance adjustment layer above the temple. Right-click and select “Create Clipping Mask” so it only affects the temple.
Adjust the Midtones values until the temple matches your sky’s blue-tinted atmosphere. It should look like it belongs in the same environment, not like a separate image pasted on top.
Play with the sliders until it feels right. Every image is different, so trust your eye here.
Position Your Main Subject
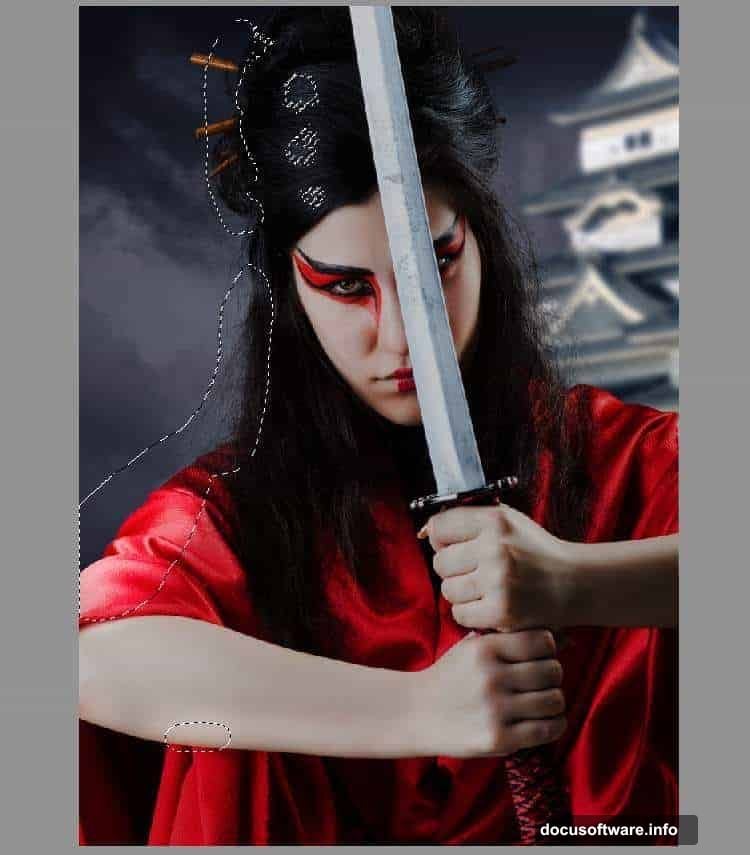
Cut out your model or samurai character carefully. Take extra time on this step because it’s your focal point.
Place the figure in the middle of the foreground. The character should dominate the lower half of your composition.
Pro tip: Use the Pen Tool for clean selections around complex edges like hair and clothing. Or try Select Subject in newer Photoshop versions if your image has good contrast.
Shape the Lighting on Your Subject
Create a Curves adjustment layer above your model (set as Clipping Mask). Decrease the overall brightness significantly.
Then grab the Brush Tool (B) with a soft round brush. Set your foreground color to black and paint on the layer mask along the left side of your model.
This reveals brightness on the left side while keeping the right side dark. You’re establishing that your main light source comes from the left.
Why this matters: Consistent lighting direction makes composites believable. If light comes from different directions on each element, viewers immediately notice something’s wrong.
Boost Highlights and Add Dimension
Make another Curves adjustment layer and increase brightness this time. But here’s the trick.
On the layer mask, paint with black over all the shadow areas. You only want this brightness boost affecting the areas already catching light.
This creates more dramatic contrast between light and shadow. It adds dimension to your subject and makes the lighting feel more dynamic.
Shadows should stay dark. Highlights should pop. That separation creates the three-dimensional quality you see in professional composites.
Adjust Color Saturation
Add a Hue/Saturation adjustment layer. Reduce the Saturation value to -61.
Desaturating your subject slightly helps everything blend together. Plus, it reinforces the nighttime atmosphere where colors appear less vibrant.
Don’t remove all color. You want subtle tones remaining, not a completely black-and-white figure.
Add the Blue Color Grade
Create a Photo Filter adjustment layer. Choose the color #0185ec (a deep blue).
This unifies your color palette and pushes the cool, nighttime mood even further. The blue tint ties together all your separate elements into one cohesive scene.
Color grading is the secret sauce in professional photo manipulation. It’s what makes the difference between “this is pretty good” and “wow, this looks like a movie poster.”
Add Glow and Fire Effects
Create a new layer and change the blend mode to Overlay at 100% opacity. Fill this layer with 50% gray (Edit > Fill > 50% Gray).
What does this do? Dodge and Burn in Overlay mode is a non-destructive way to enhance lighting. Paint white on this layer where you want to add glow. Paint black where you want to deepen shadows.
Use a soft brush at low opacity (15-30%) and build up the effect gradually. Focus on adding warm glow around where fire elements will appear later.
Then bring in your fire images. Use the Screen or Lighten blend mode to composite them naturally. Position flames near the ground or around your subject.
Erase harsh edges with a soft brush. Fire should fade naturally into the scene, not look cut-and-pasted.
Finish with Sparks and Atmosphere
Add spark overlays using Screen blend mode. Scatter them throughout the scene to suggest embers floating through the air.
Finally, go to Filter > Camera Raw Filter (or add a Camera Raw adjustment layer). Increase clarity slightly and add a subtle vignette by darkening the edges.
This final polish draws the eye toward your main subject and adds that cinematic finish.
The Details That Matter Most
Three things separate amateur composites from professional ones. And they’re not complicated techniques.
First, lighting direction. Make absolutely sure every element in your scene has light coming from the same direction. This single principle creates believability.
Second, depth of field. Background elements should be slightly softer than foreground subjects. Use Gaussian Blur strategically to create this separation.
Third, color harmony. Use Color Balance and Photo Filter adjustments to unify your palette. If elements look like they came from different photos (which they did), you haven’t color graded enough.
Master these three principles. Everything else is just details and polish.
This tutorial gives you a solid foundation in photo manipulation fundamentals. The techniques here apply to any composite scene you want to create.