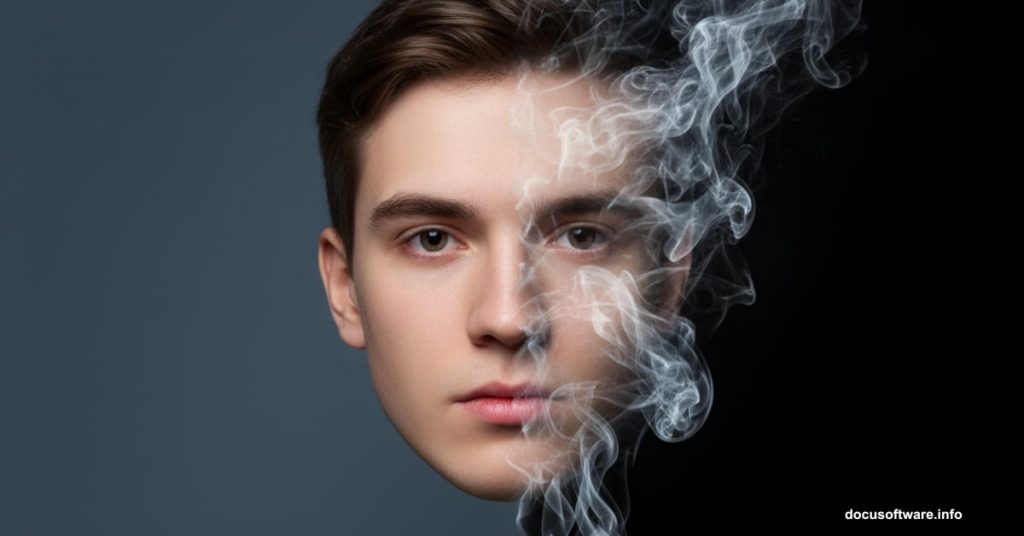
Smoke portraits look incredible. Those swirling, ethereal effects that transform ordinary headshots into artistic masterpieces. But here’s the secret: they’re way easier to create than they look.
I’m breaking down this stunning effect step by step. No complicated techniques or expensive plugins required. Just Photoshop, a decent portrait photo, and some clever brush work. Plus, you’ll be shocked how quickly this comes together once you understand the basic approach.
Let’s turn a regular portrait into smoke art that stops people scrolling.
What You’ll Need First
Before diving in, gather these essentials. The right starting materials make everything smoother.
Required items:
- Adobe Photoshop CS or newer (any recent version works)
- Portrait photo with clean background (solid color backgrounds work best)
- Free smoke brushes (more on finding these below)
- About 1-2 hours for your first attempt
The stock photo matters more than you’d think. Look for images with good contrast and clear features. Busy backgrounds just create extra work. So start simple and build your skills from there.
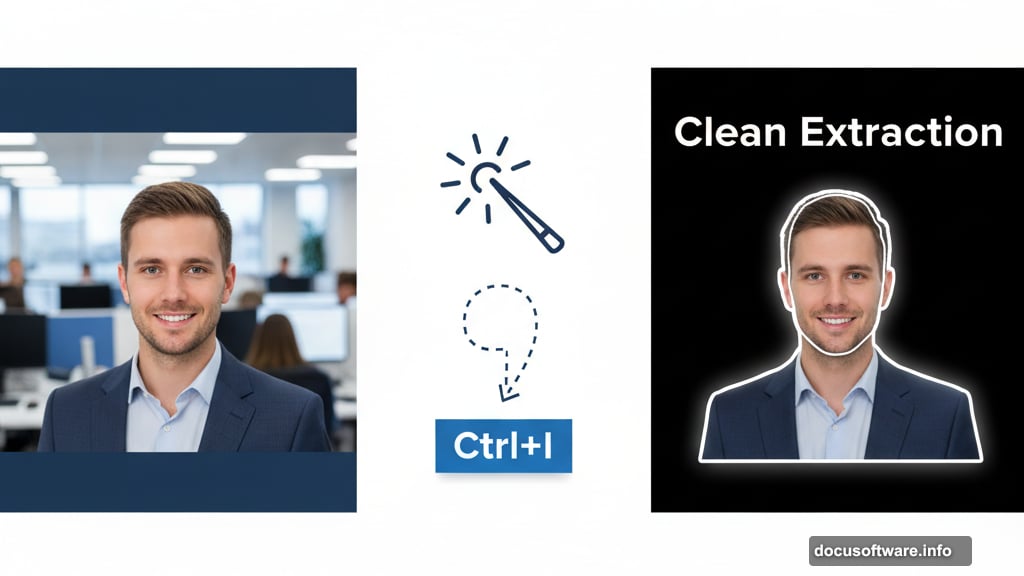
Extract Your Model Cleanly
First step: separate the subject from the background. This foundation determines everything that follows.
Open your portrait in Photoshop. Then grab the Magic Wand tool and click the background area. The selection should highlight everything except your subject. But we want the opposite, right?
Hit Ctrl+I (or Cmd+I on Mac) to invert that selection. Now press Ctrl+J to duplicate just the selected area onto a new layer. Check your Layers panel and you’ll see the duplicated layer appear.
Next, click back on the Background layer. Fill it completely with black using the Paint Bucket tool or by pressing Alt+Backspace. This black canvas becomes your workspace for the smoke effect.
Switch to the Eraser tool with a soft, round brush at 100% opacity. Carefully erase everything except the head. Take your time here because clean edges matter for the final result.
Create the Smoke Guide Template
Here’s where things get interesting. We’re transforming that portrait into a sketch-like guide that smoke will follow.
First, resize the head smaller and center it on your canvas. This gives you room for smoke to expand outward. Then apply a Median filter by going to Filter > Noise > Median. Set the Radius to around 5-7 pixels and click OK.
This softens the image slightly. But we need more adjustments.
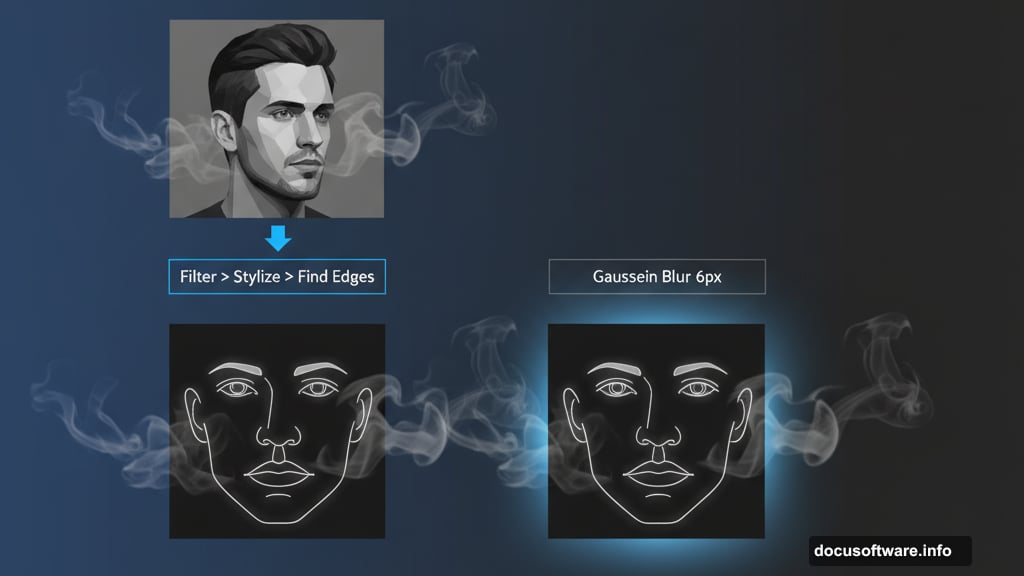
Press Ctrl+Shift+U to desaturate the layer completely. Now it’s grayscale instead of color. Then navigate to Filter > Stylize > Find Edges. This creates those sketched lines that outline all the facial features.
The result looks inverted though. So press Ctrl+I to flip the colors. Suddenly those dark lines turn white against black. Perfect for our smoke guide.
Add some blur by selecting Filter > Blur > Gaussian Blur. Adjust the Radius to about 6 pixels. This smooths everything just enough without losing important detail.
Boost Contrast for Better Smoke Flow
The guide needs strong contrast between light and dark areas. Otherwise smoke won’t follow the contours properly.
Press Ctrl+L to open the Levels dialog. You’ll see three sliders underneath a histogram. Drag the left slider (shadows) slightly right to darken blacks. Move the right slider (highlights) a bit left to brighten whites. The middle slider (midtones) can shift either direction until the contrast looks strong.
What you’re aiming for: really black shadows and bright white highlights with minimal gray in between. This exaggerated contrast gives smoke clear paths to follow.
Click OK when satisfied. Then use the Eraser tool again to remove any weird artifacts around the neck or hair edges. These problem areas show up as disconnected white spots that don’t belong.
Apply Smoke Brushes Strategically
Now comes the fun part. Downloading smoke brushes and painting them onto your portrait creates that ethereal effect.
Search for “free smoke Photoshop brushes” online. Several sites offer quality brush packs at no cost. Download a set and install them into Photoshop by double-clicking the ABR file.
Create a new layer above your guide layer. Select the Brush tool and choose one of your new smoke brushes. Make the brush fairly large and set the opacity around 40-50% for subtle layering.
Start painting smoke along the white guide lines you created earlier. Follow the contours of the face naturally. Don’t just slap smoke everywhere randomly because it’ll look messy.
Build up smoke gradually with multiple brush strokes. Vary the brush size and opacity as you work. Some areas need dense smoke coverage while others work better with wispy, transparent effects.
Pay special attention to edges where the portrait meets the black background. This is where smoke should appear to dissipate and fade away. So use lighter opacity and smaller brushes for these transition zones.
Fine-Tune Colors and Details
Almost done. But a few finishing touches elevate good results to great results.
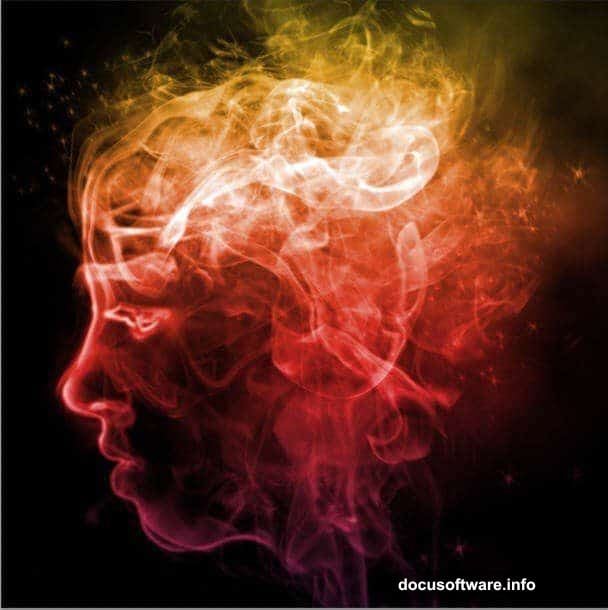
Add a new Hue/Saturation adjustment layer by clicking the half-filled circle icon at the bottom of the Layers panel. Check the “Colorize” box and adjust the Hue slider until you find a color you like. Teal, purple, and orange tones work particularly well for smoke portraits.
Keep Saturation moderate though. Too much color looks garish instead of artistic. Somewhere around 25-40 usually hits the sweet spot.
Consider adding a subtle glow effect to brighten key areas. Create another new layer, set the blend mode to Screen, and paint white with a soft brush at low opacity over highlights. This makes certain features pop without being obvious.
Finally, merge everything down when satisfied. Go to Image > Adjustments > Brightness/Contrast and make minor tweaks if needed. Just small changes since you don’t want to blow out details you worked hard to create.
Common Mistakes to Avoid
Let me save you some frustration. These rookie errors trip up most beginners.
First mistake: using too much smoke too quickly. Layer it gradually instead. You can always add more but removing excess smoke is annoying.
Second: ignoring the guide lines you created. Those white edges exist for a reason. They show where smoke should concentrate and where it should fade. Follow that roadmap.
Third: forgetting to vary brush sizes and opacity. Repetitive, identical smoke strokes look fake. Nature doesn’t work that way. So mix it up constantly.
Fourth: not saving progress regularly. Photoshop crashes happen. Save versions throughout the process so you don’t lose everything if something goes wrong.
Why This Technique Works
The secret behind convincing smoke portraits? You’re essentially tracing natural contours with organic shapes.
Smoke moves fluidly and unpredictably in real life. So when you layer it along facial features, it follows those curves naturally. The Find Edges filter revealed where light and shadow create definition. Then you reinforced those areas with smoke brushes.
That’s why the result looks cohesive instead of random smoke pasted onto a photo. Everything connects logically even though the effect feels magical.
Plus, working with high contrast black and white removes color distractions. Viewers focus purely on shapes, flow, and composition. Adding color back selectively at the end gives you complete control over the mood.
This approach adapts easily too. Try it on full body shots, animals, objects, or abstract shapes. The fundamental technique stays the same regardless of subject matter.
Practice makes this effect faster each time. Your first attempt might take two hours. But after a few portraits, you’ll knock them out in 30 minutes or less. Then you can experiment with variations like multiple colors, glowing edges, or particle effects mixed in.