Ever wanted clouds floating in your morning coffee? This photomanipulation technique creates dreamlike scenes that blend reality with fantasy.
You’ll learn layer masking, adjustment layers, and custom brush techniques. Plus, the process works for any surreal composition you dream up. Let’s dive into creating impossible photography.
What You’ll Need Before Starting
Gather these resources first. Missing even one makes the tutorial harder to follow.
Required images:
- High-resolution coffee cup photo
- Cloud stock images (at least two different types)
- Optional boat or floating object image
Photoshop tools we’ll use:
- Layer masks for non-destructive editing
- Hue/Saturation adjustment layers
- Transform tool for positioning
- Brush tool with custom cloud brushes
Download cloud brushes beforehand. Many free options exist online. Look for realistic cumulus and wispy cloud varieties. Having multiple brush types lets you build depth and atmosphere.
Set Up Your Coffee Base
Start with the coffee cup as your foundation. Open your coffee image in Photoshop.
The cup color matters more than you think. So let’s adjust it first for maximum impact.
Create a Hue/Saturation adjustment layer. Go to Layer > New Adjustment Layer > Hue/Saturation. This changes cup color without destroying original pixels.
Shift the Hue slider until you find an appealing tone. Warmer browns work well for traditional coffee vibes. Cooler tones create more surreal atmospheres.
Adjust saturation carefully. Too much looks fake. Too little appears dull. Aim for slightly enhanced color that draws the eye naturally.
Place Your First Cloud Layer
Now comes the magic part. We’re putting clouds where they shouldn’t exist.

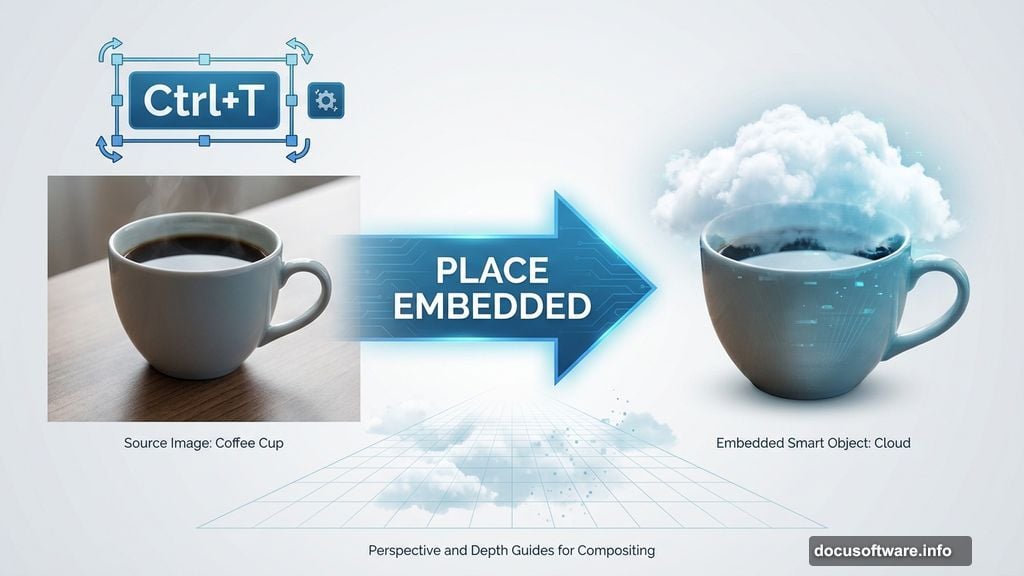
Import your cloud image. Go to File > Place Embedded. Position the clouds over the coffee cup opening.
Use Transform (Ctrl/Cmd + T) to resize and rotate. Make clouds fill the cup opening completely. Think about perspective here. Clouds should look like they’re emerging from the cup, not just pasted on top.
Press Enter to rasterize the layer when positioning looks right.
Master the Layer Mask Technique
This step separates amateurs from pros. Layer masks let you blend images seamlessly.
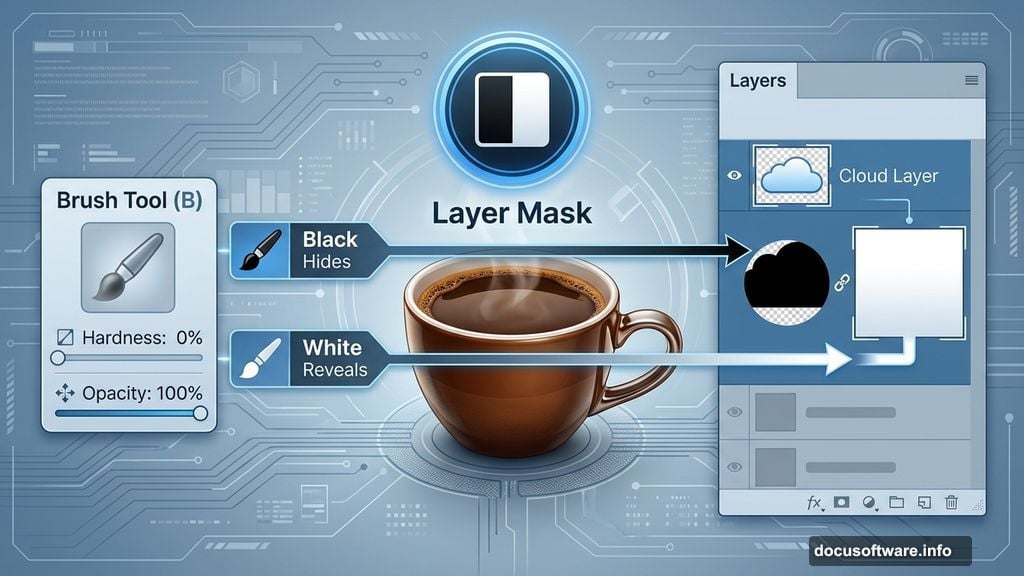
Add a layer mask to your clouds. Click the mask icon at the bottom of the Layers panel.
Select the Brush Tool (B). Set these parameters:
- Size: 500px (adjust as needed)
- Hardness: 0%
- Foreground color: Black
- Opacity: 100%
Paint away excess clouds. Black hides, white reveals. Paint with black to remove clouds outside the cup. Use white to bring back areas you removed by mistake.
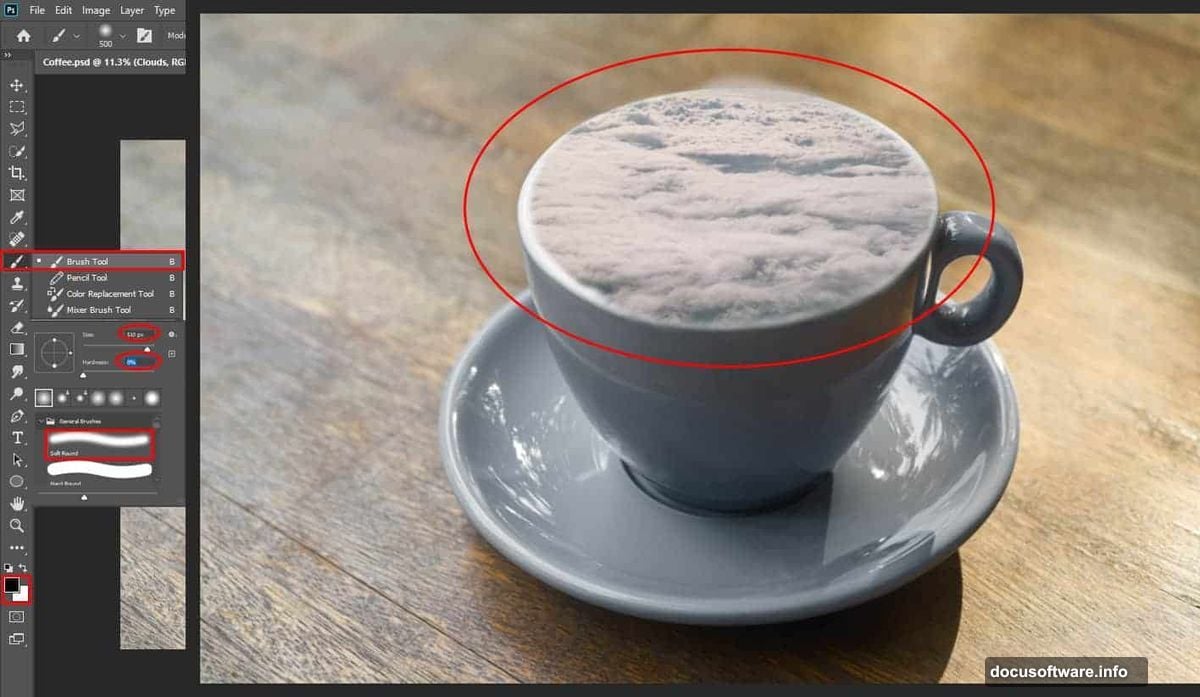
This non-destructive workflow means infinite do-overs. Never use the Eraser tool for photomanipulation. Always use layer masks instead.
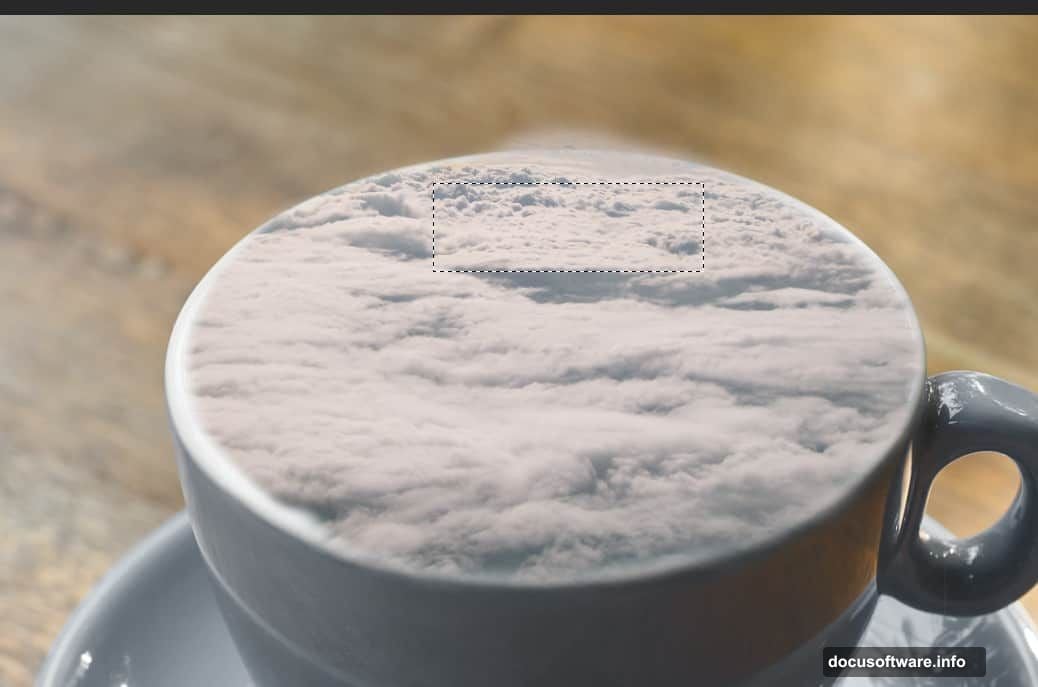
Build Depth with Multiple Cloud Layers
Single cloud layers look flat. Multiple layers create convincing atmosphere.
Duplicate part of your clouds. Select the Rectangular Marquee Tool (M). Highlight the top portion of your clouds. Press Ctrl/Cmd + J to duplicate that selection onto a new layer.
Position the duplicate higher. This creates the illusion of clouds rising from the cup. Move it up slightly with the Move Tool (V).
Mask the edges again. Use the same soft brush technique. Blend where the two cloud layers meet. The goal is seamless transitions between layers.
Vary your brush opacity for subtle blending. Sometimes 20-30% opacity works better than 100% for natural transitions.
Add Custom Cloud Brushes for Realism
Stock photos only get you so far. Custom brushes add wispy details impossible to photograph.
Import your cloud brush set. Click the Brush Tool (B). Right-click anywhere on the canvas. Click the gear icon in the brush panel. Select “Import Brushes” and choose your downloaded cloud brush file.
Create a new layer above your clouds. Keep custom brush work separate from photo layers.
Paint with white at low opacity. Start at 20% opacity. Build up cloud details gradually. This technique mimics how real clouds have varying density.
Try different brushes from your pack. Combine large fluffy brushes with thin wispy ones. Vary the size constantly. Real clouds have organic, irregular shapes.
Layer multiple brush strokes. Don’t try creating perfect clouds in one stroke. Build them up gradually. Paint, evaluate, paint more. This creates natural-looking atmosphere.
Add a Floating Element for Scale
Clouds need context. A floating object provides scale and narrative.
Place your boat image. Go to File > Place Embedded. Position the boat within the clouds. Use Transform (Ctrl/Cmd + T) to adjust size.
Think about perspective carefully here. Objects farther from the viewer appear smaller. Position accordingly for realistic depth.
Create a layer mask for the boat. Same technique as before. Use a soft brush to blend the boat into clouds.
Paint the boat partially obscured. Hide the bottom portions behind clouds. This sells the illusion that clouds surround the object. Alternate between black and white paint to perfect the effect.
Reduce brush opacity when painting near boat edges. This creates soft transitions between boat and clouds.
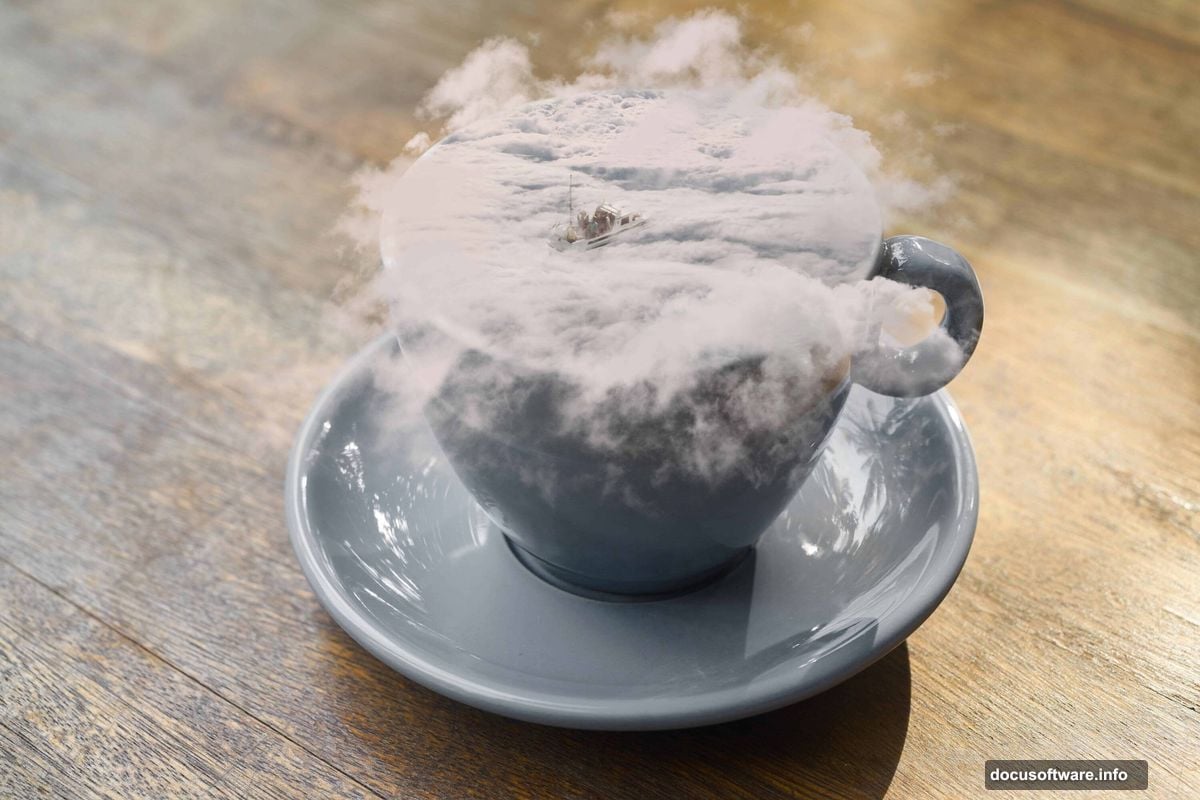
Fine-Tune the Final Composition
Small adjustments separate good work from great.
Check your layer order. Closest objects should sit on top layers. Background elements go below. Rearrange if needed.
Adjust overall brightness. Sometimes photomanipulations look too dark or light. Add a Curves or Levels adjustment layer above everything. Tweak until the scene feels cohesive.
Add subtle color grading. Create a Color Balance adjustment layer. Shift shadows toward blue for atmospheric perspective. Warm up highlights slightly. This unifies disparate photos into one scene.
Sharpen strategically. Apply slight sharpening to your boat or main subject. Keep clouds soft. This directs viewer attention where you want it.
Common Mistakes to Avoid
Watch out for these photomanipulation pitfalls.
Harsh mask edges ruin realism. Always use soft brushes for masking. Hard edges immediately look fake.
Mismatched lighting breaks immersion. Make sure all elements share similar lighting direction. Add shadows if needed using Burn Tool or dark painted layers.
Overworking clouds makes them muddy. Know when to stop. Too many brush strokes create gray mush instead of fluffy clouds.
Ignoring perspective destroys believability. Objects far away are smaller and hazier. Objects close up are sharp and large. Respect basic perspective rules.
Why This Technique Matters
Photomanipulation skills translate across creative work. Once you master layer masks and blending, you can create any impossible scene.
The coffee cloud effect demonstrates fundamental compositing principles. Same techniques work for floating cities, underwater scenes, or fantastical creatures. Master the basics here, apply them everywhere.
Plus, surreal photography stands out on social media. Eye-catching compositions get shares. That matters whether you’re building a portfolio or marketing products.
Save this workflow. You’ll reference it every time you need to blend multiple images seamlessly.