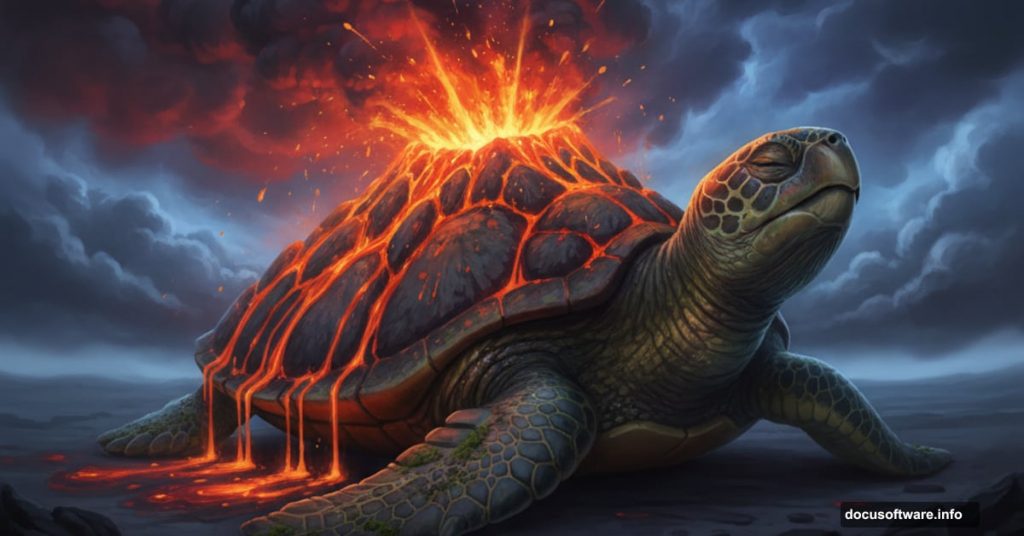
Ever looked at a turtle and thought “that shell needs more fire”? No? Well, you’re about to.
This tutorial walks through building a surreal volcanic turtle scene. The technique blends photo manipulation with adjustment layers, lighting effects, and atmospheric elements. Plus, the process teaches core compositing skills you’ll use in countless projects.
You’ll need intermediate Photoshop knowledge. But the steps break down clearly enough for motivated beginners to follow.
Gather Your Resources First
Before diving in, download these assets:
- Turtle photo (base subject)
- Volcano image (main texture)
- Smoke overlay
- Ivy textures
- Cloud brushes
- Bird silhouettes
- Fire particle overlays
Having everything ready saves frustration mid-workflow. Trust me on this one.
Set Up Your Canvas Properly
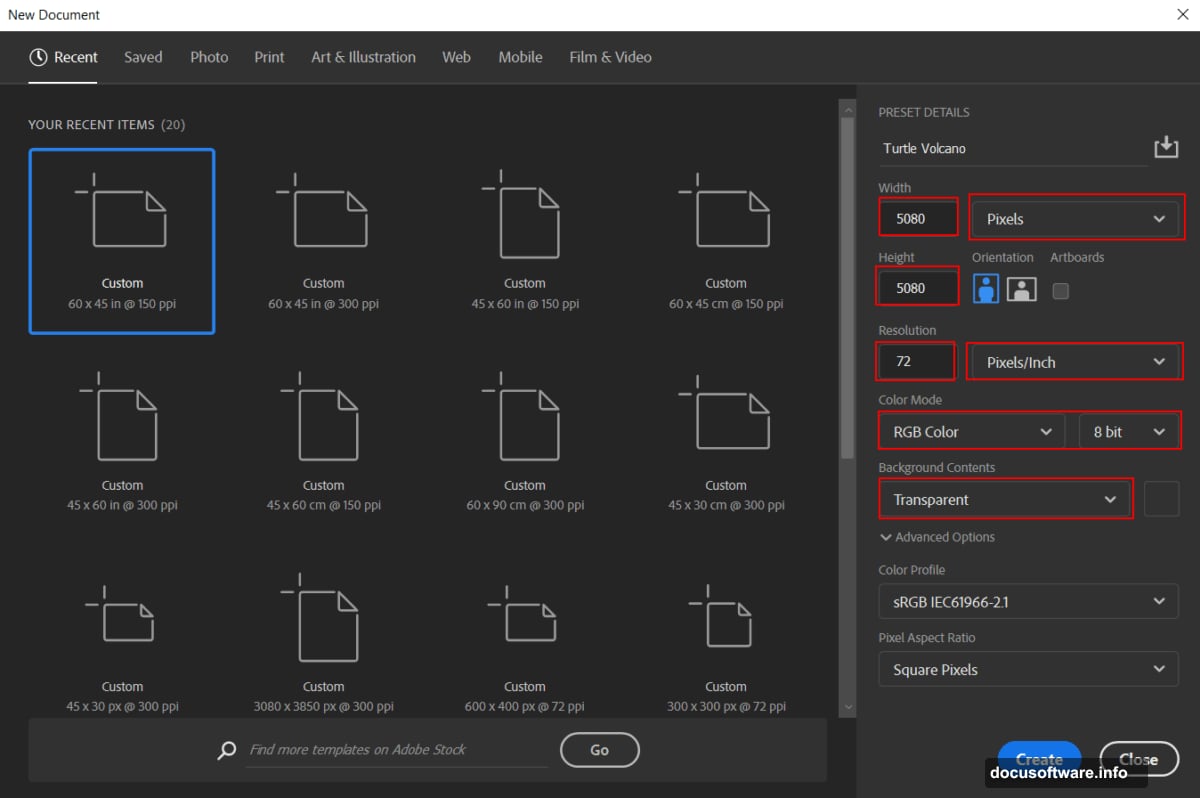
Start with the right foundation. Create a new document with these exact settings:
Document specs:
- Width: 5080px
- Height: 5080px (square format works best)
- Resolution: 72dpi
- Color Mode: RGB 8-bit
- Background: Transparent
Why so large? Big canvases give flexibility for cropping and resizing later. You can always scale down. Scaling up looks terrible.
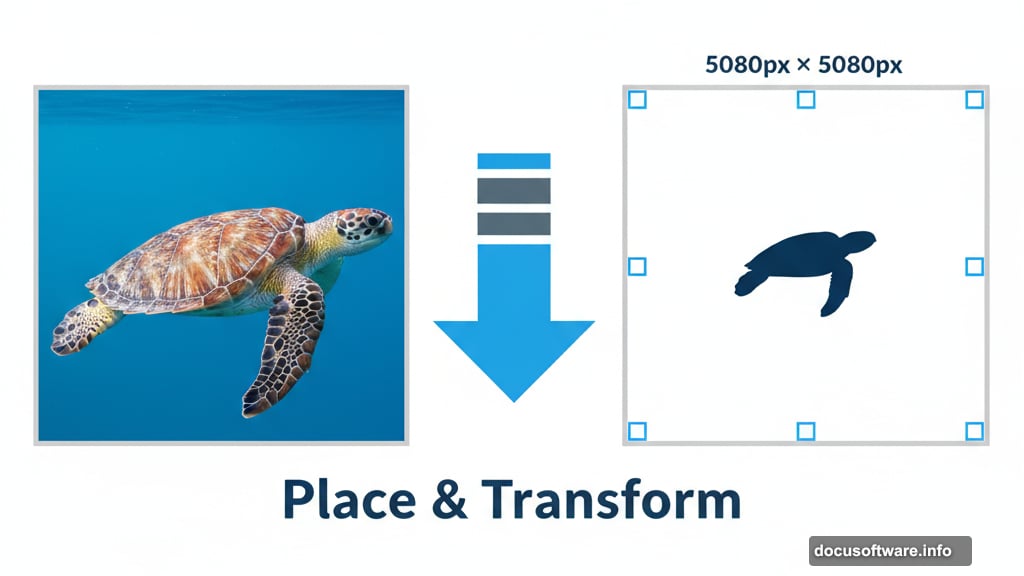
Position the Turtle Foundation
Place your turtle photo onto the canvas. Go to File > Place and select your turtle image.
Transform time. Hit Ctrl/Cmd + T to activate the transform tool. Hold Alt + Shift while dragging corners to resize proportionally. In Photoshop CC, just Alt works for proportional scaling.
Position the turtle so it fills most of the frame. Leave some breathing room at the edges for atmospheric effects later.
Rasterize the layer when satisfied with positioning.
Balance the Turtle’s Colors
Add a Color Balance adjustment layer above the turtle. This step unifies the turtle with elements you’ll add later.
Adjust the midtones slightly toward cyan and blue. Don’t go overboard. Subtle shifts work better than dramatic changes in compositing work.
The goal? Make the turtle feel like it exists in the same world as the volcanic elements coming next.
Fine-Tune Exposure Levels
Stack an Exposure adjustment layer above Color Balance.
Increase exposure slightly to brighten the turtle’s shell area. This creates better contrast for the volcano texture you’ll add.
Drop the offset by a hair to deepen shadows. Small adjustments make huge differences in composite realism.
Create Dimensional Lighting
Here’s where things get interesting. Create a new layer and fill it with 50% gray (Edit > Fill > Contents: 50% Gray).
Grab the Brush Tool (B) with a soft round brush. Set foreground to white and opacity to 10-20%.
Paint highlights where light would naturally hit the turtle’s shell. Build up gradually. Multiple light passes look more natural than one heavy application.
Switch foreground to black. Paint shadows in recessed areas and under the shell edges.
Change this layer’s blend mode to Overlay. Boom. Dimensional lighting that wraps around your subject naturally.
Add the Volcanic Texture
Open your volcano image. Use the Quick Selection Tool (W) to isolate the volcanic mountain section.
Copy (Ctrl/Cmd + C) and paste (Ctrl/Cmd + V) it onto your main canvas.

Transform the volcano layer (Ctrl/Cmd + T). Hold Alt + Shift and resize it to match the turtle’s shell curvature. Position it so the volcanic peak sits where you want maximum drama.
In Photoshop CC, just Alt handles proportional scaling.
Blend the Volcano Seamlessly
Add a layer mask to the volcano layer. Select the Brush Tool with a soft round brush and black foreground color.
Paint away hard edges where volcano meets turtle. Focus on creating smooth transitions. The volcano should look like it’s growing from the shell, not sitting on top.
Vary your brush opacity as you work. Use 100% for areas you want completely hidden. Drop to 30-50% for soft transitions.
Take your time here. Blending makes or breaks composite realism.
Enhance Atmospheric Elements
Now comes the fun part. Add smoke overlays around the volcanic peak. Place them on separate layers so you can adjust each individually.
Layer in ivy textures around the turtle’s legs and lower shell. This grounds the creature in an environment.
Use cloud brushes to add atmospheric haze. Keep it subtle. Too much smoke obscures your hard work.
Populate With Flying Elements
Drop in bird silhouettes against the sky area. Scale them appropriately. Birds closer to the viewer should be larger.
Vary their positions and angles. Perfectly aligned birds look fake. Nature doesn’t do symmetry.
Adjust opacity on some birds to create depth. Distant birds should be lighter and less distinct.
Add Fire and Particle Effects
Layer fire particle overlays near the volcano’s peak and along cracks in the shell. These elements sell the “active volcano” concept.
Set particle layers to Screen or Lighten blend mode. This makes them glow naturally against darker backgrounds.
Reduce opacity on some particle layers for variation. Not every ember glows with equal intensity.
Apply Final Polish With Camera Raw
Flatten your composition or create a merged stamp visible layer (Ctrl/Cmd + Alt + Shift + E).
Go to Filter > Camera Raw Filter. This final step unifies all elements.
Increase clarity slightly for punch. Add a touch of vibrance to make colors pop. Adjust highlights and shadows to balance the overall tonal range.
Consider adding a subtle vignette. This draws the eye toward your central turtle volcano.
The Technical Stuff That Matters
This tutorial demonstrates several key Photoshop concepts:
- Non-destructive editing with adjustment layers
- Dodge and burn technique using 50% gray layers
- Proper masking for seamless blends
- Blend modes for realistic lighting
- Layer management in complex composites
These techniques apply to countless other projects. Master them here, use them everywhere.
Why This Exercise Builds Skills
Sure, volcanic turtles aren’t practical. But the process teaches fundamental compositing workflows.
You’re learning to blend disparate elements into cohesive scenes. You’re understanding how light and shadow create depth. You’re developing an eye for realistic integration.
These skills transfer directly to more “serious” work. Product composites, architectural visualization, concept art—all use these exact techniques.
This absurd turtle? It’s secretly serious training.
The turtle carries everything it needs. Similarly, you’ve now got compositing skills you’ll carry into future projects. Everything you need is inside you, not external. Just like the turtle’s teachings.
Plus, you made something wonderfully weird. That counts for a lot.