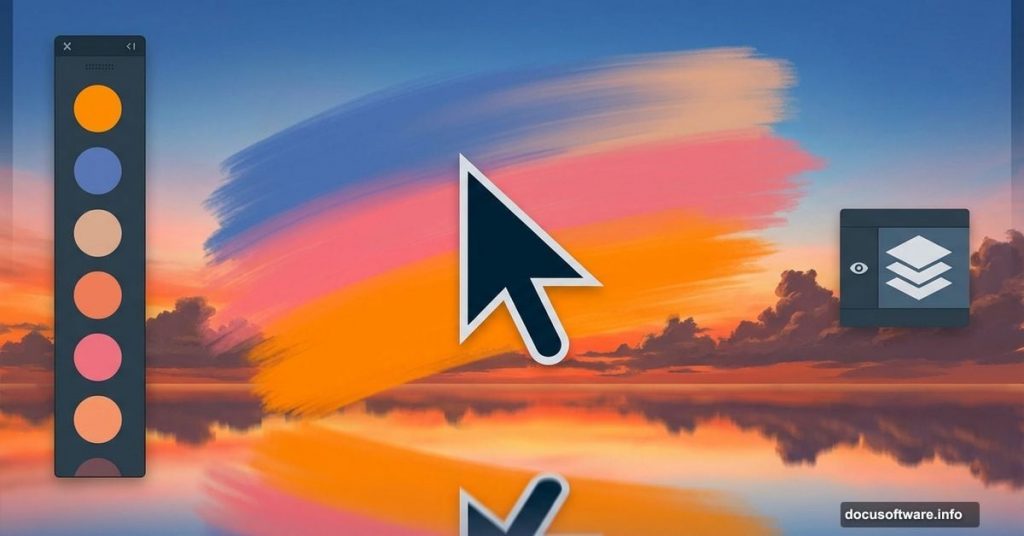
Photoshop’s painting tools feel intimidating at first. But you don’t need fancy brushes or artistic talent to create a stunning sunset scene.
This tutorial uses only Photoshop’s standard brushes. You’ll learn to paint clouds, water reflections, and atmospheric lighting. Plus, I’ll show you the gradient trick that makes skies look realistic in minutes.
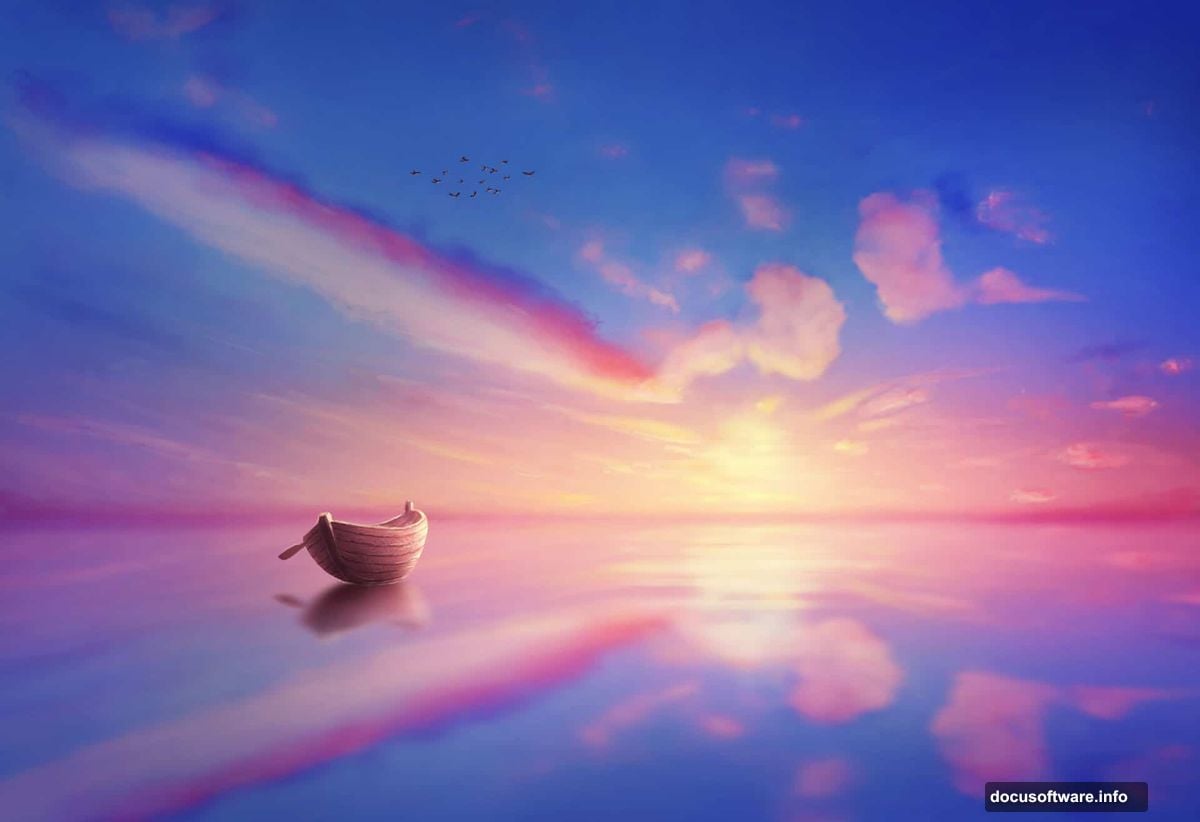
By the end, you’ll have a complete sunset painting with a boat, birds, and lake surface. The techniques work for any landscape scene.
Set Up Your Canvas
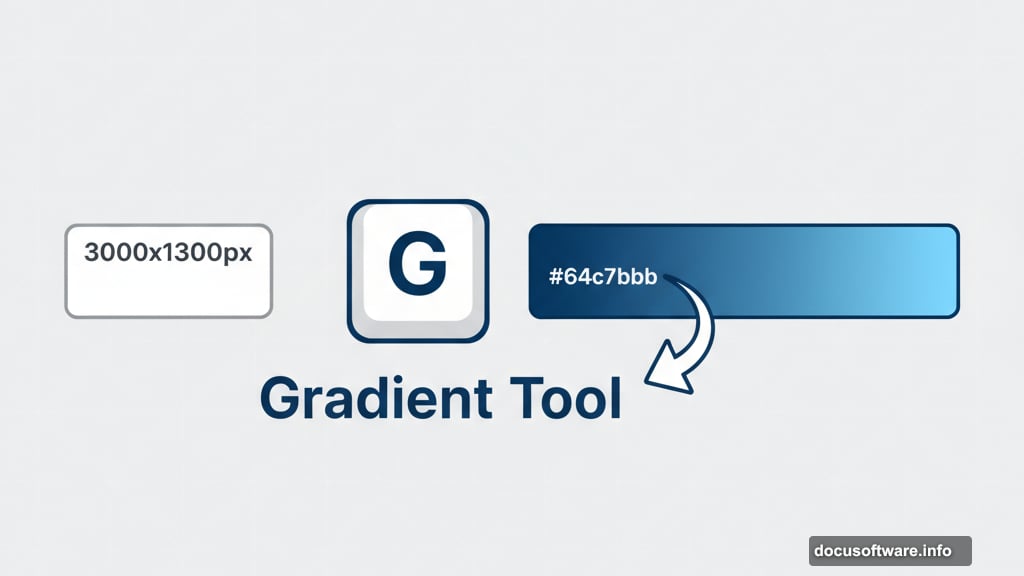
Create a new document at 3000×1300 pixels. Fill it with white using the Paint Bucket Tool.
Hit Ctrl+Shift+N to make a new layer. Now grab the Gradient Tool by pressing G.
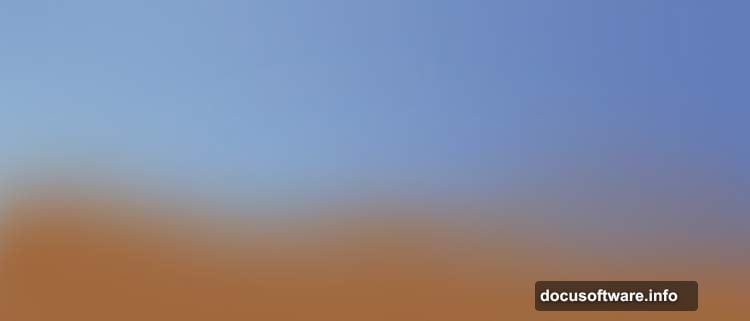
Choose Linear Gradient from the top toolbar. Set your foreground color to #647dbb and background to #a0c5dd. These blues form the base of your sunset sky.
Click on the left side of your canvas. Drag to the right side while holding Shift. Release to apply the gradient.
This creates the foundation. The darker blue sits at the top while lighter blue fills the bottom. That’s how real skies transition during sunset.
Build Atmospheric Depth
Make another new layer with Ctrl+Shift+N. Select a soft round brush at about 800 pixels.
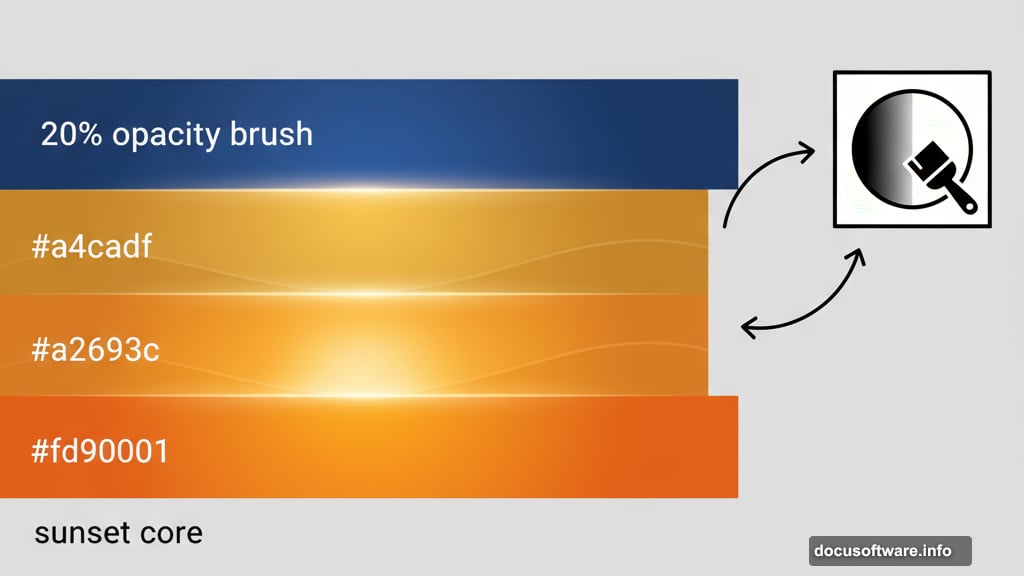
Set the foreground color to #637dbb. Lower the brush opacity to 20% in the top toolbar.
Paint gentle strokes across the top left corner. This darkens that area and adds depth. Real skies aren’t perfectly uniform.
The low opacity lets you build up color gradually. If it looks too strong, just undo and paint with lighter strokes.
Add the Golden Hour Glow
Create a new layer. Switch your brush color to #a4cadf.
Keep the opacity at 20%. Paint soft strokes along the bottom center of your canvas.
This brightens the horizon where the sun sits. The effect creates that classic sunset contrast between dark upper sky and glowing lower sky.
Now make another layer. Change your brush color to #a2693c. This warm orange-brown represents the sunset’s intensity.
Paint a band along the entire bottom of your canvas. Then click the layer mask icon at the bottom of your Layers panel.
Select a soft black brush. Paint on the left side of your mask to fade that edge. This prevents harsh lines and keeps the glow looking natural.
Paint the Sunset Core
Make a new layer. Set your brush to #fd9001, a bright orange.

Paint in the middle bottom area where the sun would sit. Use soft, overlapping strokes.
Add a layer mask like before. Use black to fade the top edge so the orange blends smoothly into the sky above.
Create another layer. Switch to #c6ac9d, a muted peachy tone.
Paint another band along the bottom. This adds complexity to the sunset colors. Real sunsets show multiple color layers, not just one orange band.
Add Cloud Details
Make a new layer. Select a smaller brush around 300-400 pixels.
Set the color to #d67751. Lower the hardness to about 50% so the brush edges stay slightly soft.
Paint small irregular shapes from left to right across the sky. These represent distant clouds catching the sunset light.
Change this layer’s blend mode to Overlay at 100%. This makes the clouds interact with the sky colors beneath rather than sitting on top.
The Overlay mode is crucial here. It creates that wispy, translucent cloud effect without blocking the sky.
Build Cloud Volume
Create a new layer. Switch to #dab473, a golden yellow tone.
Use a medium-soft brush around 500 pixels. Paint larger cloud formations following the same horizontal line as before.
Lower your brush opacity as you paint the lighter parts of each cloud. Then increase opacity for the darker areas.
This creates volume. Clouds aren’t flat. They have depth with lighter tops and darker bottoms.
Change this layer to Hard Light at 100%. This blend mode intensifies the golden glow.
Make another layer. Use the same golden brush to add small details on the bottom right.
These tiny touches represent distant clouds near the horizon. Change this layer to Overlay at 100%.
Create the Water Surface
Now comes the magic trick. Select all your sky layers by Shift-clicking them in the Layers panel.
Press Ctrl+G to group them. Right-click the group and choose Duplicate Group.
With the duplicate selected, go to Edit > Transform > Flip Vertical. The sky now appears upside down below the original.
Move this flipped group down so it sits beneath your sky. This creates an instant lake reflection.
But real water isn’t a perfect mirror. Make a new layer above the flipped group.
Use a soft brush with #647dbb at 30% opacity. Paint horizontal strokes across the water to add slight ripples and break up the perfect reflection.
Paint the Boat
Create a new layer above everything. Select a hard round brush at about 50 pixels.
Set the color to #2b1f1a, a dark brown. Paint the boat’s basic shape in the bottom right area.
Keep it simple. Just a curved bottom and two slightly angled sides coming to a point at each end.
Make another layer. Use #4a3832 to paint the boat’s interior. Leave a thin line of the darker brown showing around the edges.
This creates depth and makes the boat look three-dimensional rather than flat.
Add the Rowing Oar
Create a new layer. Use the same dark brown #2b1f1a.
Paint a long thin oval extending from the boat into the water. This represents the oar handle.
At the end, paint a slightly wider oval shape for the paddle blade in the water.
Make a new layer. Set your brush to 30% opacity with white color.
Paint a gentle highlight along the top edge of the oar. This shows light catching the rounded surface.
Create Boat Reflection
Select all your boat layers. Press Ctrl+G to group them.
Duplicate this group and flip it vertically like you did with the sky.
Position the reflection directly below the boat. Then lower the group opacity to about 60%.
Make a new layer with a layer mask. Use a soft white brush at low opacity to paint horizontal streaks across the reflection.
This mimics how water distorts reflections. The effect should look slightly blurred and broken up compared to the boat itself.
Paint Flying Birds
Create a new layer at the very top. Select a small hard brush around 10-20 pixels.
Set the color to black. Paint simple V shapes in the sky.
Start each bird with two curved strokes meeting at a point. The key is keeping them small and simple.
Paint 5-7 birds at different sizes. Larger birds appear closer while smaller ones look distant.
Vary their positions across the sky. Avoid straight lines. Real birds fly in loose, irregular formations.
Final Color Adjustments
Almost done. Create a new Curves adjustment layer above everything.
Click the middle of the curve line and drag it up slightly. This brightens the entire scene.
Then click near the bottom left of the curve and drag it down a touch. This deepens the shadows for more contrast.
Make a new Hue/Saturation adjustment layer. Increase Saturation by about 10-15 points.
This makes the sunset colors pop without looking oversaturated. The goal is vibrant but still believable.
When Strokes Look Too Harsh
If any painted areas look too sharp, here’s the fix. Select that layer.
Go to Filter > Blur > Gaussian Blur. Set the radius to 2-5 pixels depending on the size of the detail.
This softens harsh edges without losing the overall shape. It’s especially useful for cloud details.
You can also lower layer opacity instead. Sometimes reducing a layer to 80% opacity creates the exact look you need.
Why This Approach Works
This painting method builds color in layers rather than trying to paint everything perfectly at once.
Low opacity brushes let you gradually build up intensity. You can’t mess up when each stroke is subtle.
The blend modes do the heavy lifting. Overlay and Hard Light create atmospheric effects that would take hours to paint manually.
And starting with gradients gives you a solid foundation. You’re enhancing rather than creating from scratch.
Beyond This Tutorial
These same techniques work for any landscape. Try painting a sunrise using cooler blues and pinks instead of warm oranges.
Or create a stormy sky with grays and dark purples. The gradient foundation and layered approach stays the same.
Experiment with different brush sizes. Larger brushes create softer, more distant clouds. Smaller brushes add detail in the foreground.
Most importantly, don’t stress about making it look perfect. Digital painting is forgiving. Every layer can be adjusted, masked, or deleted until you’re happy with the result.