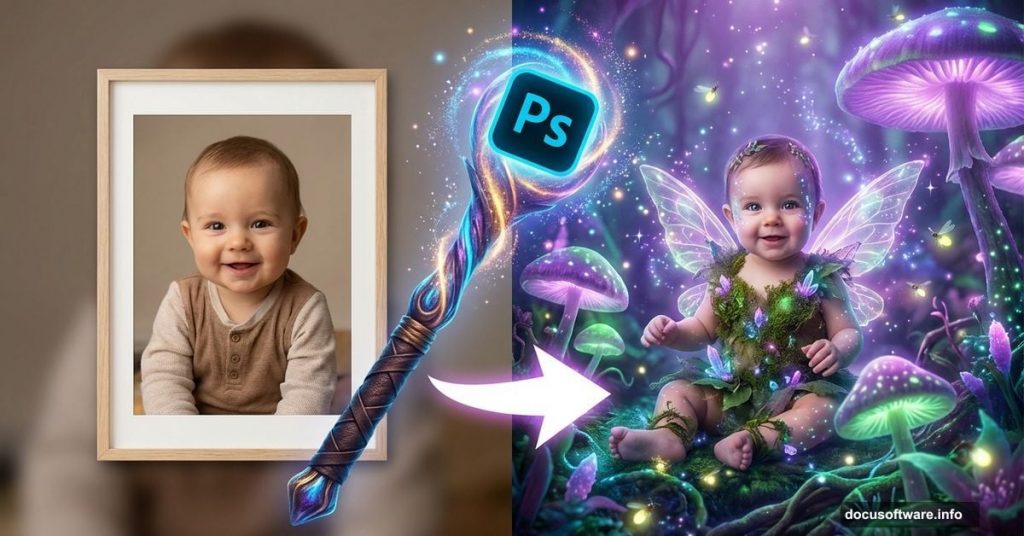
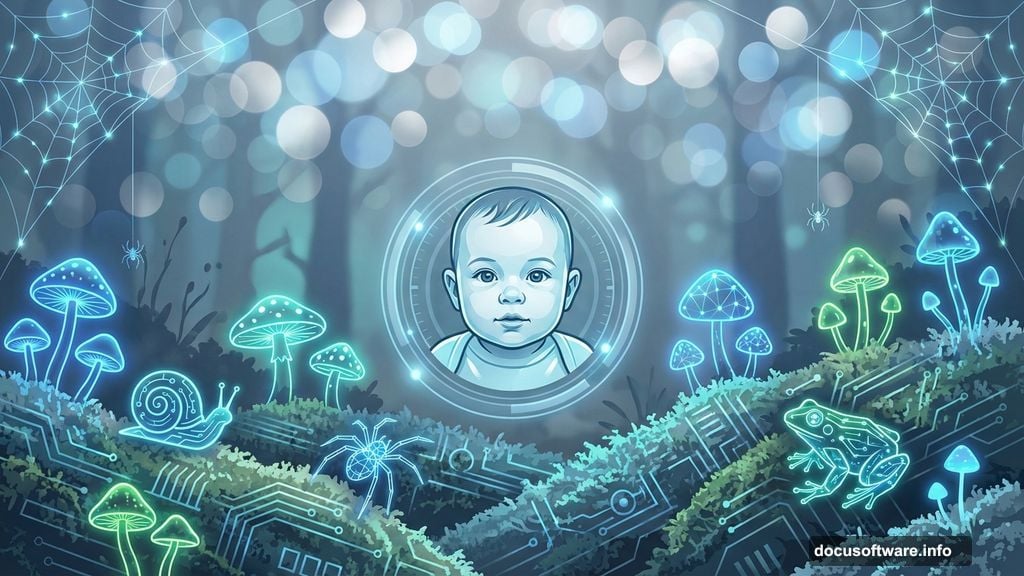
Want to transform your baby’s photo into something enchanting? This Photoshop tutorial walks you through creating a magical “Queen of Fungi” composite that turns an ordinary portrait into fairy tale art.
This isn’t a quick 5-minute edit. But the results justify the time investment. You’ll learn techniques that work for any fantasy portrait project.
What You’re Actually Creating
This tutorial builds a layered fantasy scene in three main stages. First, you’ll construct the forest background using multiple textures. Then you’ll add environmental elements like glowing mushrooms and insects. Finally, you’ll blend your baby’s portrait into the scene and add magical lighting effects.
The finished image features bioluminescent elements and dreamy bokeh effects. Think enchanted forest meets professional portrait photography.
Tools and Resources You Need
You’ll need Photoshop (any recent version works) and about 2-3 hours for your first attempt. Plus, you’ll need to download several stock images from DeviantART.
Required stock photos:
- Baby portrait (deathbycanon-stock)
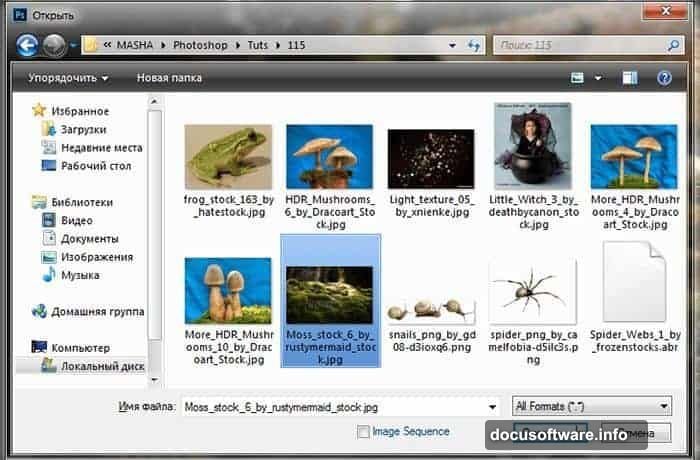
- Forest moss background (rustymermaid-stock)
- Three different mushroom packs (Dracoart-Stock)
- Insects: snails, spiders, frogs
- Bokeh light textures (xnienke, koko-stock)
- Spider web overlays (frozenstocks)
Most photographers who created these resources offer free downloads. Use the “Download” button in the top-right corner of their DeviantART pages. Grab the highest resolution versions available.
Setting Up Your Canvas
Start with proper dimensions. Large files give you flexibility for printing later.
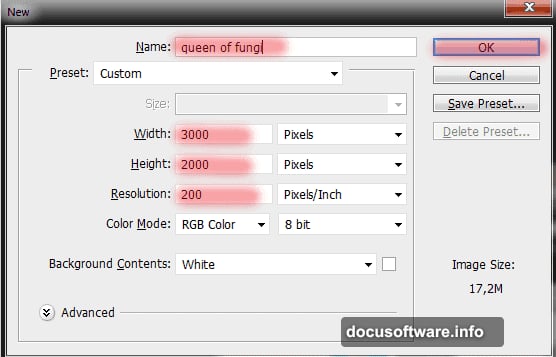
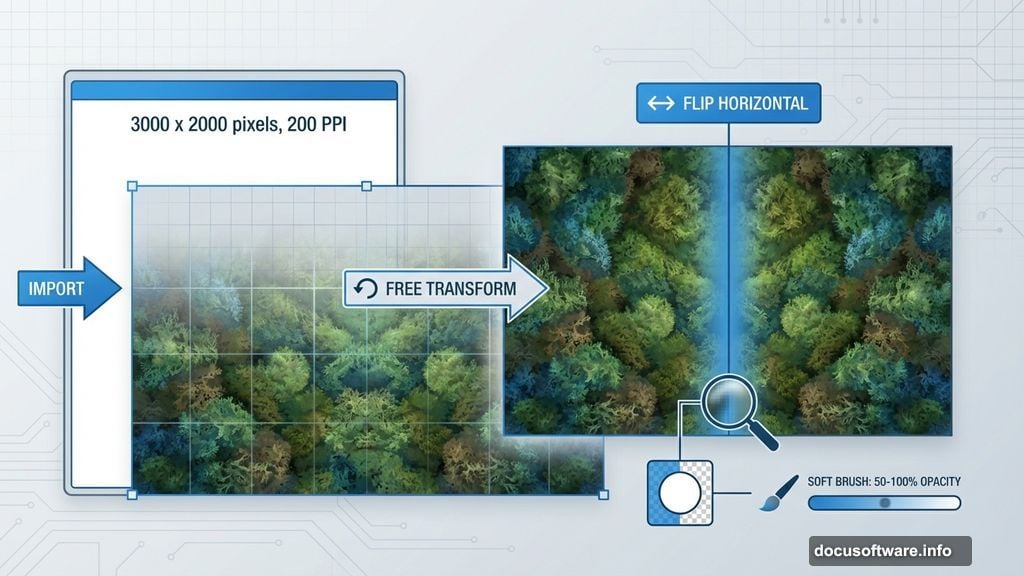
Create a new document at 3000 x 2000 pixels with 200 PPI resolution. This size works well for prints up to 15 x 10 inches. Name your file something memorable like “Queen of Fungi” so you can find it later.
Pro tip: Save your work frequently. Photoshop can crash, especially with large files and multiple layers.
Building the Forest Background
Now comes the foundation work. Open your moss texture image using File > Place. The image should fill your entire canvas. If it doesn’t, you probably downloaded a lower resolution version.
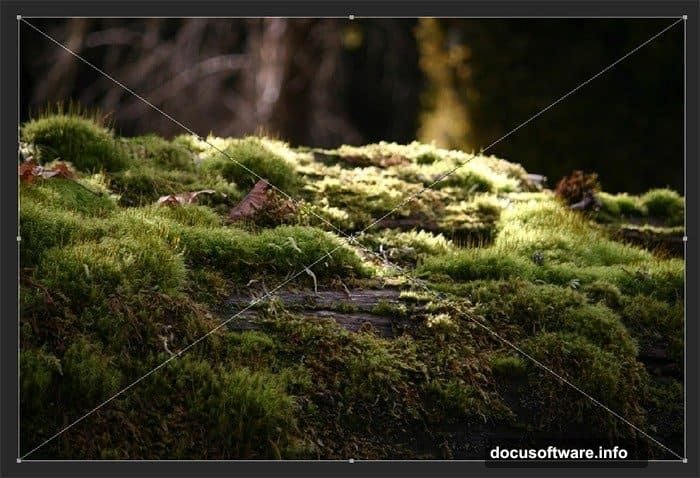
Scale the texture using Free Transform (Cmd/Ctrl + T). You want detailed moss covering the bottom two-thirds of your composition.
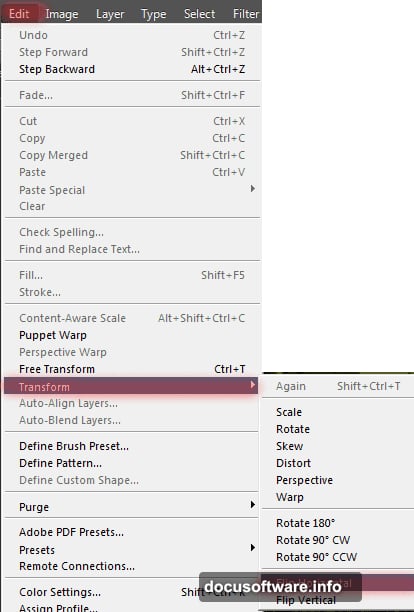
Here’s where it gets interesting. Duplicate this background layer (Cmd/Ctrl + J). Then flip the duplicate horizontally (Edit > Transform > Flip Horizontal). Move the original layer down slightly so the two textures overlap but don’t match perfectly.
Why this technique? It creates a more organic, less repetitive background. Real forests don’t have perfectly symmetrical patterns.
Blending Background Layers
Add a layer mask to your top background layer. Select the Brush Tool (B) with these specific settings:
- Size: 100px
- Hardness: 0%
- Opacity: 50-100% (vary as needed)
- Flow: 100%
Paint along the seam where your two background layers meet. The soft brush with variable opacity creates a seamless blend. Work slowly here. Obvious seams ruin the illusion.
Take breaks to zoom out and check your work. Details that look perfect at 200% zoom sometimes reveal problems at actual size.
Adding Mushrooms and Environmental Details
Fantasy composites live or die on layering. You’re building depth by stacking elements at different distances from the camera.
Place your mushroom images starting with the largest ones in the foreground. Use Free Transform to scale them appropriately. Mushrooms closer to the camera should be larger and more detailed.
Add smaller mushrooms in the middle ground and background. Blur distant elements slightly using Filter > Blur > Gaussian Blur (1-2 pixel radius). This mimics how real camera lenses work.
Position your insects thoughtfully. A snail crawling on a foreground mushroom adds scale reference. Spider webs in the background create depth. Don’t randomly scatter elements everywhere.
Creating the Bioluminescent Effect
This tutorial’s signature effect comes from making mushrooms glow. You’ll need to work with layer blending modes and adjustment layers.
For each glowing mushroom:
- Create a new layer above the mushroom
- Use a soft brush with bright cyan or green color
- Paint glow on mushroom caps and gills
- Set layer blend mode to Screen or Linear Dodge
- Reduce opacity until the glow looks natural (usually 40-60%)
Real bioluminescent mushrooms emit subtle light. Don’t oversaturate your glows. When in doubt, dial it back 20%.
Integrating Your Baby Portrait
Cut out your baby portrait using your preferred selection method. The Pen Tool gives the cleanest results but takes longer. Quick Selection Tool works faster for beginners.
Place the cutout portrait into your scene. Scale it so the proportions look believable within your forest environment.
Match the lighting direction. Your background has light coming from above and slightly behind. Add subtle shadows under your subject using a dark, soft brush on a new layer set to Multiply blend mode.
Color grade your portrait to match the cool, mystical tones of your background. Use a Curves adjustment layer to shift colors toward cyan and reduce warm tones.
Adding Magical Sparkle Effects
The bokeh light textures create that dreamy, magical atmosphere. Place your bokeh images above your main composition. Set their blend mode to Screen so only the light spots show through.
For the phosphorescent star effect mentioned at the start:
- Create a new layer
- Select a star-shaped brush (or install custom star brushes)
- Paint scattered stars with bright yellow-green color
- Set blend mode to Linear Dodge
- Add a slight Gaussian Blur (0.5-1 pixel)
- Reduce opacity to 60-80%
Scatter your stars unevenly. Nature isn’t symmetrical. Cluster some stars together, leave other areas darker.
Final Polish and Color Grading
Your composite is nearly complete. Now you’ll unify all elements with overall color grading.
Add a Curves adjustment layer at the top of your layer stack. Lift the shadows slightly in the RGB curve to reduce pure blacks. Add a subtle S-curve to increase contrast in midtones.
In the Blue channel, lift the shadows and pull down highlights slightly. This adds the cool, mysterious color cast that makes fantasy images pop.
Consider adding a subtle vignette. Create a new layer, fill it with black, set to Soft Light blend mode at 30% opacity. Add a layer mask and use a large, soft brush to reveal the center of your image.
Common Problems and Quick Fixes
Edges look cut out: Your subject’s edges probably look too sharp. Add a 0.5-pixel Gaussian Blur to just the edge pixels. Or use the Refine Edge tool to soften the selection.
Colors don’t match: Create a Color Lookup adjustment layer and try different presets. Or use Selective Color adjustments to shift specific color ranges.
Composition feels flat: You likely need more depth cues. Add atmospheric haze in the background using a white brush at low opacity. Blur distant elements more aggressively.
Glowing effects look fake: Reduce opacity. Real light sources rarely glow at 100% intensity. Add subtle light spill on nearby objects for realism.
Time Investment Reality Check
Your first attempt will take 3-4 hours minimum. That’s normal. Professional compositors spend days on single images.
The technique matters more than speed. Master these skills on one project, and your next composite goes much faster.
Plus, you’ll have a one-of-a-kind portrait. Try getting that at a photography studio.
Beyond This Tutorial
These techniques work for any fantasy portrait. Swap mushrooms for flowers and create a fairy garden scene. Replace the baby with a pet for magical animal portraits. Use darker textures and dramatic lighting for gothic compositions.
The fundamentals remain the same: thoughtful layering, proper blending, and unified color grading. Master this project and you’ve learned skills that transfer to countless creative applications.
Download your resources now. Block out a free afternoon. Create something magical that turns heads when you share it.