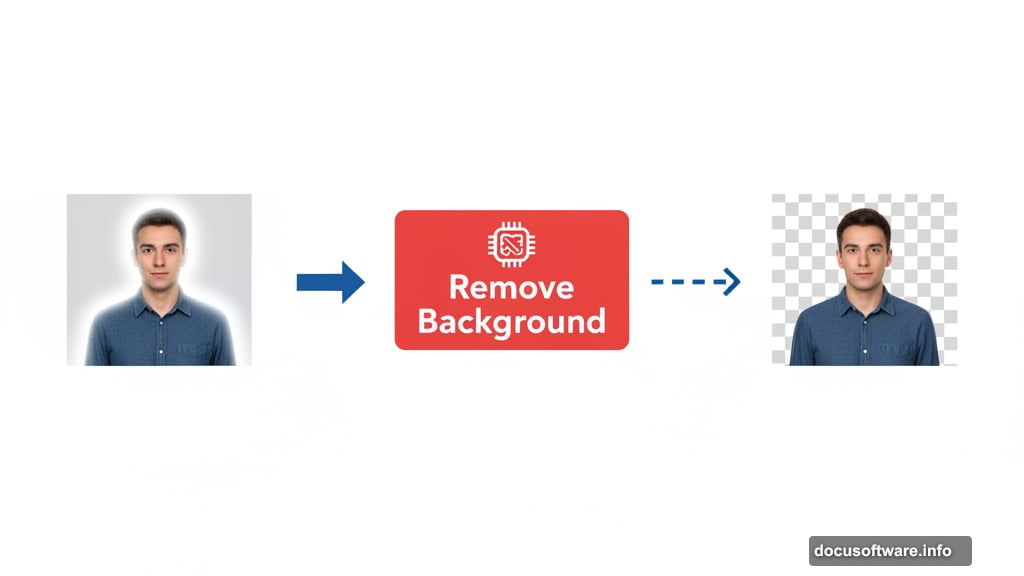
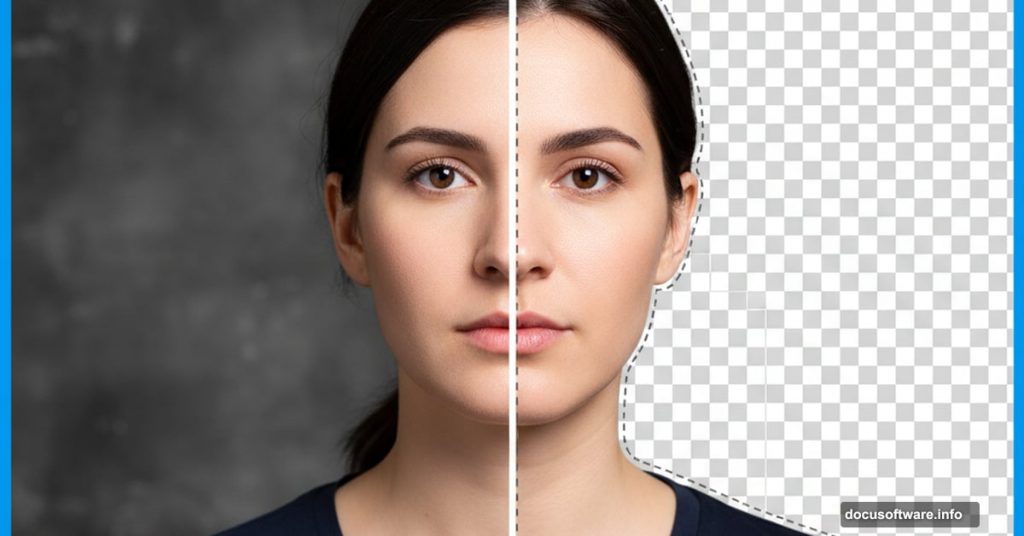
Removing backgrounds in Photoshop sounds easy until you zoom in. Those fuzzy edges and weird halos? They ruin everything.
Most tutorials show you the one-click Remove Background button and call it done. But that’s rarely the full story. Real images need more work, especially when hair or fine details are involved.
Let’s fix those edges properly. You’ll learn both the fast AI method and the manual cleanup techniques that actually work.
Start With Photoshop’s AI Tools
Hit the Remove Background button first. It’s genuinely impressive now. Photoshop’s AI handles most subjects remarkably well, even complex ones.
But don’t trust it blindly. Duplicate that layer immediately and shut off the original. You just saved your first mask as backup insurance.
Now add a solid color layer beneath your subject. Pick something contrasting. This reveals every edge problem the AI missed. You’ll spot them instantly against that harsh background.
Clean Up What AI Misses
Grab a regular brush set to Normal mode. Paint on the mask to reveal lost details the AI clipped too aggressively. Small bits of clothing, fingers, accessories—they often get chopped.
Next, try the Levels adjustment on your mask. It tightens soft edges without destroying detail. Then switch your brush to Soft Light mode and paint away remaining problems.
Here’s a trick most people miss. Duplicate your cleaned-up layer and set the blend mode to Screen. Drag it below your main subject layer. This brightens edges naturally without creating halos.
Group your top layer so you can add a fresh mask. Use a huge, soft brush at low opacity to gently brighten edge areas that need help. This combats the halo effect before it becomes visible.
Take time examining all edges. The brightening layer sometimes adds unwanted glow. Paint it away carefully where it appears.
Manual Selection Still Matters
Sometimes Remove Background fails completely. Hair, transparent objects, or unusual subjects confuse the AI. That’s when manual selection tools save the day.

Quick Selection works for most cases. Object Selection handles specific items well. Select Subject tries to grab everything at once. Each tool has moments where it shines.
But Select and Mask is where magic happens. Jump in there for serious edge work.
Master Select and Mask
Set your view to “On Black” first. This shows problem edges immediately. Nothing hides against pure black.
Find the jagged or messy spots. Use Quick Selection, Lasso, or Brush tools to refine those areas. Don’t rush this step. Precision here determines your final quality.
Now hit the global refinement sliders. Each one tackles different edge problems:
Smoothing eliminates jagged, stippled edges. Use it sparingly or you’ll lose natural texture.
Feather adds realistic softness. Just a tiny amount makes edges look less cut-out.
Contrast with Feather cleans up jagged edges differently than smoothing alone. Try both approaches.
Shift Edge clips or expands your selection. Sometimes you need to trim problem pixels entirely.
Different images demand different slider combinations. There’s no universal setting. Experiment until edges look natural.
Hair Requires Extra Attention
Hair and fine edges usually need a second Select and Mask pass. Try the Refine Hair button first. Sometimes Photoshop’s AI nails it immediately.
If not, grab the Refine Edge Brush tool. Paint over hair areas carefully. This tool analyzes color and contrast to separate fine strands from background.
Be patient. Hair takes time. But proper hair selection separates amateur composites from professional ones.
Test Against Your New Background
Drop in your actual new background now. Use contrasting colors or brightness to reveal remaining edge issues. What looked clean against gray might show problems against white or black.
Check the Properties panel for your mask. That Density slider acts like opacity but only affects the mask. Lower it to reveal areas that got accidentally hidden. Then paint them back in selectively.
This step catches all the tiny mistakes you’d otherwise notice only after finalizing your composition.
Fix the Halo Problem
Successfully removing backgrounds isn’t just about clean edges. You also need to fix lighting mismatches.
Moving from dark backgrounds to bright ones creates bright halos. Moving from bright to dark creates dark halos. Both look terrible.
Here’s the solution. Duplicate your masked layer and change the blend mode to Screen for dark-to-bright moves. Use Multiply for bright-to-dark moves instead.
This naturally adjusts edge lighting to match your new background. It’s subtle but crucial.
Still see slight halos? Switch to a Soft Light brush and dust them away manually. Paint on the mask with gray tones to gently blend problem areas.
The Real Secret Nobody Mentions
Perfect background removal takes multiple passes. The AI gets you 80% there. Manual refinement adds another 15%. That final 5% comes from testing against your actual background and making tiny adjustments.
Most people stop too early. They see decent edges at 100% zoom and call it done. But composites reveal their weaknesses when you step back or view at full size.
Zoom out frequently. View your work at actual display size. Those details matter more than pixel-level perfection that nobody will notice.
Also, remember that blend modes solve problems brushes can’t. Screen and Multiply naturally adjust lighting. Soft Light gently corrects color. These tools work together, not separately.
The Remove Background button is fantastic for speed. But understanding manual selection and refinement techniques means you can handle any image, no matter how complex. That’s when you stop fighting Photoshop and start creating exactly what you envision.
