
Ever watched Inception and wondered how to fold entire cities into impossible angles? Turns out you don’t need Hollywood-level skills or expensive plugins.
You just need Photoshop and about five minutes. Plus, the secret weapon here is a triangular selection trick that sounds complicated but actually works like magic. Let’s break down exactly how to bend reality in your photos.
The Secret: Perfect Triangular Selections
Here’s the thing about creating those mind-bending cityscapes. Most people struggle with making clean selections. They eyeball it and end up with crooked edges that ruin the illusion.
But there’s a smarter way. The Polygonal Lasso Tool becomes your best friend when you combine it with one specific keyboard shortcut.
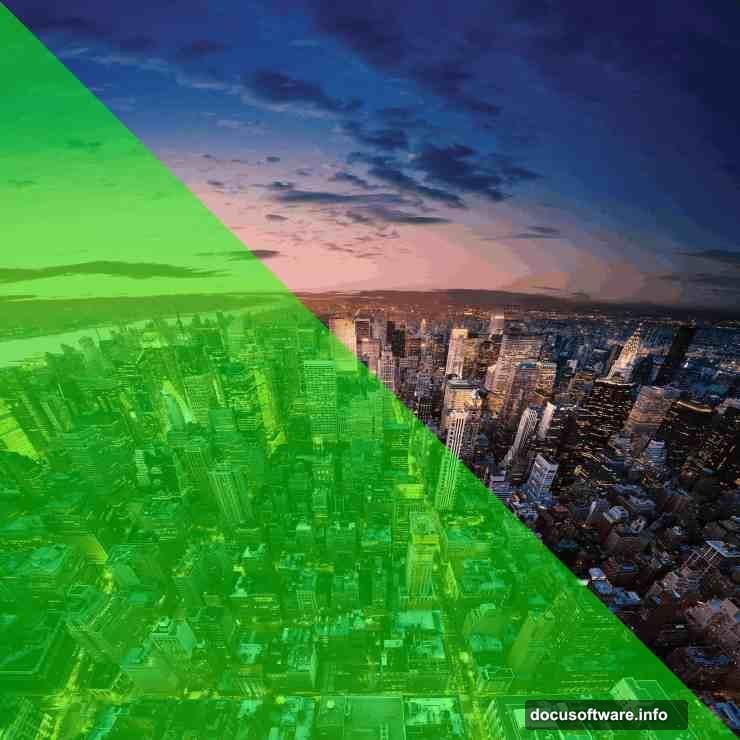
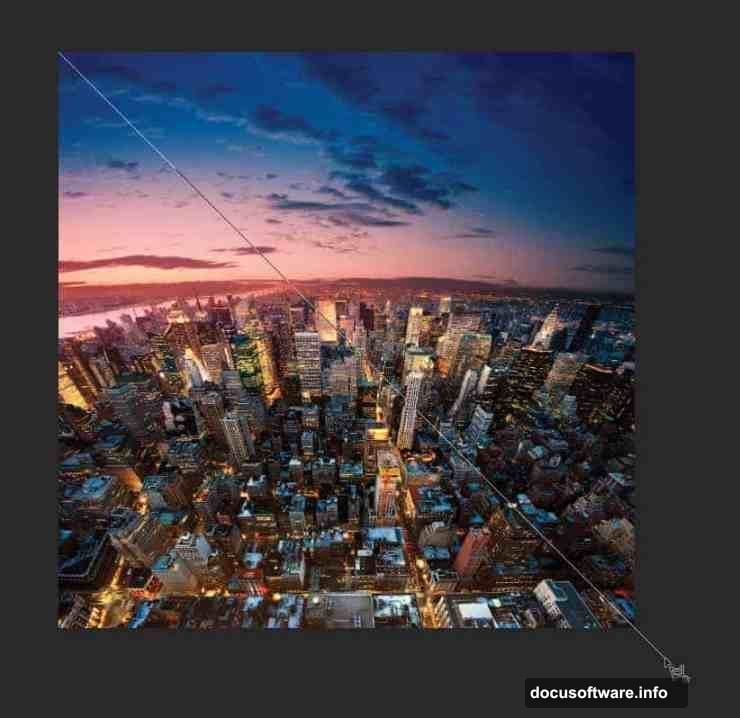
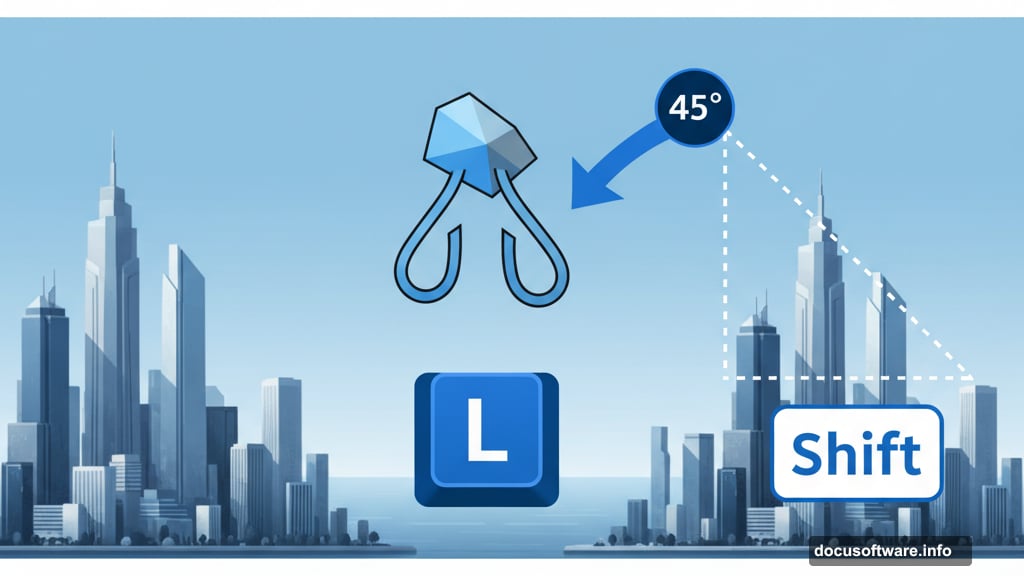
First, zoom way into your image’s top-left corner. Like really close. Select the Polygonal Lasso Tool by pressing L. Click once on that top-left corner.
Now here’s where it gets clever. Press Ctrl (or Cmd on Mac) and the minus key to zoom back out. While holding Shift, click below your starting point. That Shift key forces a perfect 45-degree line every single time.
No guessing. No crooked angles. Just clean geometry that makes your final result look professional instead of amateur.
Why Landscape Photos Work Best
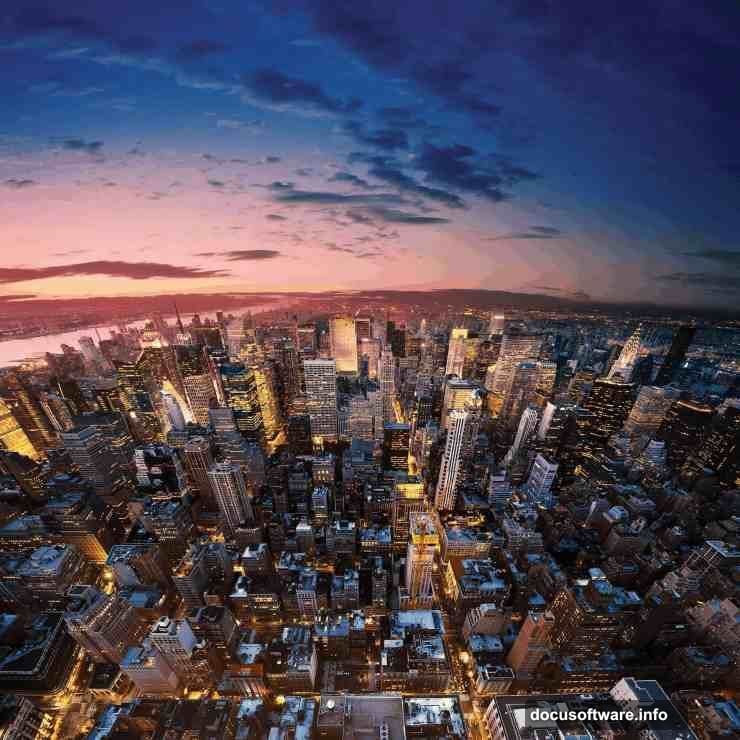
Not every image suits this technique equally well. You want photos where the top half shows mostly sky or empty space.
Why? Because you’re going to flip and rotate that section. Buildings and landscapes need room to fold upward without looking cluttered or confusing.
Urban skylines work perfectly. Wide-angle cityscapes with clear horizons give you the most dramatic results. Think New York, Dubai, or any sprawling metropolitan view.
The technique works on other subjects too. Mountains, coastlines, even forests can create interesting effects. But cityscapes deliver that signature Inception look everyone recognizes instantly.
The Transform Tool Does All the Heavy Lifting
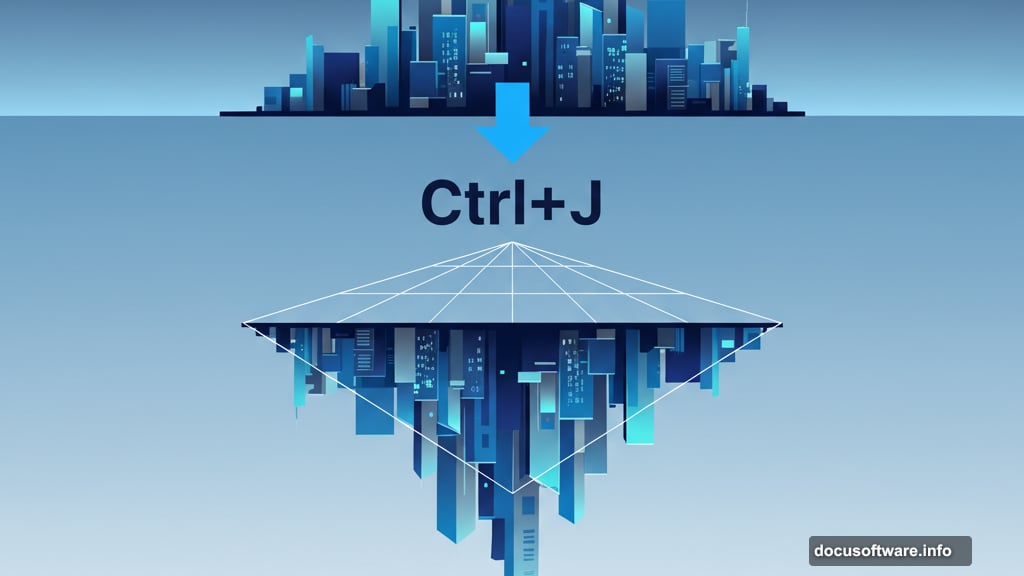
Once you’ve made your triangular selection, press Ctrl/Cmd+J. This duplicates just that selected area into a brand new layer. Now you can manipulate it without touching the original image.
Hit Ctrl/Cmd+T to activate Transform mode. Right-click inside the box and choose Flip Vertical. Your selection literally flips upside down.
Now comes the rotation part. Move your cursor outside the transform box until it changes to a curved arrow. Hold Shift while dragging to rotate. That Shift key constrains rotation to 15-degree increments.
This matters because precise angles make the illusion work. Sloppy rotation breaks the effect. Constrained rotation keeps everything looking intentional and architectural.
Position your flipped section so it connects seamlessly with the original cityscape. The buildings should appear to fold upward at impossible angles, defying gravity like in the movie.
Common Mistakes That Break the Illusion
Most people rush the selection step. They create wobbly triangles that don’t align properly. Remember to zoom in close before making that first click.
Another mistake involves picking the wrong part of the image. If your triangular selection contains too much empty sky, the final result looks boring. You want buildings and structures in that section.
Also, watch your rotation angle. Too extreme and it looks cartoonish. Too subtle and the effect barely registers. Aim for that sweet spot where it’s obviously folded but still visually coherent.
Finally, some photos just don’t work for this technique. Avoid images with heavy distortion, unusual perspectives, or cluttered compositions. Stick with clean, straight cityscapes for the best results.
Try Multiple Angles for Different Effects
The top-left corner isn’t your only option. Switch to the top-right corner for a different fold direction. This creates variety when you’re working on a series of images.
You can even combine multiple folds in one image. Create several triangular selections from different corners. Each one becomes its own folded section of reality.
Just be careful not to overdo it. Too many folds make the image chaotic and hard to read. Two or three strategically placed bends usually hit the right balance between impressive and comprehensible.
Experiment with different cityscape photos to see which compositions work best. Some images surprise you with how well they fold. Others look awkward no matter how carefully you execute the technique.
Shortcuts Save Serious Time
This whole process takes maybe five minutes once you’ve practiced it a few times. But you can speed it up even more with keyboard shortcuts.
Press L for the Polygonal Lasso Tool. Ctrl/Cmd+J duplicates your selection. Ctrl/Cmd+T activates Transform mode. These shortcuts eliminate constant menu hunting.
Hold Shift during rotation to snap to 15-degree angles. Hold Shift during line creation for perfect 45-degree diagonals. That one modifier key does tons of heavy lifting in this technique.
If you mess up a selection, press Ctrl/Cmd+D to deselect and start over. Don’t waste time trying to fix a bad selection. Just restart—it’s faster.
When Automated Actions Make Sense
Look, manually creating these effects teaches you the fundamentals. You understand what’s happening at each step. That knowledge matters when you want to customize or troubleshoot.
But if you’re processing multiple images or need consistent results, Photoshop Actions automate the entire workflow. One click applies the whole sequence of steps.
Actions work great for batch processing or client work where speed matters more than learning. Just remember that actions can’t make creative decisions for you. They follow the same steps every time regardless of your specific image.
For this technique, the manual approach gives you more control over which corner to select and how far to rotate. Actions assume standard settings that might not suit every photo.
This Technique Teaches Useful Skills
Beyond creating cool Inception-style images, this tutorial reinforces several fundamental Photoshop concepts. Precise selections. Layer duplication. Transform controls. Keyboard shortcuts.
These skills transfer to countless other projects. Product photography. Graphic design. Photo restoration. Digital art. The Polygonal Lasso Tool alone opens up tons of possibilities once you master it.
Plus, understanding how Transform mode works with constrained rotations helps in any project requiring precise positioning. Architecture mockups, layout design, even game asset creation all benefit from these basics.
So even if you never create another folded cityscape, the time spent learning this technique isn’t wasted. You’re building foundational skills that make you faster and more capable across all kinds of creative work.
Reality Bending Gets Addictive
Fair warning: once you nail this technique, you’ll see potential everywhere. Every cityscape photo becomes a candidate for impossible folding. Every horizon line looks like it wants to defy gravity.
The effect works on more than just cities too. Try it with mountain ranges, forest edges, or ocean horizons. Some subjects create surprisingly compelling results even though they differ from the original movie aesthetic.
Share your results online and watch reactions roll in. People love these reality-bending images because they trigger that same sense of wonder from seeing Inception the first time. Your work makes viewers stop scrolling and actually look.
That’s the real magic here. Not just the technical execution, but creating images that capture attention and spark imagination. All from a simple triangular selection and a few transform adjustments.