Creating a dramatic winter aurora landscape sounds intimidating. But Photoshop breaks it down into manageable pieces that anyone can follow.
This tutorial walks through building an entire northern lights scene from scratch. You’ll combine multiple stock images, add glowing effects, and adjust lighting to make everything feel cohesive. Plus, you’ll learn techniques you can reuse in other projects.
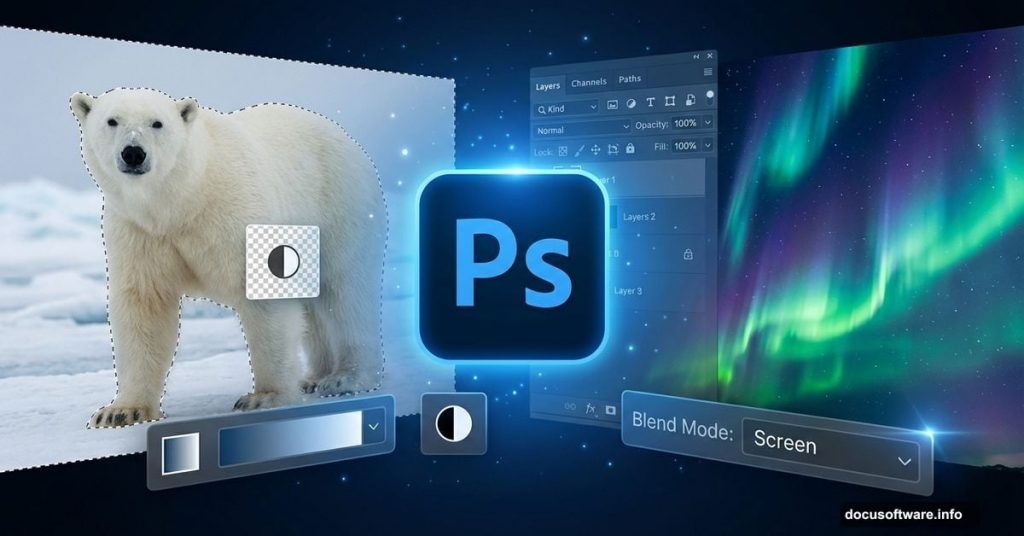
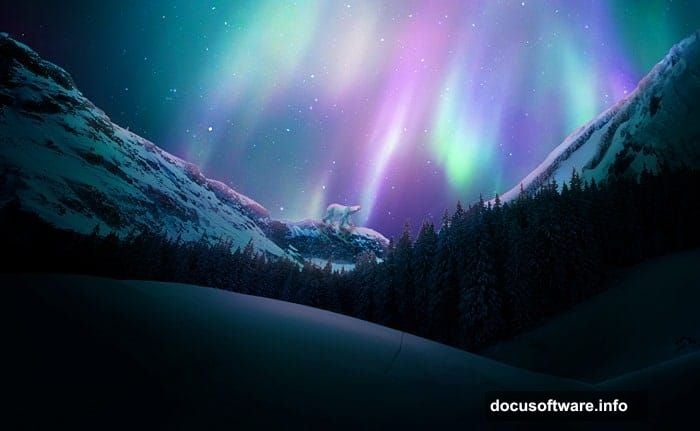
The finished image features a massive polar bear under dancing aurora lights. It’s the kind of scene that looks complicated but uses straightforward tools.
Gather Your Stock Images First
Before opening Photoshop, collect these assets:
You need a starry sky background, aurora images, foreground elements like trees, mountain ranges for both sides, and a polar bear photo. Free stock sites work fine. Just make sure images have similar resolution.
Save everything in one folder. That makes the process smoother when you’re importing multiple files.
Build the Base Sky Gradient
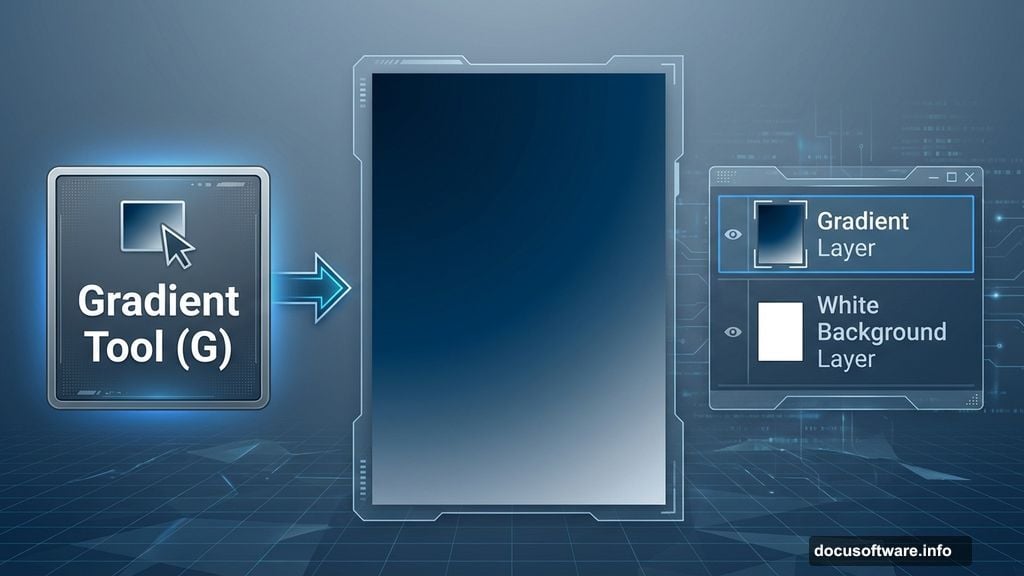
Start with a new 1300x800px document. Fill it white or any color you prefer.
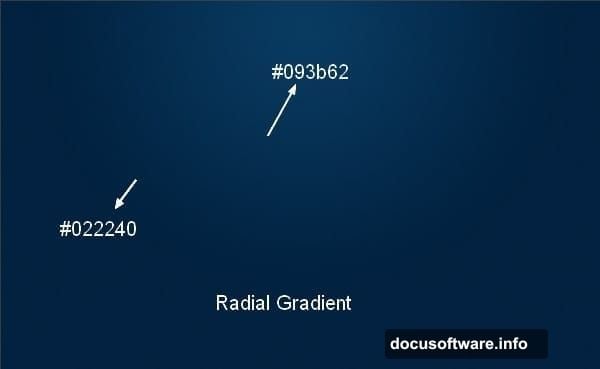
Create a new layer (Cmd/Ctrl+Shift+N). Then grab the Gradient Tool by pressing G. Choose Radial Gradient and set colors to #022240 and #093b62.
Drag from top to bottom. This creates a night sky base with natural depth. The gradient gives you that midnight blue atmosphere instantly.
Layer in the Stars
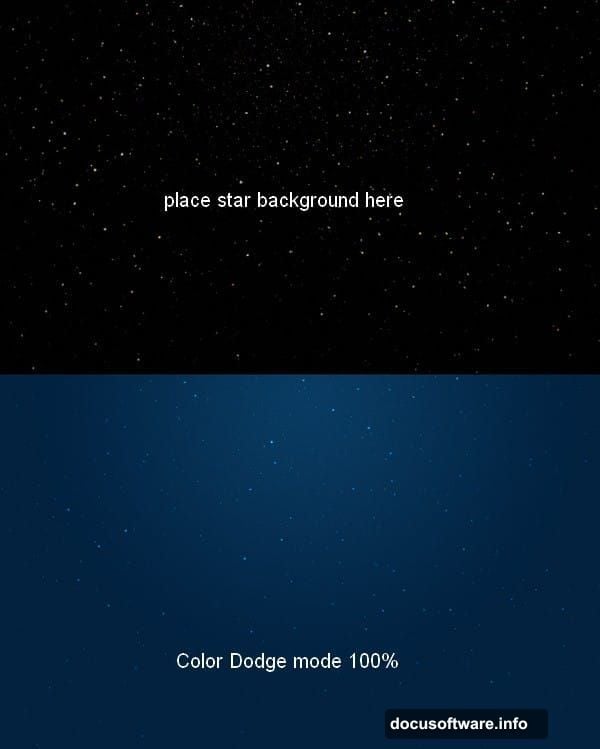
Open your starry background pack. Move it onto your canvas using the Move Tool (press V).
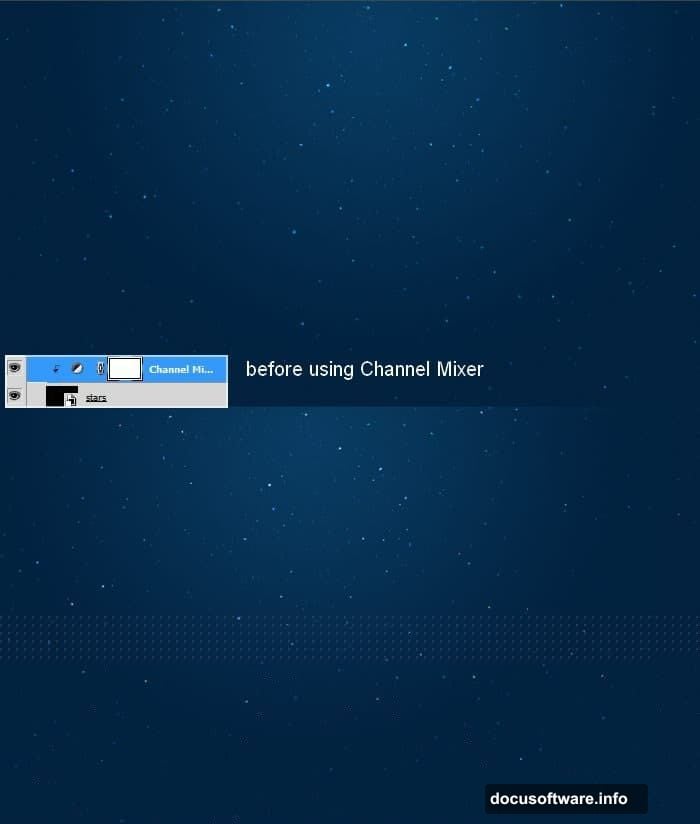
Here’s the important part: Change the blend mode to Color Dodge at 100%. This makes stars pop against the dark sky without looking pasted on.
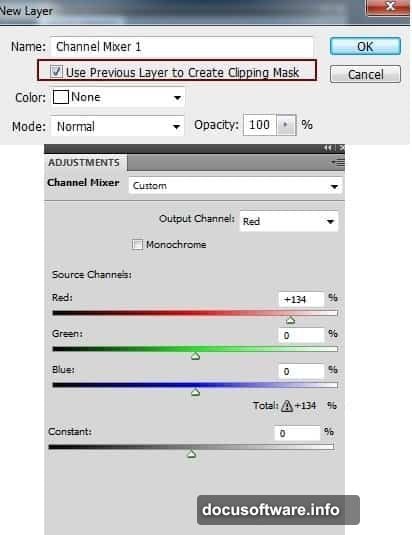
Some stars might look too white. Fix that with a Channel Mixer adjustment layer. Use a Clipping Mask so it only affects the stars. Adjust the red channel slightly. Now some stars have warmer tones that feel more realistic.
Add Aurora Lights
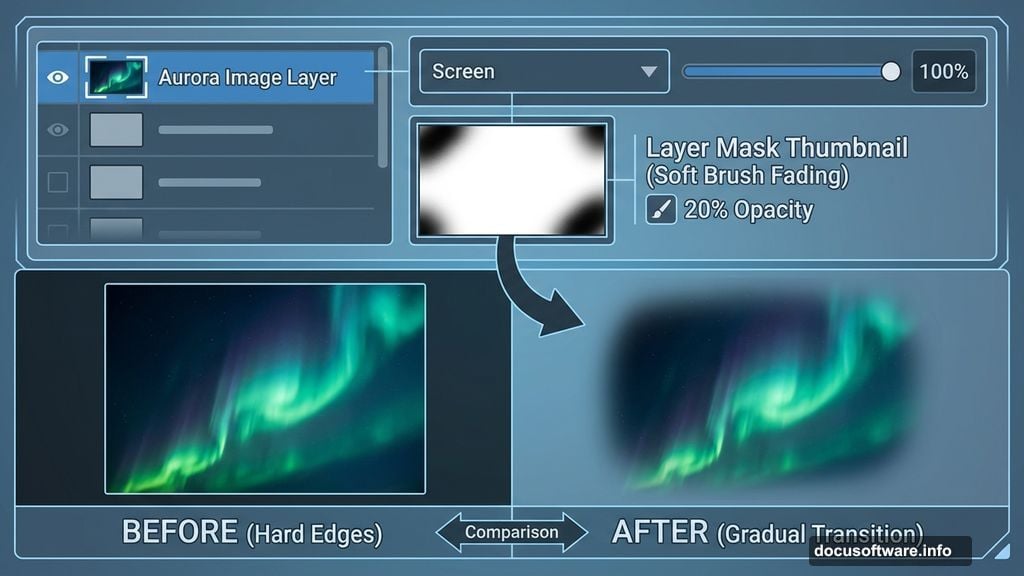
Place your aurora image on top of the sky. Set blend mode to Screen at 100%.
The aurora probably covers too much space or looks too intense in spots. Add a layer mask by clicking the second button at the bottom of the Layer panel. Use a soft black brush at 20% opacity to fade edges and reduce brightness where needed.
Check your mask preview. You want gradual transitions, not hard lines.
Expand the Aurora Across the Sky
Duplicate your aurora layer. Flip it horizontally through Edit > Transform > Flip Horizontal. Move it to the right side.
Use another layer mask to blend edges. This creates a wider, more natural-looking aurora display that fills the frame.
The goal is making two separate images look like one continuous light show.
Group Layers for Better Control
Select all aurora layers. Press Cmd/Ctrl+G to group them.
Critical step: Change the group blend mode from Pass Through to Screen 100%. This maintains the same visual effect while letting you control everything at once.
Add a Curves adjustment layer inside the group. Now you can adjust all aurora lights together. Drop the curve slightly in the middle to tone down brightness without losing the glow effect.
Paint Sky Light Enhancements
Create a new layer. Use the Rectangular Marquee Tool to select just the sky portion.
Grab a soft brush. Pick two colors: #f79ead and #acbbc5. Paint along the selection edges with these colors. This adds subtle color variations that make the sky feel more dynamic.
Convert this layer to a Smart Object. Then apply Filter > Blur > Motion Blur. Set angle to match the aurora flow and adjust distance until it looks smooth. This creates that ethereal light-bleed effect you see in real aurora photos.
Build the Foreground Mountains
Import your left mountain image. Position it in the lower portion of your canvas.
The mountain probably doesn’t match the sky lighting yet. Add a Curves adjustment layer with Clipping Mask. Darken the mountain significantly since it’s nighttime. Pull the curve down until the mountain feels like a dark silhouette.
Add a second Curves layer. This time, use the blue channel to add cool tones that match the aurora light temperature. Mountains should feel cold and dark but still visible.
Repeat this process for the right mountain. Keep both mountains darker than the sky. They’re blocking light, not producing it.
Add Foreground Trees
Place your tree images along the bottom edge. These create depth and frame the scene.
Trees should be nearly black since they’re closest to the viewer and furthest from light sources. Use Curves to make them very dark. Leave just a hint of detail visible.
Add layer masks to blend tree bases into the ground. Use a soft brush at the bottom edges so trees don’t look cut out and pasted.
Position the Polar Bear
Drag your polar bear onto the canvas. This tutorial uses an oversized bear for dramatic effect, but you can scale naturally if you prefer.
The bear needs to fit the scene lighting. Add a Curves adjustment layer and darken it. Bears should be visible but not bright since available light is dim.
Here’s where it gets interesting: Add a second Curves layer focusing on the blue channel. This adds that cool aurora light reflection onto the bear’s fur. The effect is subtle but makes the bear feel like it belongs in this environment.
Create Ground Lighting Effects
Make a new layer below the bear. Use a soft white brush at low opacity to paint light on the ground beneath the aurora.
The ground should glow slightly where aurora light hits strongest. Paint multiple strokes with very low opacity (10-15%) to build up the effect gradually.
Change this layer’s blend mode to Overlay or Soft Light. This makes the glow feel integrated instead of painted on.
Add Atmospheric Depth with Fog
Create another new layer. Set blend mode to Screen.
Use a large soft brush with light blue color (#b3c8d9). Paint wispy strokes across the middle ground. This creates atmospheric fog that adds depth and mystery.
Reduce opacity to 30-40%. Fog should be barely visible, just enough to separate foreground from background.
Refine with Final Color Adjustments
Add a Color Balance adjustment layer at the top of everything. Adjust midtones toward blue and cyan to unify the color temperature.
Then add a Curves layer for final contrast. Raise the highlights slightly and drop shadows a bit. This creates more separation between elements.
Finally, add a Vibrance adjustment. Increase vibrance around 15-20 to make aurora colors pop without oversaturating.
Polish with Selective Sharpening
Flatten a copy of your entire image by pressing Cmd/Ctrl+Alt+Shift+E. This creates a merged layer at the top while keeping originals intact.
Convert to Smart Object. Apply Filter > Sharpen > Unsharp Mask. Use amount around 80%, radius 1.0, threshold 3. This sharpens details without creating halos.
Add a layer mask to this sharpened layer. Mask out the blurry fog and softer background elements. You want sharpness on the bear and foreground trees only.
The Techniques That Matter Most
Several steps in this tutorial apply to almost any photo manipulation project.
Blend modes matter more than layer stacking. Screen mode for light elements, Multiply for shadows, Overlay for texture. Learn what each mode does instead of just trying them randomly.
Adjustment layers with Clipping Masks let you edit specific elements without affecting everything else. This keeps your work non-destructive and flexible.
Building light gradually with low-opacity brushes looks more realistic than strong single strokes. Real light diffuses and blends naturally.
Smart Objects protect your original images. You can always go back and adjust blur or filters without degrading quality.
Photoshop Gets Easier with Practice
This tutorial covers advanced techniques but breaks them into simple steps. You don’t need to be an expert to create dramatic scenes.
The key is understanding how elements interact. Light affects everything in a scene. Color temperature ties disparate images together. Depth comes from layering and atmospheric effects.
Start with simpler projects if this feels overwhelming. Practice individual techniques like blend modes or layer masks separately. Then combine them as you get comfortable.
Most importantly, experiment. Photoshop forgives mistakes. You can always undo, mask, or adjust layers until you get the look you want.