
Photo manipulation sounds simple until you try it. Then reality hits hard.
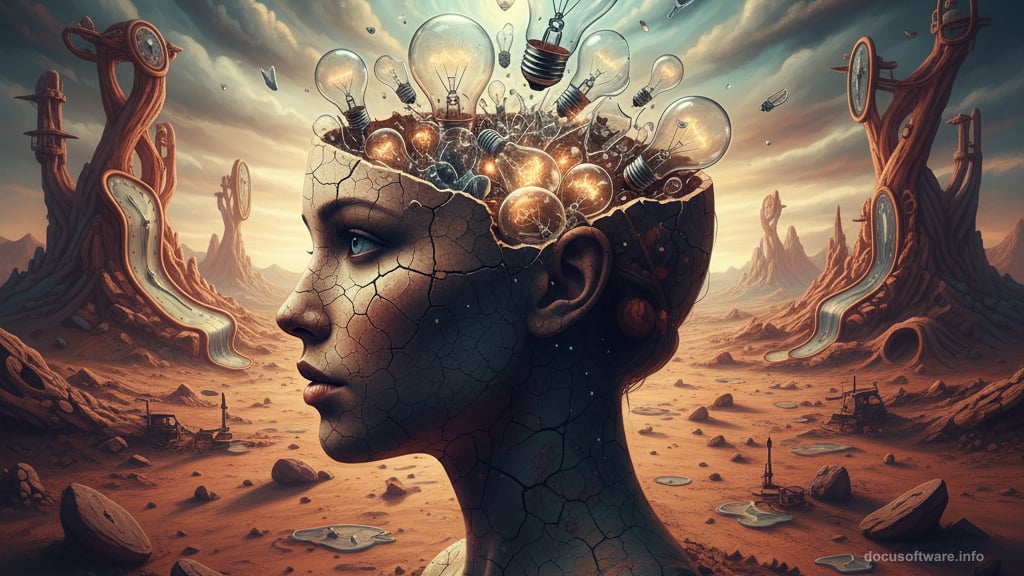
I spent hours building this surreal head piece in Photoshop. The concept looks straightforward—a woman’s head filled with broken light bulbs against a desert backdrop. But getting those layers to blend naturally? That’s where most tutorials skip the hard parts.
Let me walk you through what actually works. Plus, I’ll share the mistakes that waste hours so you can avoid them.
Set Your Canvas Right
Start with a 2300×2300 pixel document. Fill it with white. This gives you room to work without cramping your composition later.
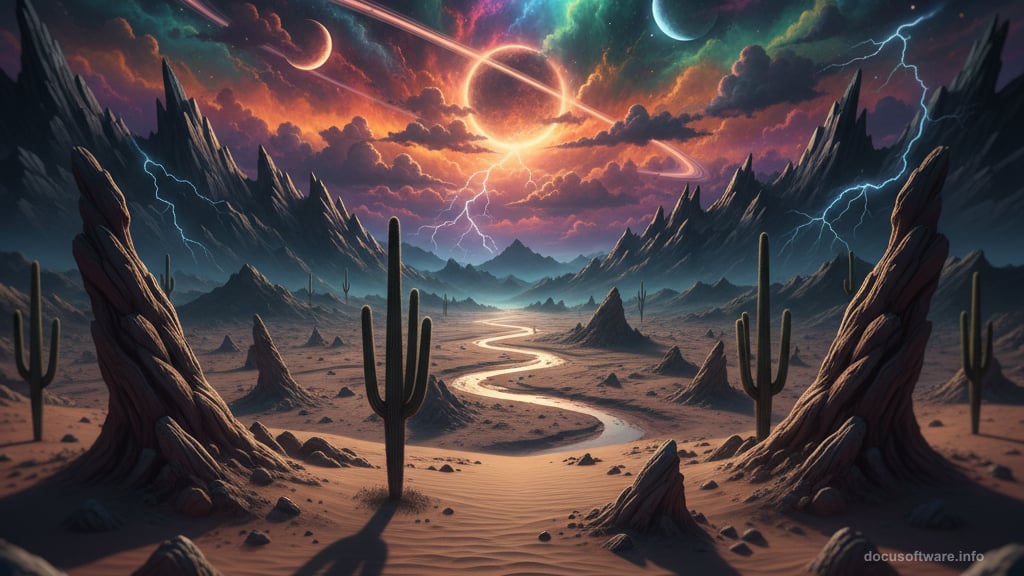
Open your desert image and drag it onto the canvas using the Move Tool (V). Hit Ctrl+T to resize it. Place this layer at the bottom of your canvas. The positioning matters more than you’d think—it anchors your entire composition.
Now here’s the trick most people miss. Duplicate this desert layer and flip it vertically through Edit > Transform > Flip Vertical. Move this flipped version to the top of your scene. This creates visual symmetry that makes the surreal elements feel more grounded.
Blend Those Desert Edges
Click the mask icon at the bottom of your Layers panel. Add a mask to each desert layer. Grab the Brush Tool (B) and select a soft round brush with black color.
Use this brush to remove the sky portions and hard edges. Make everything soft and smooth. The key is patience—rush this step and your composition looks amateurish.
Select both desert layers and press Ctrl+G to group them. Change the group mode to Normal 100%. This keeps your blend modes from stacking weirdly.
Light Makes Everything Work
Go to Layer > New Adjustment Layer > Curves above your desert group. Increase the lightness here. But don’t apply it everywhere—use a soft black brush on the layer mask to reduce lightness on the top desert and bottom foreground.
Why? Because you need contrast to sell the effect. Flat lighting kills photo manipulation faster than anything else.
Create another Curves adjustment layer. This time decrease the lightness on both foregrounds—top and bottom. Paint on the middle background with your layer mask. This is where your main light source lives. Everything should draw the eye here.
Add a Brightness/Contrast adjustment layer next. Increase contrast on the foreground areas—top and bottom. Paint on the rest to preserve their current lightness values.
Build Your Sky Layer
Open your sky image and select just the sky portion using the Rectangular Marquee Tool (M). Place this in the space between your upper and lower desert sections. Position this layer below your desert group in the layer stack.
Make a Hue/Saturation adjustment layer for the sky. Desaturate it by dragging the Saturation slider down to -84. This mutes the colors and helps everything blend together. Oversaturated skies scream “bad composite” instantly.
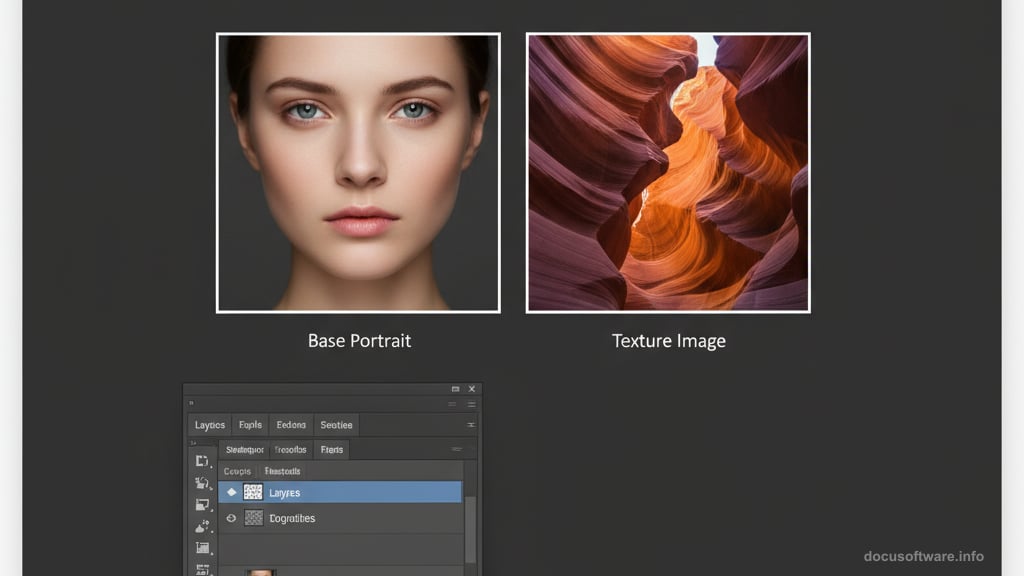
Add the Model’s Head
Import your model image and position the head where you want it. This becomes your focal point. Everything else supports this element.
Use the Pen Tool (P) to carefully trace around the head. Take your time here—sloppy selections ruin otherwise solid work. Convert your path to a selection and add a layer mask.
Create a hole in the head using the Ellipse Tool (U). Draw a circular selection where the broken bulbs will appear. Fill this with black on a new layer. Add layer effects to make the hole look three-dimensional. A subtle inner shadow and bevel work wonders.
Draw Connection Lines
Switch to the Line Tool and draw several lines connecting the head hole to various points. These lines represent wires or connections to your light bulbs. Vary the thickness and opacity to add visual interest.
Keep these lines subtle. Too bold and they overpower your composition. Too thin and they disappear. Finding that balance takes experimentation.
Place Your Light Bulbs
Import your light bulb images and position them strategically. Some should appear whole. Others need to look broken or cracked.
For broken bulbs, use layer masks and the Brush Tool to selectively hide portions. Add small cracks using thin black lines. Scatter some glass shards around broken bulbs using small brush strokes.
The broken bulb stock image matters here. Low-quality source material limits your final result. Find high-resolution bulb images with clean backgrounds. This saves hours of cleanup work.
Create Bulb Glow Effects
Select a bulb layer and add an Outer Glow layer style. Set the blend mode to Screen. Choose a warm yellow color. Adjust the size until it looks natural—not too subtle, not too overwhelming.
Duplicate this glow on a new layer and blur it slightly using Filter > Blur > Gaussian Blur. Set this layer to Screen blend mode at 60-70% opacity. This creates depth in your lighting.
Add a Curves adjustment layer above your bulbs. Increase brightness around lit bulbs. Use the layer mask to paint the effect only where light would naturally fall.
Final Adjustments Lock Everything Together
Create a Color Balance adjustment layer at the top of your layer stack. Add slight warm tones to highlights. This unifies your color palette across all elements.
Add a final Curves adjustment layer. Make subtle tweaks to overall contrast. Push shadows slightly darker. Brighten midtones just a touch. Small adjustments here make huge differences.
Create a Vignette effect by adding a Curves adjustment layer. Darken it significantly. Fill the layer mask with black. Use a large soft white brush to paint the vignette only around the edges. This draws focus inward toward your main subject.
What Usually Goes Wrong
The biggest mistake? Forgetting that light behaves consistently. If you light one element from the left, everything needs that same light direction. Mixed lighting directions destroy believability instantly.
Second issue—over-processing. Adding too many adjustment layers muddies your image. Each adjustment should serve a clear purpose. If you can’t explain why you added it, delete it.
Third problem—ignoring layer organization. Name your layers. Use groups. Future you will thank present you when you need to make changes.
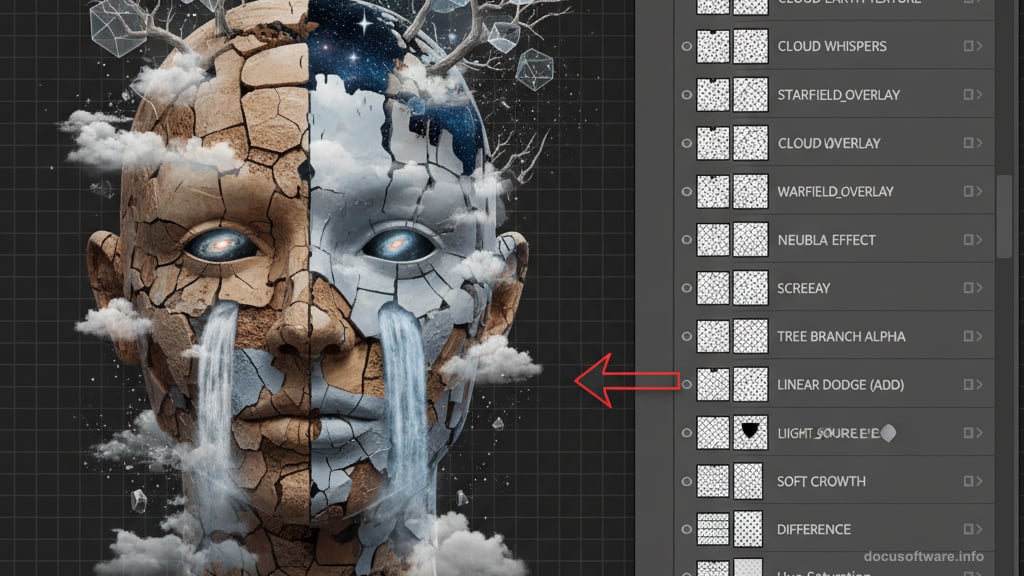
The PSD File Missing From Most Tutorials
Many tutorials promise a PSD file download. This one doesn’t list one officially. But honestly? Building it yourself teaches more than studying someone else’s layer stack.
That said, working backwards from finished PSDs helps tremendously when you’re stuck. Download similar surreal manipulation PSDs from tutorial sites. Study how professionals structure their layers. Notice their adjustment layer placement and masking techniques.
Alternative Resources When Links Break
The tutorial mentions specific stock images. But links die. Websites disappear. So keep alternative sources ready.
DeviantArt hosts tons of free broken light bulb stock images. Search for “broken light bulb PNG” and you’ll find dozens. Make sure they’re high resolution—at least 2000 pixels on the longest side.
For desert and sky images, Unsplash and Pexels provide free high-quality photos. Search broadly. Download several options. Having choices during composition helps immensely.
This Takes Practice. Lots of It.
Your first attempt won’t look like the preview image. That’s normal. Photo manipulation requires understanding light, color theory, and composition simultaneously.
So start simple. Build the base scene first. Get comfortable with masks and blend modes. Add one element at a time. Save versions frequently.
Most importantly—finish projects. Even if they’re not perfect. You learn more from completing ten okay manipulations than abandoning one amazing concept.
The skills compound. Each project teaches techniques that make the next one easier. Eventually, surreal compositions that seemed impossible become just another Tuesday project.
Post Title: Surreal Head Photo Manipulation: Photoshop Tutorial
Meta Description: Photo manipulation sounds simple until you try it. Then reality hits hard. I spent hours building this surreal head piece in Photoshop. The concept looks straightforward—a