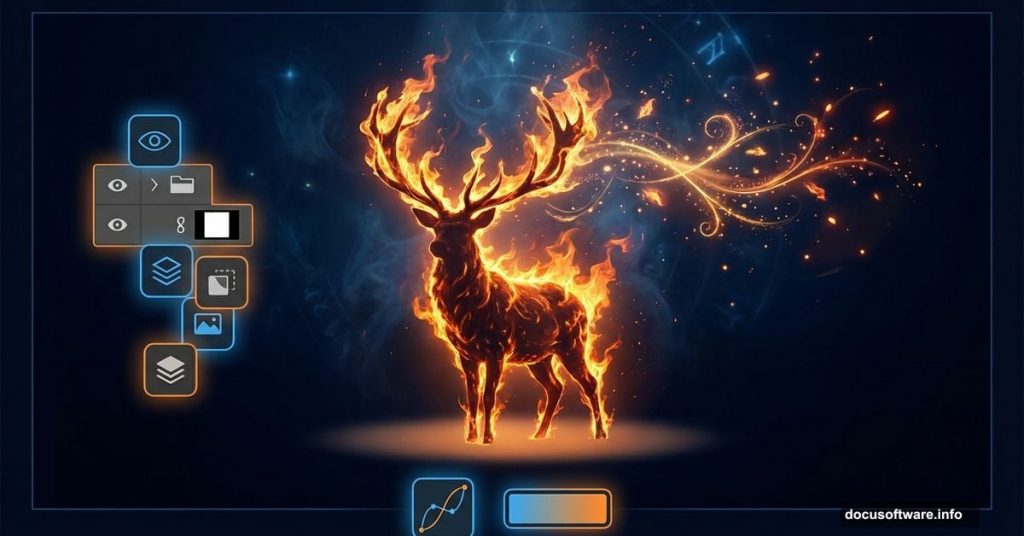
Photoshop manipulation pushes way beyond basic edits. This tutorial transforms ordinary wildlife photos into surreal nighttime scenes.
The project combines multiple techniques. You’ll blend adjustment layers, paint with custom brushes, and stack effects until reality disappears completely. Plus, the final image looks like something from a dark fantasy novel.
Let’s break down how to create this mysterious deer manipulation from scratch.
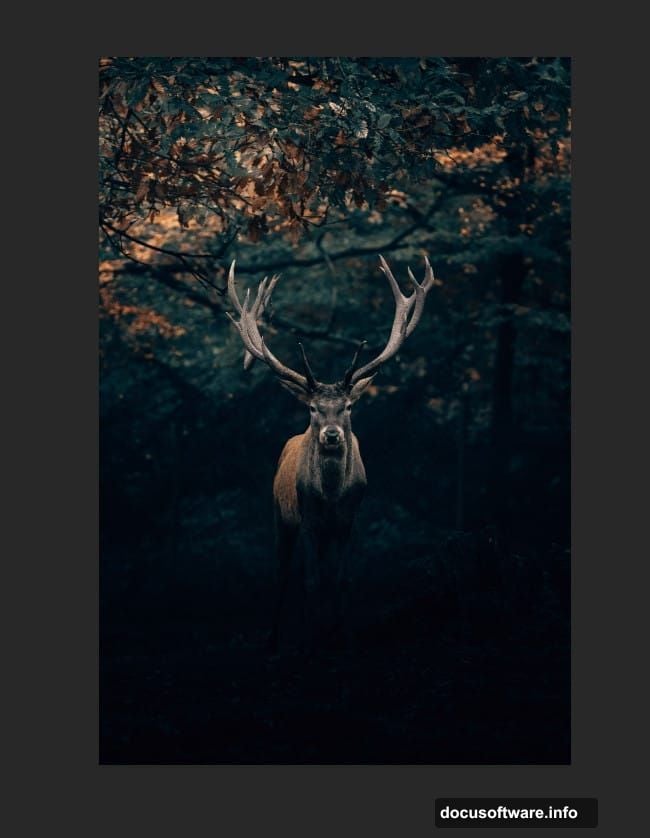
Start With Your Base Image
Open your deer photo in Photoshop. Duplicate the background layer immediately by pressing Ctrl/Cmd + J.
Why duplicate? You’ll want that original layer intact. This working copy protects your source image from destructive edits. So you can always start fresh if something goes wrong.
The deer becomes your central subject. Everything else builds around it. Choose a photo with clear antler definition since those become key focal points later.
Transform Day Into Night
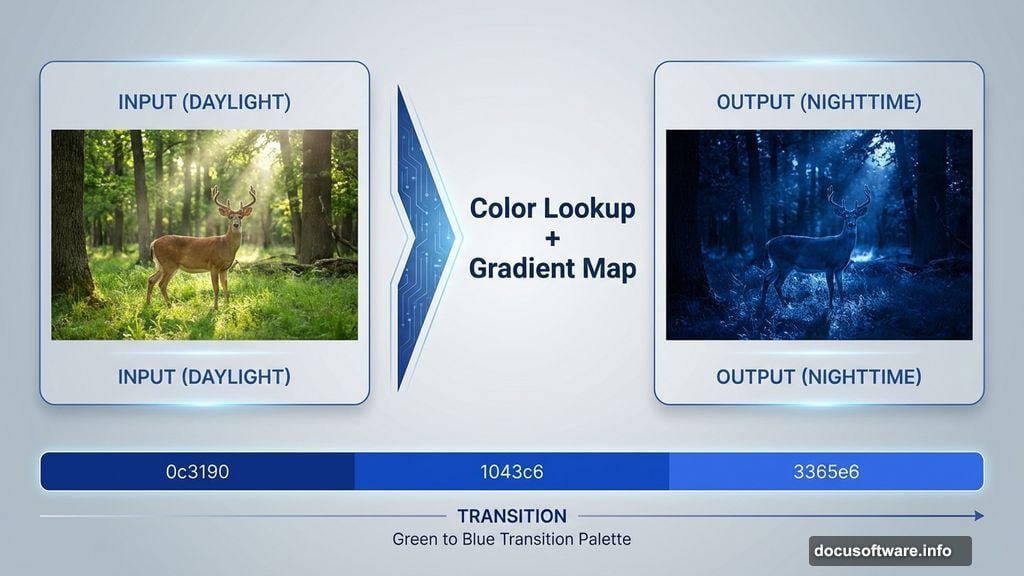
Add a Color Lookup adjustment layer. Set the 3DLUT file to NightFromDay.CUBE and drop opacity to 40%.
This single adjustment shifts the entire color palette. Daytime greens turn to deep blues. Bright skies become moody and dark. But 100% strength looks too intense, which is why we dial it back.
Next, create a Gradient Map adjustment layer. From left to right, apply these color codes: Black, 0c3190, 1043c6, 3365e6, white. Change the blend mode to Soft Light with 30% opacity.
The gradient adds atmospheric depth. It creates those subtle color transitions that make night scenes feel authentic rather than flat.
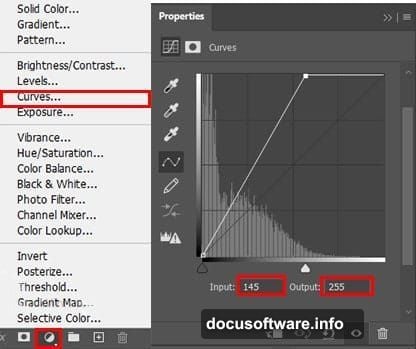
Sculpt Light and Shadow
Add a Curves adjustment layer. This controls overall contrast across the entire image.
Then add another Curves layer. But this time, invert the layer mask by pressing Ctrl/Cmd + I. Use a soft round brush with white foreground color. Paint only on the deer’s body.
This technique creates selective lighting. The deer brightens while surroundings stay dark. So your subject pops without looking pasted on.
Continue with more adjustment layers: another Curves layer, then Selective Color, Color Balance, and Hue/Saturation. Each one refines specific color ranges and tonal values.
Blend Deer With Environment
Create a Hue/Saturation adjustment layer. Use a soft black brush on the layer mask to paint only the deer’s body. Set opacity to 60%.
This desaturates the deer slightly. So it doesn’t look artificially vibrant against the moody background.
Add another Hue/Saturation layer. Invert its mask with Ctrl/Cmd + I. Paint with white on specific areas where light would naturally hit—the top of the back, edges of antlers, face highlights.
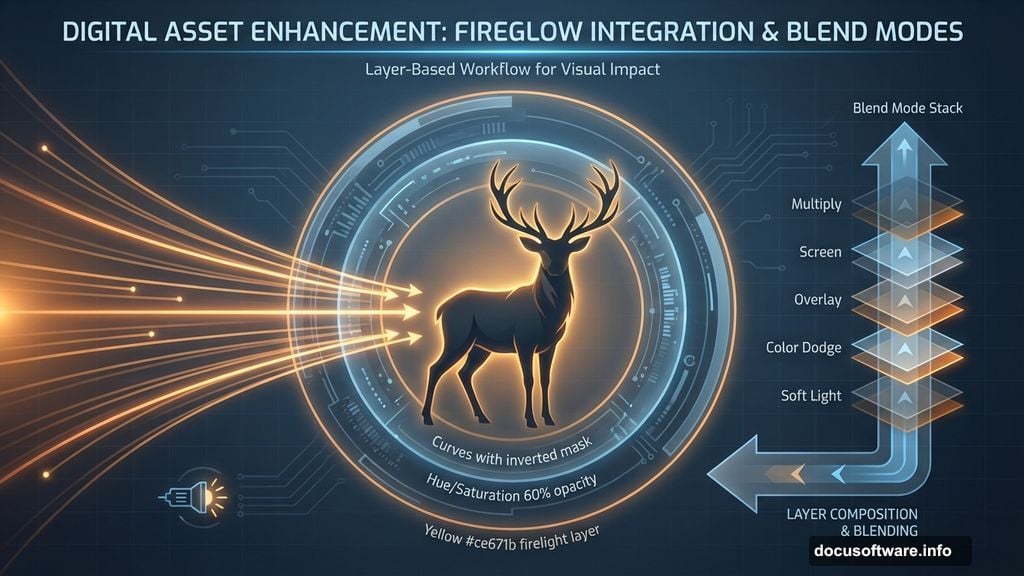
Now create a new regular layer. Pick yellow (#ce671b) as your foreground color. Paint parts of the deer’s body with a soft brush.
This adds warm firelight reflections. The effect suggests nearby flames even before you add actual fire elements. Change this layer’s blend mode to experiment with how the color interacts.

Add Fire and Atmospheric Effects
Create another new layer. Use color #caa0b2 and paint additional body highlights. Set blend mode to Soft Light with 40% opacity and 60% fill.
These purple-pink tones balance the yellow warmth. Together they create complex, layered lighting that mimics real firelight.
Import your fire stock images. Place them near the deer’s antlers and body. Use layer masks to blend edges seamlessly. Fire should look like it’s emanating from the deer itself, not sitting on top of it.
Apply fog or mist brushes on new layers. Set low opacity and paint atmospheric haze throughout the scene. This obscures distant elements and adds depth.
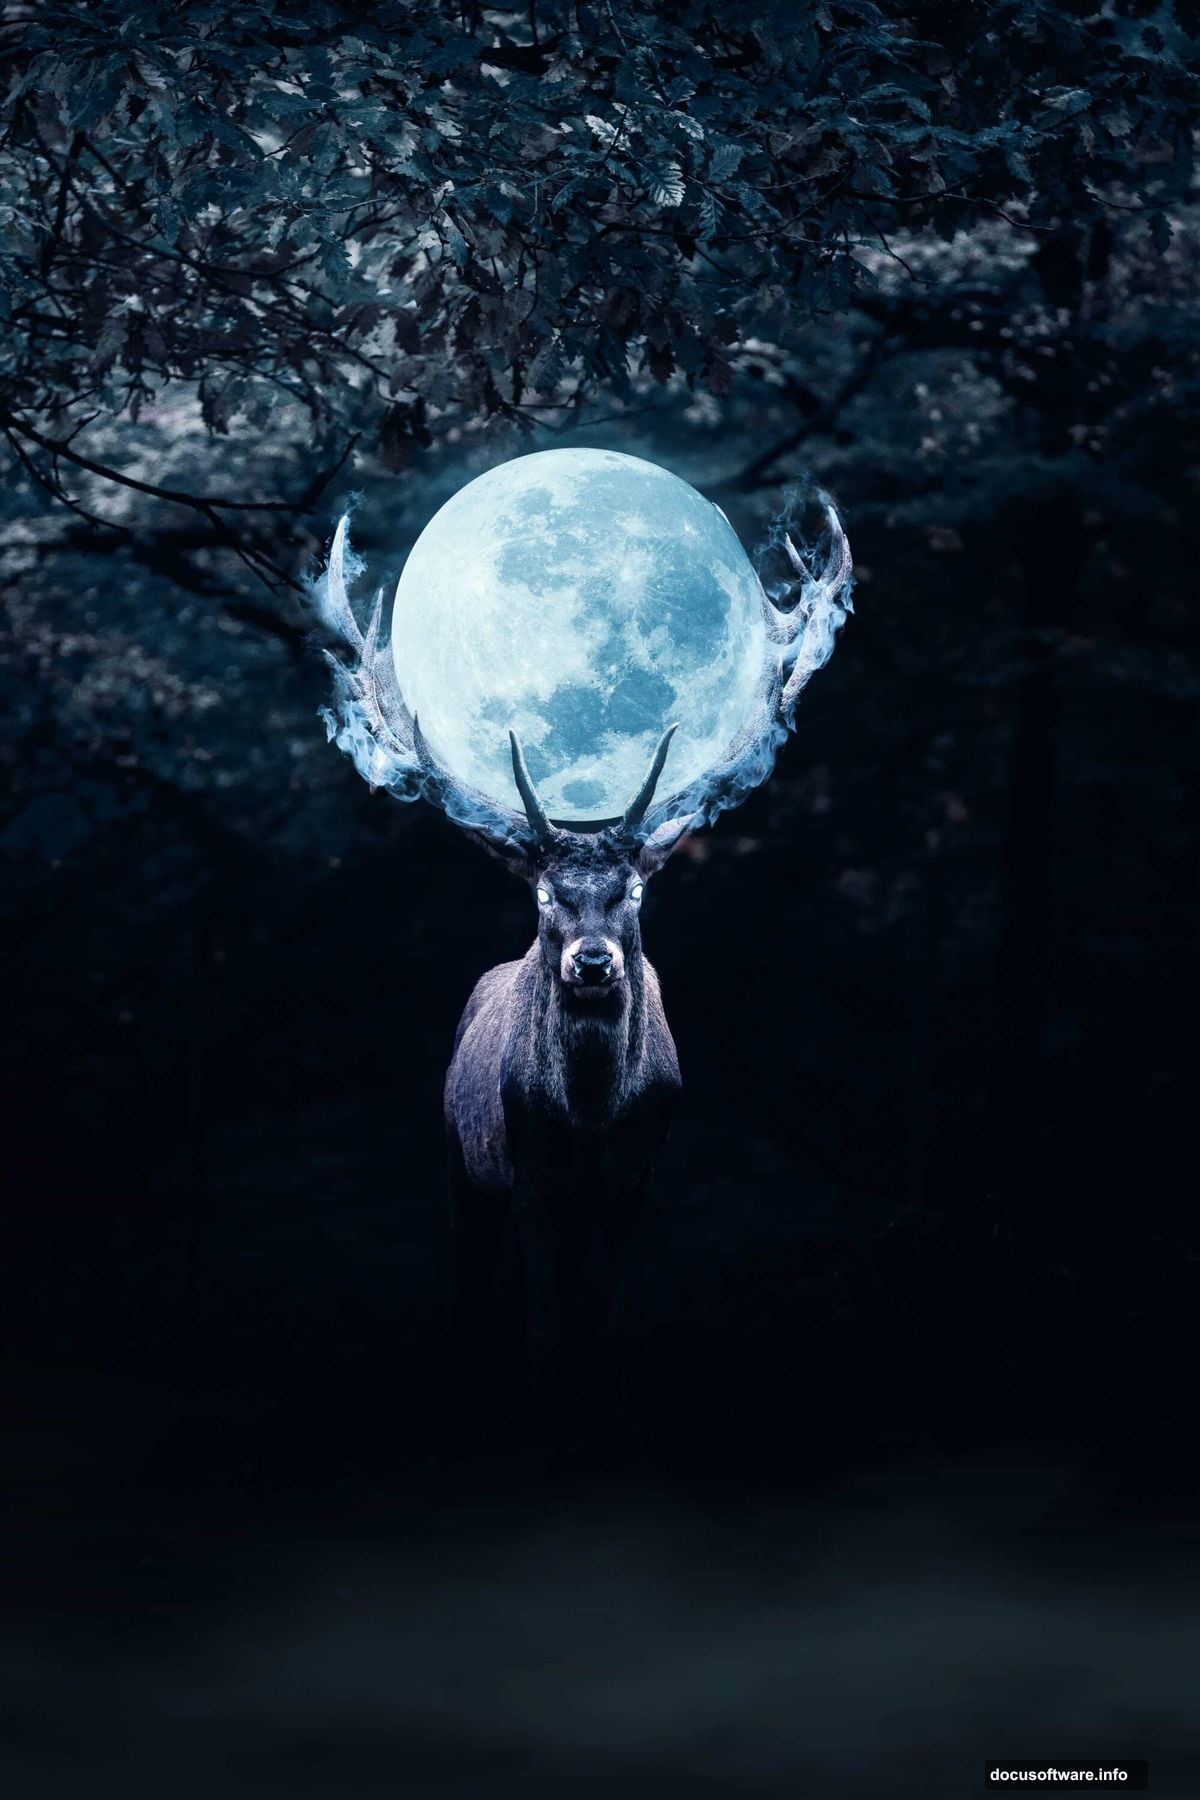
Position the Moon Behind Antlers
Import your moon image. Place it on a layer below the deer.
Here’s the trick many people miss. You need to manually mask the moon layer. Use a hard-edged brush to paint black on the mask where antlers should appear in front.
Zoom in close. Carefully trace around each antler tine. This creates the illusion that the moon sits behind the deer in three-dimensional space.
Lower the moon’s opacity if it looks too bright. Add a subtle Gaussian blur to make it feel distant. Real moons don’t have razor-sharp edges when photographed.
Final Polish With Adjustment Layers
Add a final Hue/Saturation adjustment layer. This controls the overall color intensity of your composite image.
Consider adding a Curves layer at the very top of your layer stack. Use it to fine-tune final contrast. Small adjustments here make huge differences in mood.
Some artists add a subtle vignette. Create a new layer, fill it with black, and use an eraser with a large soft brush to clear the center. Set blend mode to Multiply and reduce opacity until it just darkens the edges.
When Fantasy Manipulation Goes Too Far
This style divides photographers. Some see it as creative expression. Others argue it cheapens photography as an art form.
The purist perspective has merit. When heavily manipulated images get presented as “real” photography, that’s misleading. But when clearly labeled as digital art? That’s a different conversation entirely.
Photoshop manipulation skills translate to practical work. Magazine covers, movie posters, and advertising campaigns all use these exact techniques. So learning them builds valuable professional capabilities.
Just be honest about your process. Don’t enter manipulated images in “natural photography” contests. Don’t claim you captured something you actually composited. Transparency matters.
The Value of Extreme Manipulation Practice
Projects like this teach layer management, masking precision, and color theory. You’ll understand how light behaves across different surfaces. You’ll develop an eye for which adjustments affect which parts of an image.
These skills scale down beautifully. The same adjustment layers that create fantasy deer also help you perfect portrait retouching or landscape enhancement. You’re training your eye and your technical execution simultaneously.
Plus, sometimes creating purely for fun keeps your creative energy alive. Not everything needs to be portfolio-worthy or client-ready. Experimentation without pressure often leads to unexpected breakthroughs.
This mysterious deer manipulation pushes Photoshop’s capabilities hard. It combines dozens of adjustments, multiple stock images, and careful masking. The result looks nothing like the original photo. That’s exactly the point.