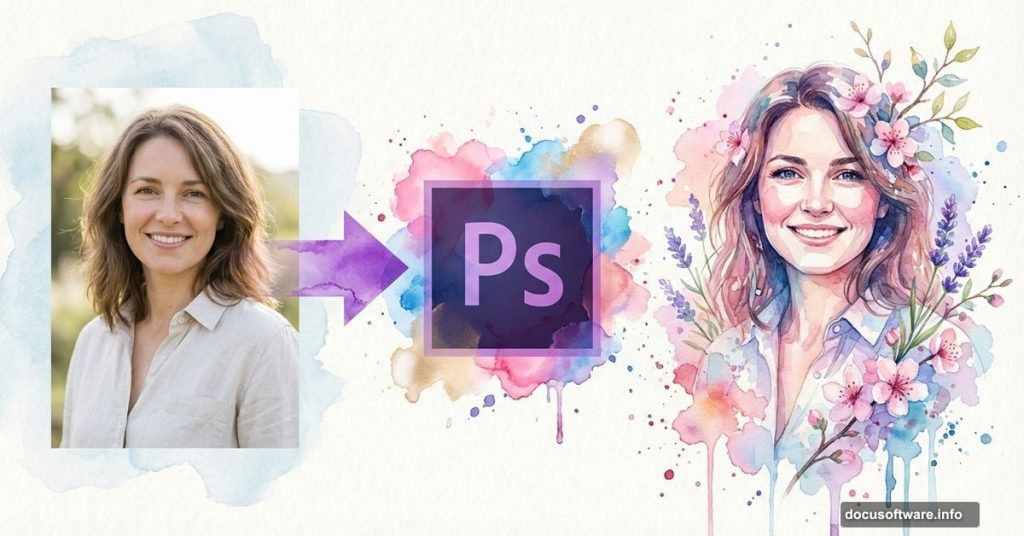
Want to transform a portrait into abstract watercolor artwork? This tutorial breaks down the process into manageable steps that work even if you’re relatively new to Photoshop.
Jenny Le’s spring-themed design combines stock photos, splatter brushes, and texture layers to create stunning results. Plus, the techniques work with any portrait you choose.
Gather Your Materials First
Before diving into Photoshop, collect your resources. You’ll need a model photo, two paper textures, five watercolor images, branch photos, flowers, butterflies, and splatter brushes.
Most stock sites offer these elements. However, make sure you have usage rights for any images you download. Free stock sites work perfectly fine for practice projects.
Set up a 1200×800 pixel canvas with a white background. This size works well for web display, but feel free to adjust dimensions for your needs.
Build the Textured Background
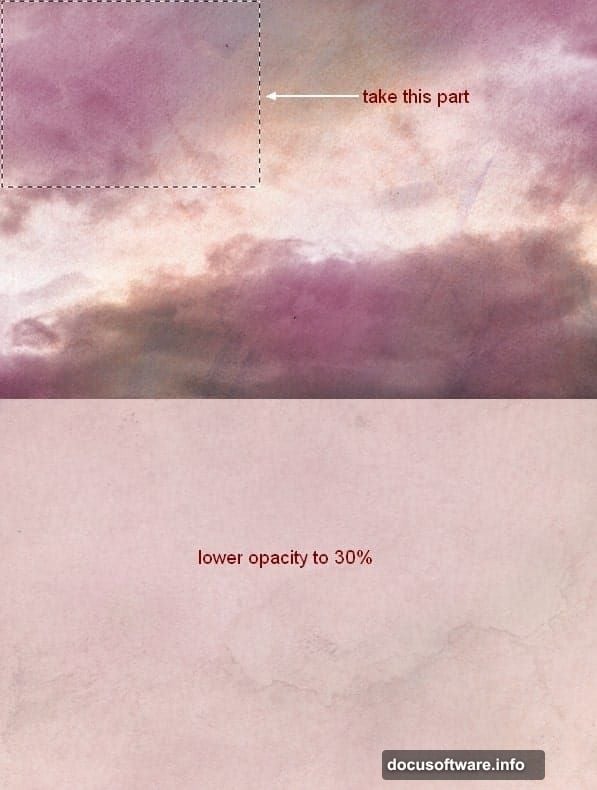
Start by placing your first paper texture on the canvas. Rotate it 90 degrees counterclockwise, then convert the layer to a Smart Object. Flip it horizontally and drop the opacity to 30%.
Next, grab a section from your second paper texture using the Rectangular Marquee Tool. Position it in the top left corner and lower its opacity to 30% as well.
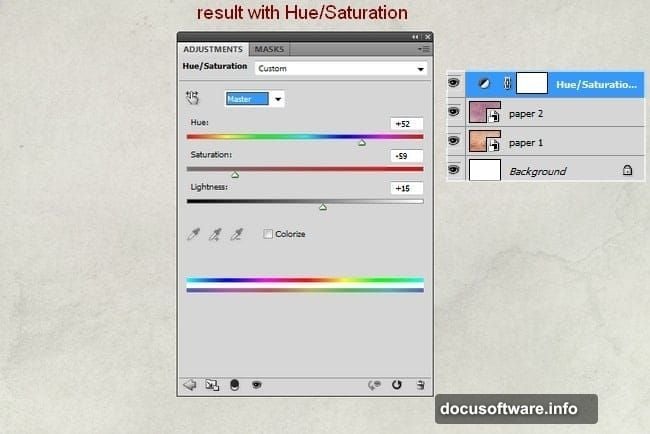
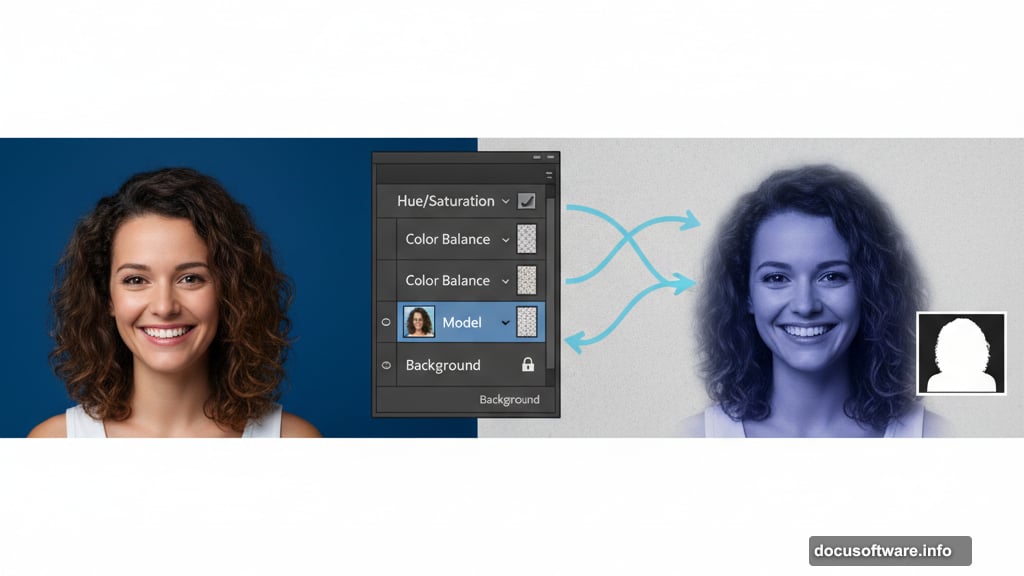
Now adjust the overall color. Go to Layer > New Adjustment Layer > Hue/Saturation. This step unifies your background tones before adding the main subject.
Position and Blend Your Portrait
Extract your model from the original photo background. Place her in the center of your canvas, then add a layer mask to soften harsh edges.
Use a soft brush on the mask to blend her smoothly with the background. This prevents that cut-and-paste look that screams amateur work.
Apply three adjustment layers with Clipping Masks: Hue/Saturation, Color Balance, and Curves. These reduce saturation and brighten the subject to match your background lighting.
For the Curves layer mask, paint with a soft black brush at 100% opacity on some areas and 20-30% on others. This creates natural-looking lighting variations across the portrait.
Add Watercolor Splashes

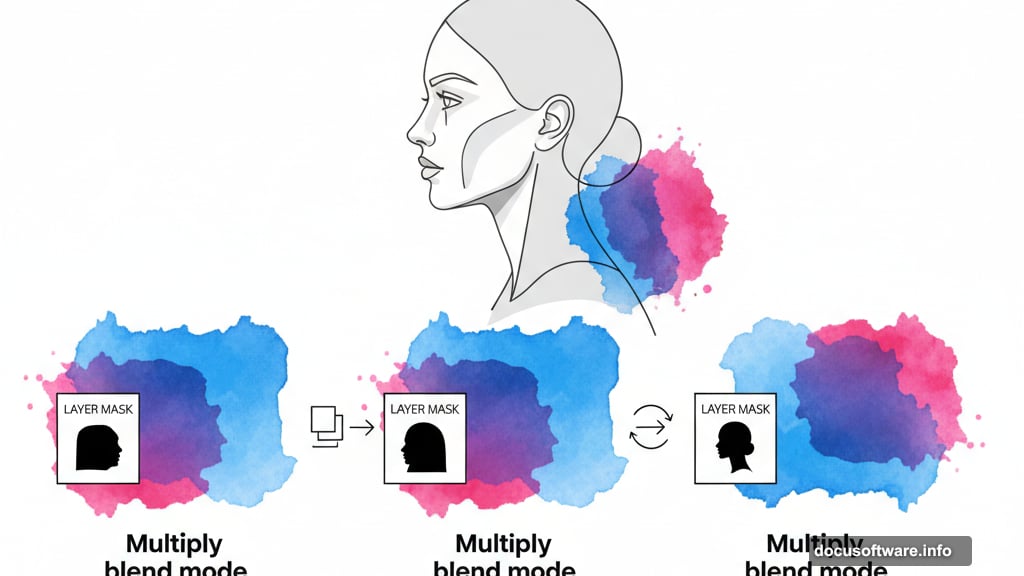
Place your first watercolor image beneath the model layer. Convert it to a Smart Object, change the blend mode to Multiply at 100%, then mask away hard edges.
Duplicate this watercolor layer and flip it horizontally. Position it on the right side, using the layer mask to create a balanced composition.
Repeat this process with your second watercolor stock. Place it under the model layer and clear unwanted sections with the mask. Then duplicate, flip horizontally, and mask to create a shoulder-like effect that frames the portrait.
Create the Branch Crown
Isolate your branch photo and convert it to a Smart Object. Downsize it and position it above the model’s head, still keeping it beneath the model layer.
Add a layer mask to this branch layer. Use the Polygonal Lasso Tool to select the branch edges, then remove the bottom sections with a hard black brush. Soft brushes create fuzzy edges here, so stick with hard for cleaner results.
This technique gives you precise control over which branches appear and which fade away. The goal is an organic crown that doesn’t look rigidly placed.
Layer Additional Watercolor Elements
Continue building depth by adding your remaining watercolor stocks. Each one goes beneath the model layer with its own mask for blending.
Experiment with different blend modes beyond Multiply. Sometimes Overlay or Screen creates interesting effects depending on your watercolor colors.
Remember to flip some layers horizontally for visual variety. Symmetry looks boring, so aim for balanced asymmetry instead.
Add Organic Details
Place your flower and butterfly elements throughout the composition. These small touches bring the spring theme to life.
Convert each element to a Smart Object before resizing. This preserves quality if you need to scale them up later.
Use layer masks liberally to blend these details naturally. Nothing should look pasted on top of your artwork.
Apply Finishing Touches
The final steps involve fine-tuning color balance and adding subtle texture overlays. Halftone images and wireframe elements can add visual interest without overwhelming the composition.
Splatter brushes applied sparingly create movement and energy. However, don’t go overboard. Less is more with decorative elements.
Step back from your monitor regularly to evaluate the overall composition. Sometimes details that look good up close disrupt the bigger picture.
Common Mistakes to Avoid
Many beginners skip converting layers to Smart Objects. This causes quality loss when resizing elements multiple times. Always convert before transforming.
Another frequent error involves using soft brushes for everything. Hard brushes work better for precise masking, especially on branches and geometric shapes.
Finally, resist the urge to crank every layer to 100% opacity. Subtle layering at reduced opacity creates depth and professional polish.
Adapt This Technique
This watercolor portrait method works with endless variations. Try autumn colors instead of spring, or use abstract shapes instead of natural elements.
The core technique remains the same: layered images with careful masking and strategic opacity adjustments. Once you understand these principles, you can create unique artwork limited only by your imagination.
Plus, this approach beats painting watercolor effects from scratch. Real watercolor textures provide authentic results that filters can’t match.