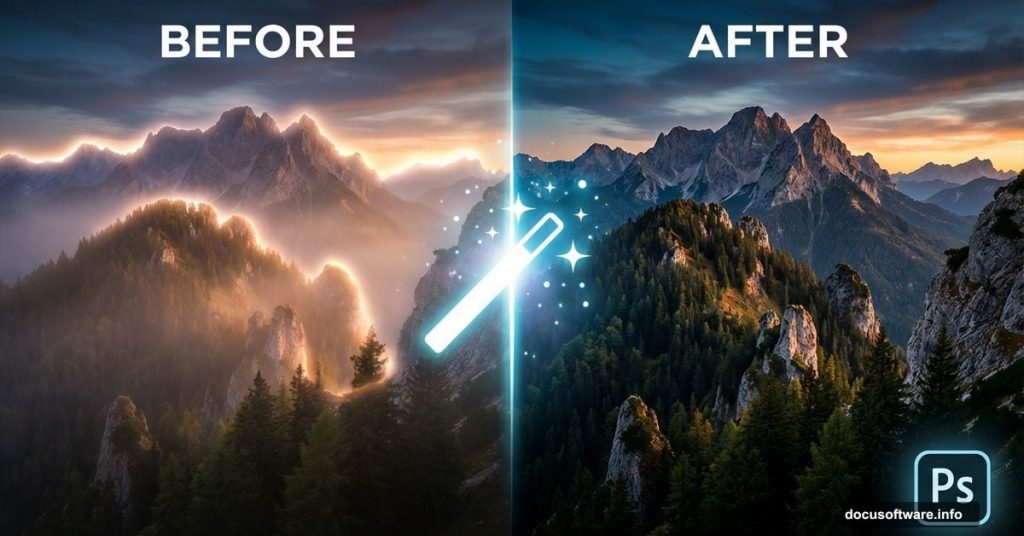
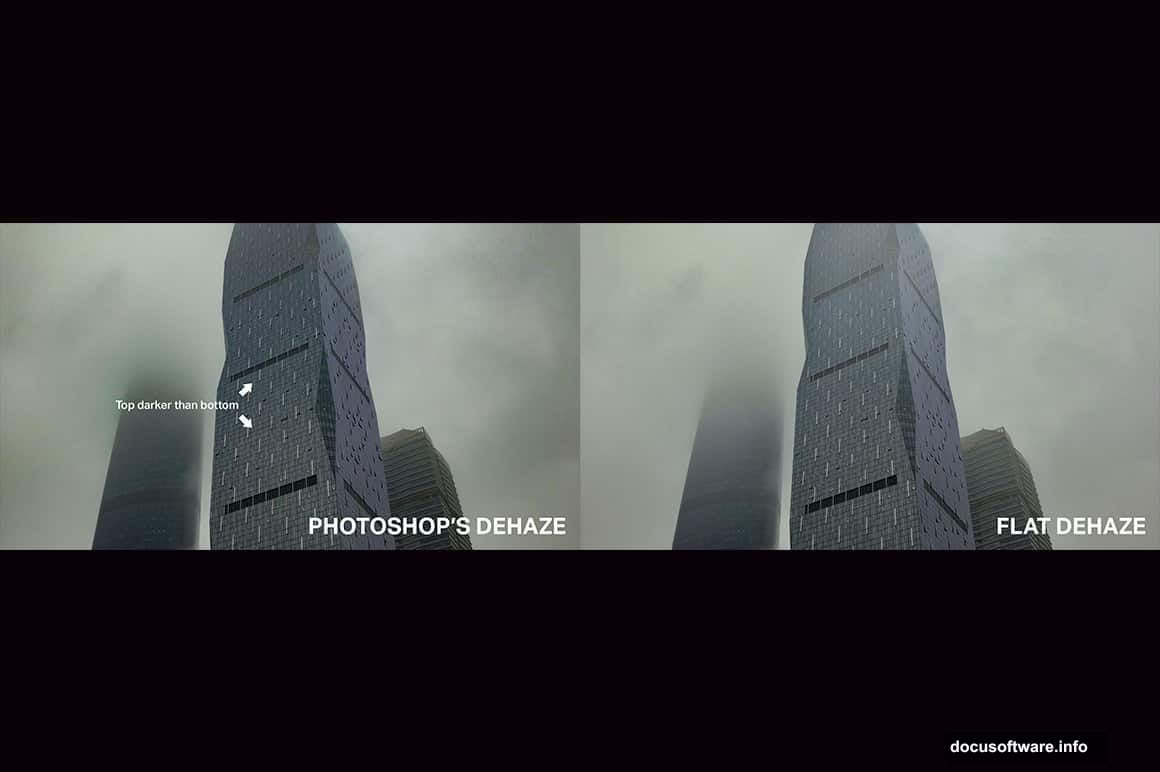
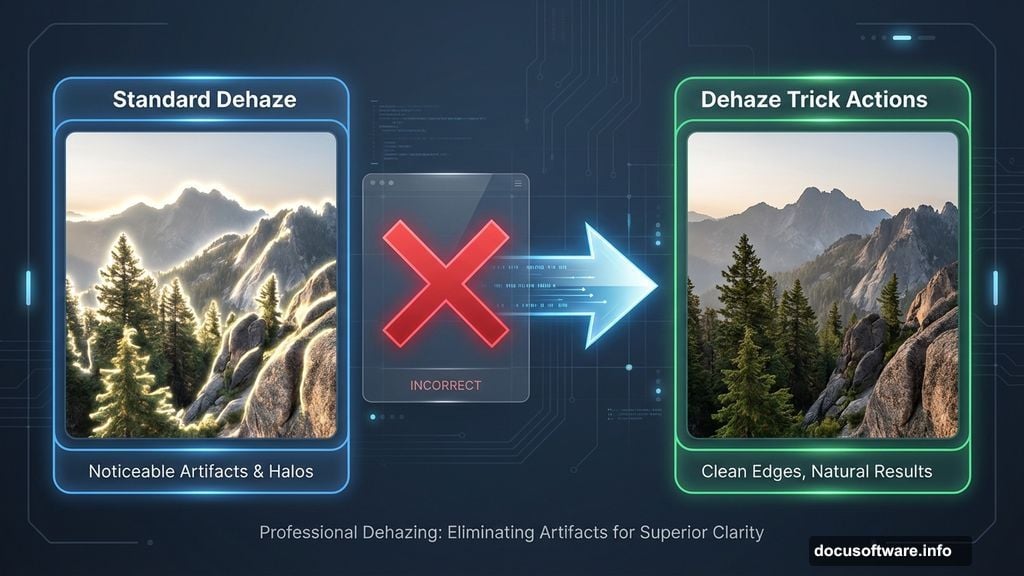
Photoshop‘s built-in Dehaze filter works. But it leaves weird halos around objects.
Why? Adobe uses aggressive feathering that bleeds corrections into clean areas. So your sky gets clearer while edges turn into glowing messes. That’s frustrating when you’re trying to salvage hazy landscape shots.
Turns out there’s a better way. These new Photoshop actions “trick” the software into using tighter feathering. Plus, they give you way more control over the final result.
The Halo Problem Nobody Talks About
Standard Dehaze applies the same heavy feathering everywhere. Sounds fine until you actually use it.
Picture this. You’ve got a mountain landscape with thick atmospheric haze. Run the default Dehaze filter. The distant peaks clear up nicely. But now there’s a bright glow around every tree and rock formation in the foreground.
That happens because Photoshop can’t tell where haze ends and solid objects begin. So it applies correction to both. The transition zones get overprocessed and create visible halos.
Professional photographers know this limitation. Most avoid Dehaze entirely or spend hours masking and correcting the damage. Neither option is great when you’re editing dozens of photos.
How the Dehaze Trick Actions Actually Work
These actions don’t rewrite Photoshop’s code. Instead, they exploit how the software processes adjustments.
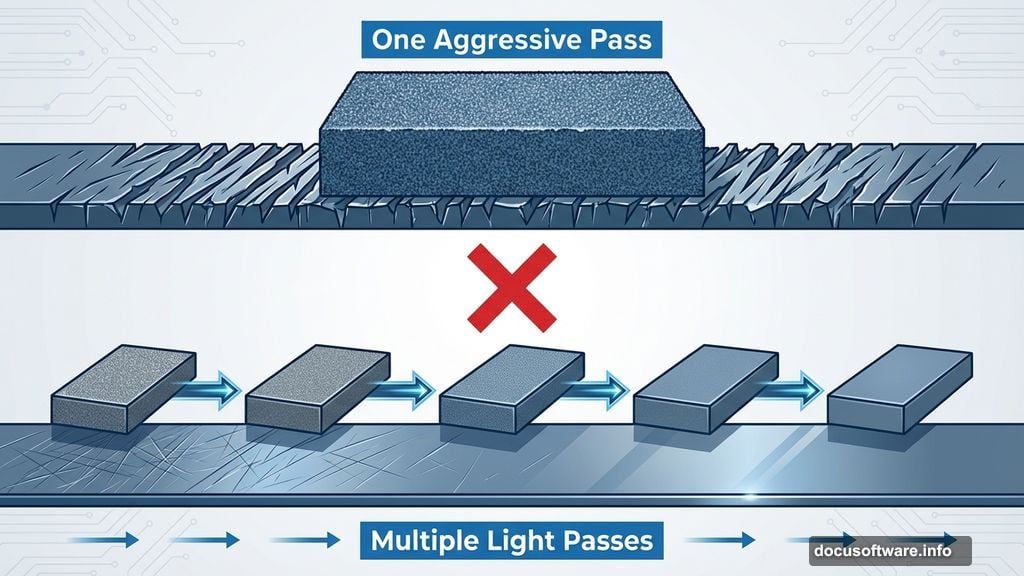
The core trick involves breaking Dehaze into multiple smaller applications. Rather than one aggressive pass, the action applies several gentler corrections. Each pass uses different parameters that force Photoshop to recalculate feathering boundaries.
Think of it like sanding wood. One heavy pass with coarse sandpaper leaves deep scratches. Multiple light passes with finer grits create a smooth finish. Same principle here.
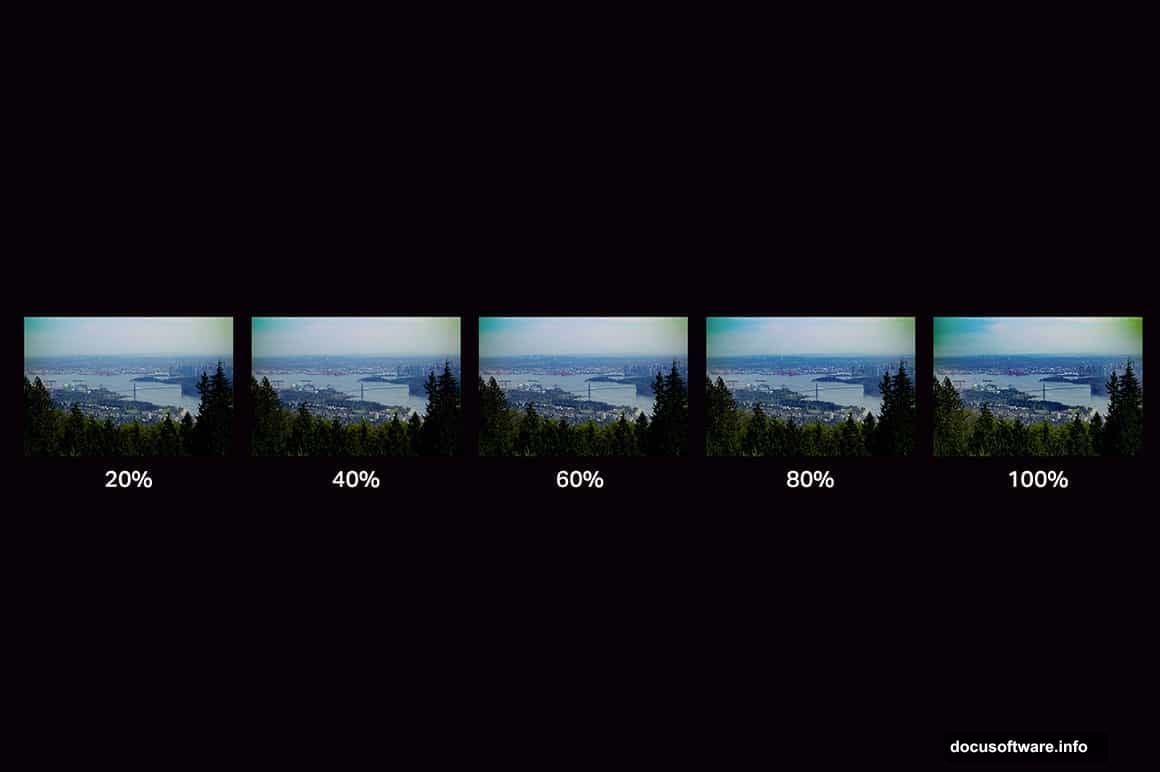
The free version includes the default algorithm plus five variations. Each variation tweaks how aggressively the action removes haze. So you can dial in exactly how much correction your specific photo needs.
What You Get in Each Version
The free package gives you enough to handle most situations. Six total actions covering different haze densities and lighting conditions.
Start with the default “Trick 1” action. Run it on your photo. Too subtle? Try the stronger variations. Too aggressive? Back off to gentler ones. The variations give you a range without manually adjusting sliders.
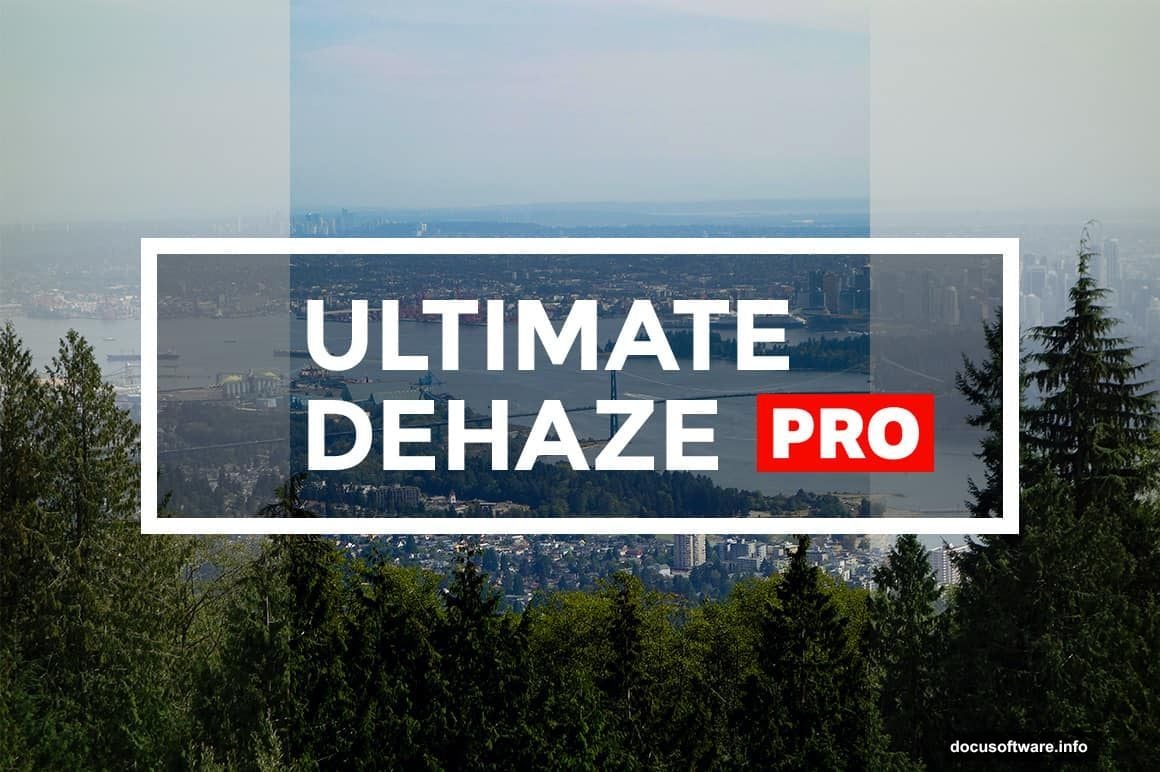
But here’s where the pro version gets interesting. It adds two completely different dehazing algorithms.
Why multiple algorithms? Different types of atmospheric conditions respond better to different correction approaches. Morning fog requires different processing than heat haze or pollution. The pro algorithms target these specific scenarios.
Plus, the pro version includes automatic error correction. If you accidentally run an action twice or apply it to the wrong layer, the error correction prevents stacked artifacts. That’s huge when you’re batch processing hundreds of photos.
Real Performance Impact
These actions are memory-intensive. No way around it.
Scott’s comment about his machine struggling is valid. The multi-pass approach requires Photoshop to hold more data in RAM. Each pass creates additional layers and calculations.
On my mid-range laptop, a single action takes 15-30 seconds to complete on a 24-megapixel RAW file. That’s slow compared to the instant default Dehaze filter. But the results justify the wait.
However, if you’re running an older machine with 8GB of RAM or less, expect lag. Close other programs before processing. Better yet, save your work frequently because Photoshop might crash on very large files.
The pro version’s automatic error correction helps here. If Photoshop does crash mid-action, you won’t corrupt your image file. Reopen and try again.
When to Use Which Variation
Each variation targets specific haze scenarios. Knowing which to use saves time and improves results.
Variation 1: Light morning haze with strong directional light. This gently lifts the veil without destroying atmosphere entirely.
Variation 2: Moderate haze across the entire frame. Balanced correction that works for most situations.
Variation 3: Heavy atmospheric haze or distant subjects. Aggressive correction that reveals details in far background elements.
Variations 4-5: Extreme conditions like thick fog, smoke, or severe pollution. These push correction to the limit without creating obvious artifacts.
Pro algorithm A specializes in heat haze and shimmer. It preserves natural color while removing distortion. Pro algorithm B handles pollution and particulate haze better by targeting specific color ranges.
The Smart Workflow
Don’t just slap these actions onto your original photo. That’s asking for trouble.
Instead, duplicate your background layer first. Run the action on the duplicate. Now you can control opacity to blend corrected and original versions. This gives you a custom strength slider that the actions themselves don’t provide.
Also, consider masking. Maybe only your background needs dehazing while the foreground looks fine. Apply the action to the whole image, then mask out areas that don’t need correction. Saves processing time and gives cleaner results.
And here’s a pro tip nobody mentions. Run the action at full strength even if it looks too aggressive. Then reduce layer opacity to taste. This gives you more headroom than running a weaker variation that can’t be pushed further.
Batch Processing Considerations
These actions work with Photoshop’s batch processor. But there are gotchas.
First, batch processing multiplies the memory requirements. If one action takes 30 seconds, processing 100 photos takes 50 minutes plus overhead. Plan accordingly.
Second, not every photo in a batch will need the same variation. Morning shots might need light correction while afternoon images require heavy dehazing. You’ll still need to manually review and potentially reprocess some files.
Third, the pro version’s error correction becomes critical for batches. Without it, one failed action can break your entire batch processing queue. The automatic recovery keeps things moving even if individual files cause problems.
Is the Pro Version Worth It
Depends on your volume and subject matter.
Casual photographers who occasionally fix hazy vacation photos? The free version probably covers your needs. Six variations handle most common scenarios without spending money.
But if you shoot outdoors regularly, especially landscapes or architectural photography, the pro algorithms pay for themselves quickly. Heat haze ruins summer cityscapes. Pollution obscures urban skylines. The specialized algorithms target these specific problems far better than the basic variations.
Plus, the error correction alone justifies the cost if you batch process. One prevented crash during a 200-photo batch saves more time than the purchase price.
However, remember the performance hit. The pro version won’t magically speed up processing. If your hardware already struggles with the free version, adding more complex algorithms won’t help.
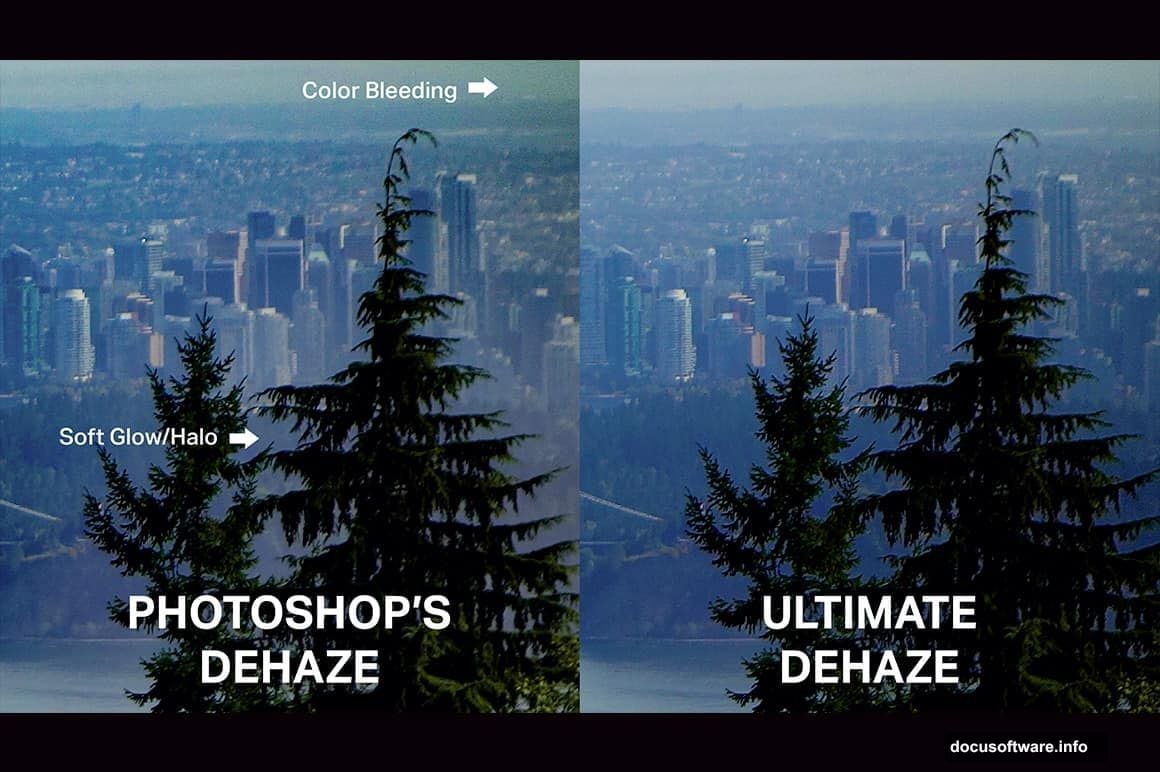
The Real Improvement Over Default Dehaze
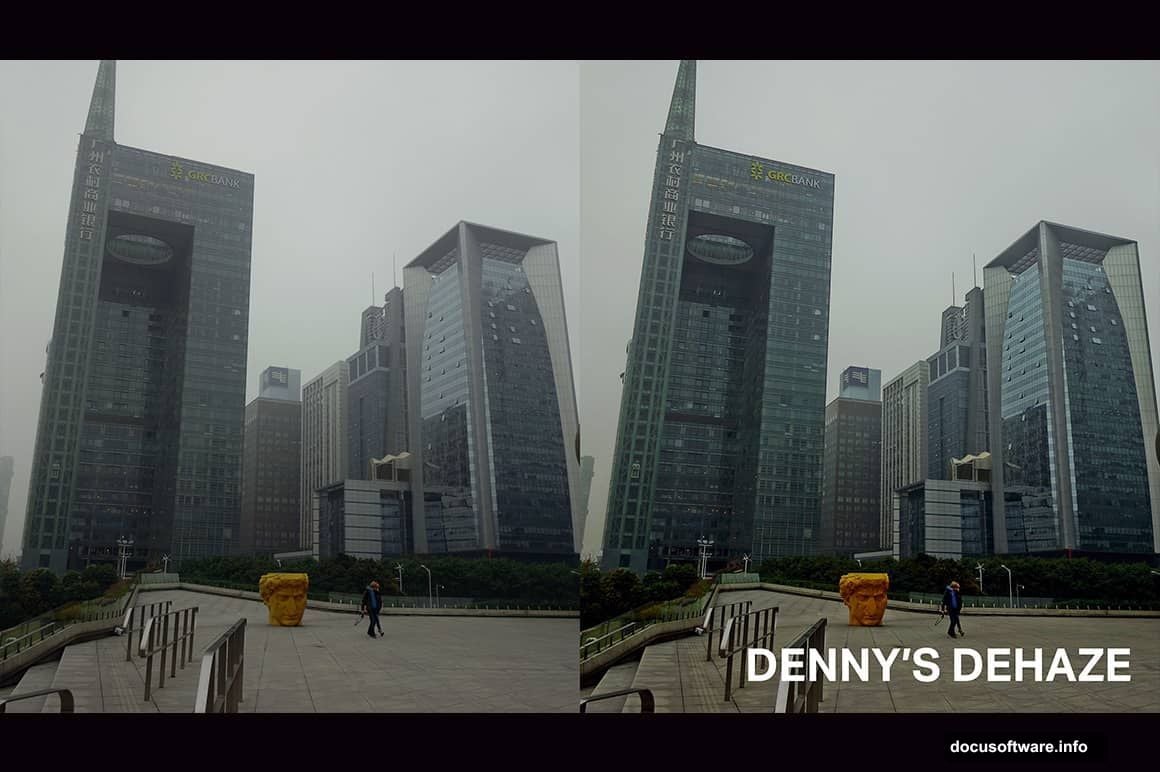
Side-by-side comparisons tell the story. Run Adobe’s default Dehaze at +50. Now run the Trick 1 action.
Default Dehaze creates visible halos around high-contrast edges. Trees against sky. Buildings against haze. Anywhere the algorithm can’t smoothly transition between hazy and clear areas.
The Trick actions produce cleaner transitions. Edges stay sharp without glowing. Background clarity improves without foreground contamination. Colors remain natural instead of oversaturated.
Is it perfect? No. Heavy haze still presents challenges. But the improvement over default Dehaze is obvious even to untrained eyes. Your photos look professionally retouched instead of filter-blasted.
What This Means for Your Workflow
If you currently avoid Dehaze due to halo issues, these actions change the equation. Suddenly hazy photos become salvageable without manual masking and correction.
For landscape photographers especially, this opens up shooting conditions previously considered unusable. That gorgeous mountain vista obscured by morning haze? Now workable. Coastal scenes dulled by marine layer? Recoverable.
But manage expectations. These actions improve Dehaze, they don’t work miracles. Extremely thick haze, fog, or smoke still limits what’s possible. You can reveal some detail and improve contrast. You can’t manufacture sharpness that wasn’t captured.
Still, the difference between “this photo is ruined” and “this photo is usable with some work” is massive. These actions bridge that gap more effectively than anything else currently available for Photoshop.