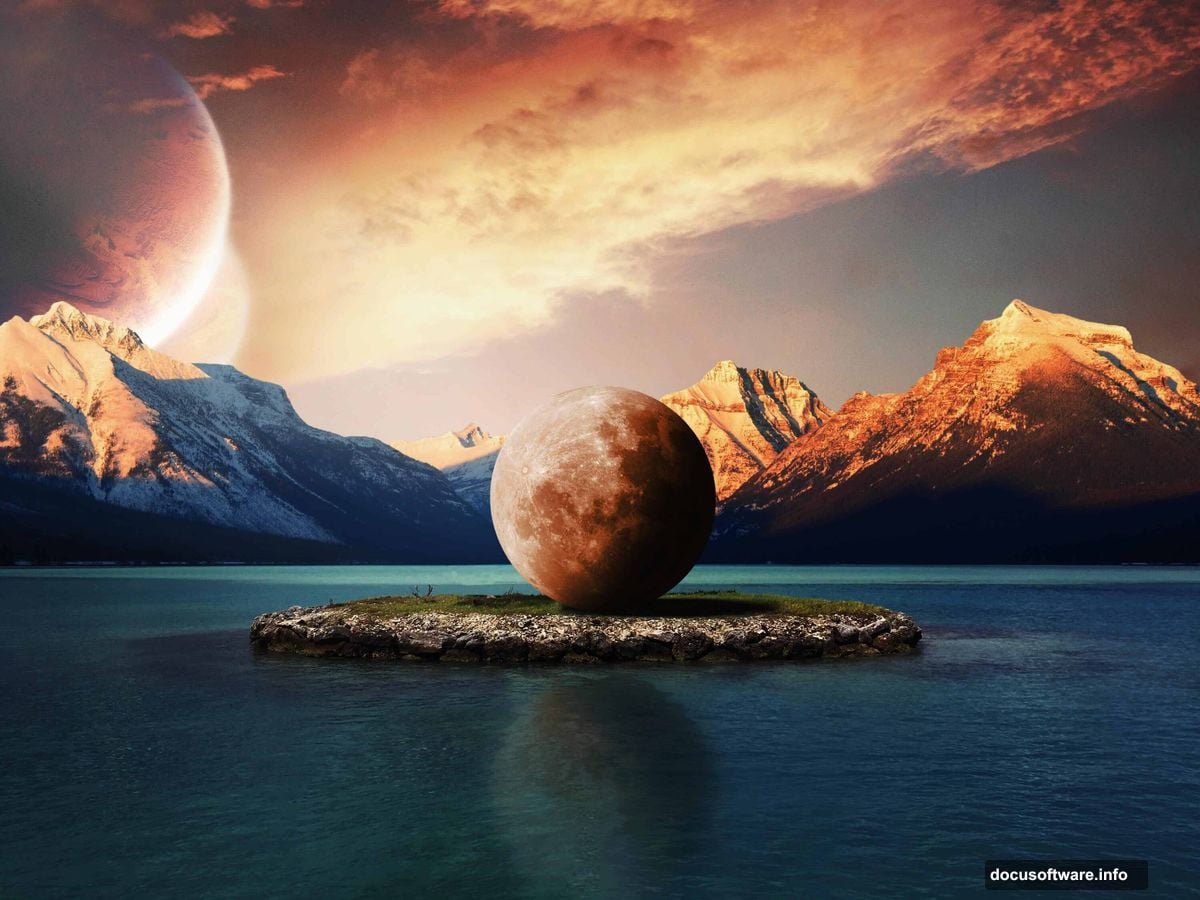
Ever wondered how fantasy photographers create those impossible scenes? You know, the ones where a massive moon looms over a tiny island like something from a dream?
This tutorial breaks down exactly how to build that surreal look in Photoshop. Plus, it tackles some tricky advanced techniques that most beginners skip. Let’s see what makes this effect work.
Why This Tutorial Stands Out
Most photo manipulation guides stick to basic layering and filters. This one goes deeper.
You’ll learn realistic water reflections. That’s the detail that separates amateur edits from professional work. Most people fake reflections by flipping an image. That never looks quite right.
Moreover, this tutorial covers proper shadow and light placement. Get those wrong and your composite screams “fake” no matter how good the individual elements look.
The Core Technique: Clone Stamp Mastery
The Clone Stamp tool trips up tons of Photoshop users. But it’s essential for removing unwanted objects naturally.
Here’s what this tutorial teaches. Alt-click (or Option-click on Mac) to set your sample point. Then brush over the area you want to replace. A preview shows exactly what detail you’re copying before you commit.
The trick? That crosshair indicator. It shows where Photoshop pulls detail from as you work. So you can align textures perfectly and avoid obvious repetition.
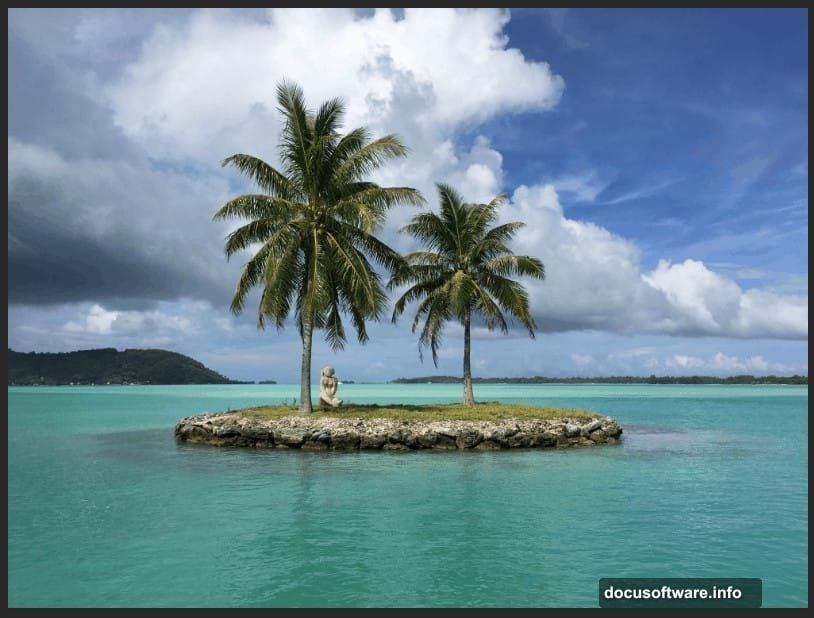
This comes in handy for removing palms and sculptures from the island base image. You’re not just erasing. You’re rebuilding the scene with natural-looking terrain.
Color Adjustments That Actually Matter
Raw composite images look flat. The lighting and color tones don’t match between source photos.
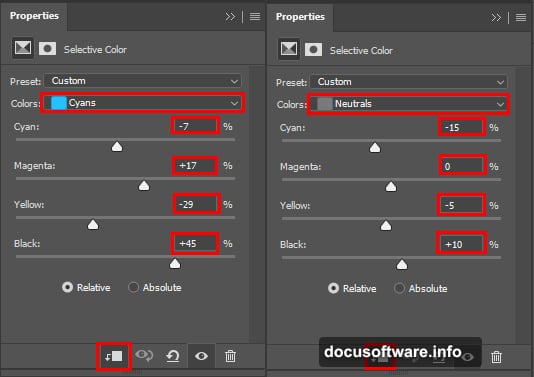
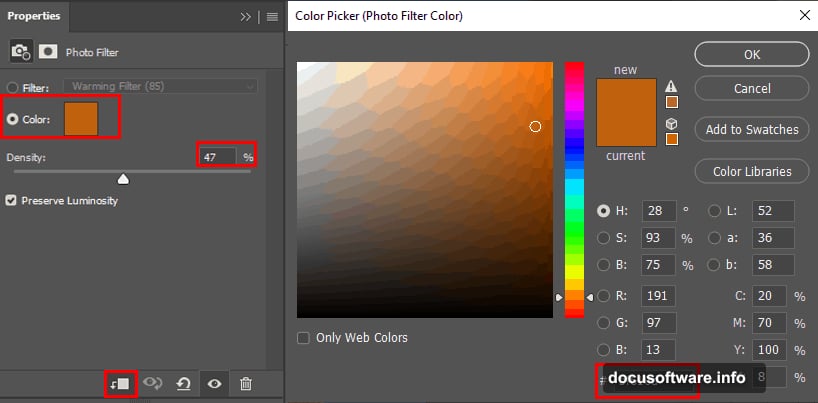
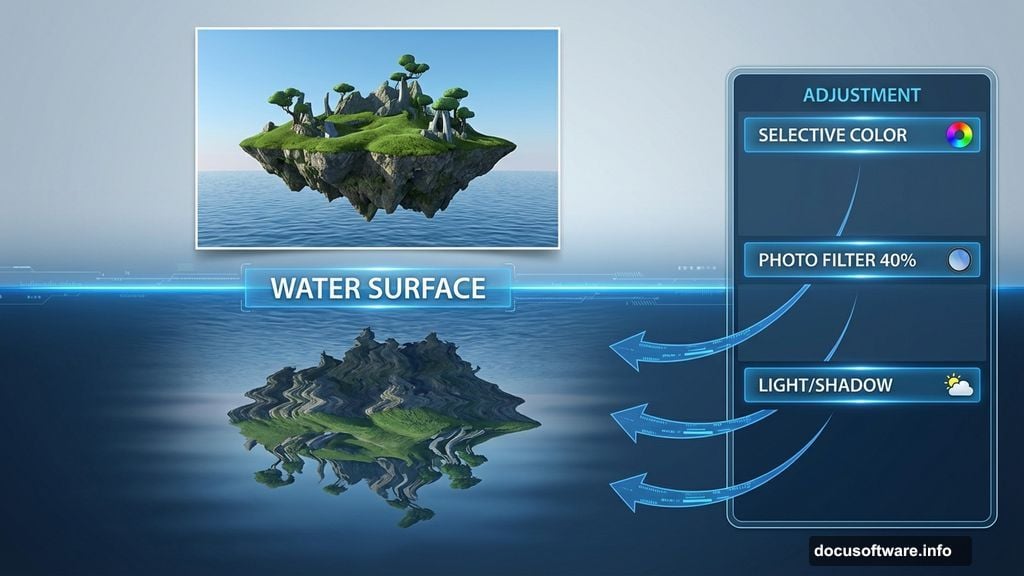
That’s where selective color adjustment layers save you. This tutorial uses them to harmonize the island with added mountain elements. Plus, a photo filter layer at 40% opacity adds atmospheric unity without overpowering the scene.
These aren’t random tweaks. Each adjustment serves a specific purpose. Selective color targets specific tonal ranges. The photo filter mimics natural light conditions.
Building Believable Mountains
Adding mountains behind your island requires precision. The tutorial demonstrates proper selection and transformation techniques.
First, you use the Rectangular Marquee tool with Shift held down. That constrains your selection to a perfect square or rectangle. Clean selections make everything easier later.
Then comes the smart part. When transforming your mountain layer, holding Alt + Shift lets you resize from the center point while maintaining proportions. In newer Photoshop CC versions, just Alt alone resizes all sides together.
That’s a small detail. But it makes positioning large elements dramatically faster.
The Pen Tool for Perfect Masks
Here’s where many tutorials lose people. Layer masking with the Pen tool sounds complicated.
But it’s the only way to get truly clean edges when removing skies or backgrounds. The tutorial walks through creating a precise path around your mountains. Then converting that path to a selection with a tiny 0.5 pixel feather.
Why such a small feather? Sharp edges look more realistic for hard objects like mountain ridges. Soft edges work for organic shapes or distant elements. Knowing when to use each approach separates good composites from great ones.
After inverting your selection, you paint with black on the layer mask. That removes the unwanted sky while preserving perfect mountain edges.
What the Tutorial Doesn’t Tell You
This guide covers the technical steps well. But it assumes you understand layer organization and non-destructive editing.
Always work on duplicate layers. The tutorial mentions duplicating the island layer before using Clone Stamp. That’s crucial. You need the ability to start over if something goes wrong.
Also, adjustment layers sit above the layers they affect. Layer order matters immensely in complex composites. Get that wrong and your adjustments hit the wrong elements.
The Missing Reflection Details
The tutorial promises to teach realistic water reflections. But those steps appear on later pages of the original guide.
That’s typically where you’d flip your island and moon vertically. Then distort them to match water surface perspective. Add some blur and transparency. Finally, use displacement maps to create ripple effects that follow the water’s natural motion.
Those reflection techniques separate amateur work from portfolio-worthy pieces. Water reflections follow specific physics. Get them right and viewers accept your impossible scene as plausible.
Who Should Try This Tutorial
This isn’t a beginner project. You need comfortable familiarity with Photoshop’s interface and basic tools first.
But if you’ve mastered layers and understand selection tools, this tutorial teaches valuable intermediate techniques. Clone Stamp work, precise masking, and color harmonization appear in almost every professional composite.

The surreal moon island makes a perfect practice project. Fantasy scenes forgive small imperfections better than realistic composites. So you can focus on learning the techniques without obsessing over every pixel.
Why Photo Manipulation Skills Matter
These techniques extend far beyond fantasy art. Product photographers use them constantly. Remove distracting backgrounds. Place products in impossible settings. Create variations without reshooting.
Real estate agents need similar skills. Brighten rooms, remove furniture, enhance exterior shots. The same masking and adjustment techniques apply.
Even social media creators benefit. Clean composites make eye-catching thumbnails and graphics. Stand out in crowded feeds with images that demand attention.
The surreal moon island project teaches transferable skills. Master these techniques and you’ve got tools that work across photography genres.
The Tutorial’s Practical Approach
What I appreciate here is the step-by-step breakdown. No assumptions about your workflow or shortcuts. Every tool selection gets explained with actual menu paths.
That makes following along easier. You don’t need to pause constantly wondering what command they just used or where that tool lives in the interface.
Plus, the tutorial includes specific settings. Feather radius numbers, opacity percentages, exact adjustment values. That gives you a working baseline. Then you can experiment and adjust for your own images.
Start with settings that work. Understand why they work. Then modify based on your creative vision. That’s the path to developing genuine Photoshop skills rather than just following recipes.
Photo manipulation rewards experimentation. This tutorial gives you the foundation. Your creativity builds the rest.