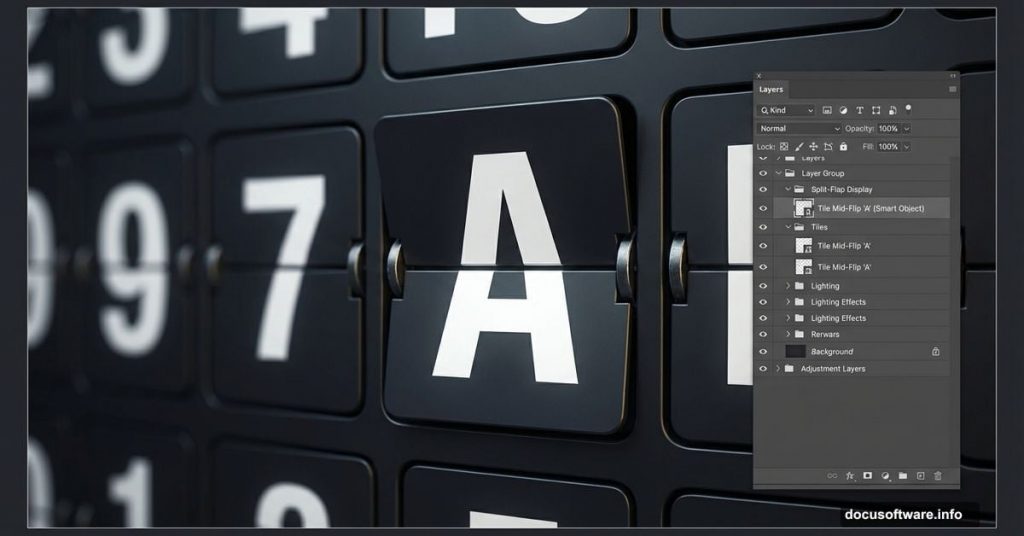
Remember those mesmerizing mechanical boards at airports? Each letter flips with a satisfying click to reveal the next character. You can build that iconic split-flap display entirely in Photoshop.
No special plugins needed. Just smart use of shapes, layer styles, and masking. Let’s walk through it step by step.
Set Up Your Canvas
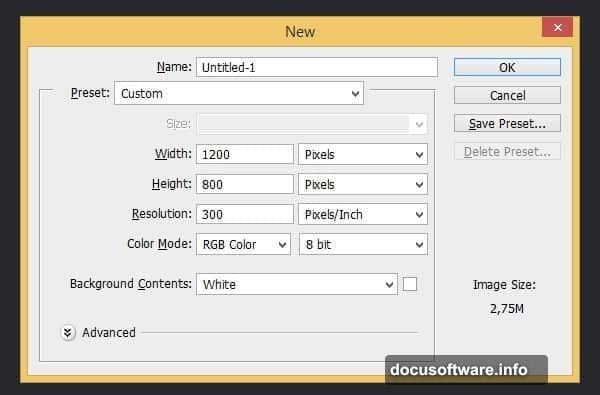
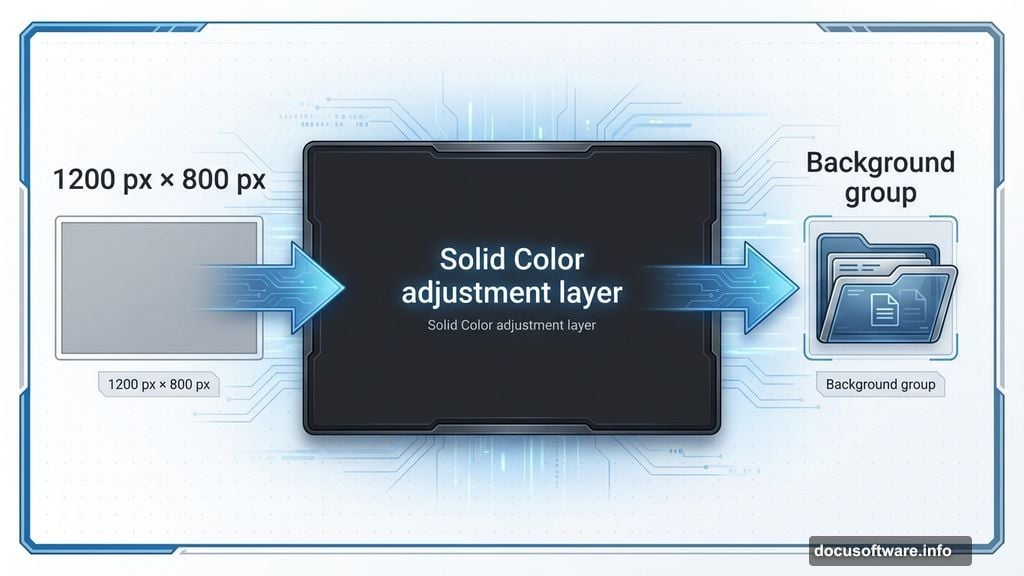
Start with a new document at 1200 px × 800 px. This gives plenty of room to work with individual character tiles.
Next, add a Solid Color adjustment layer. Set it to #26282d for that dark terminal background everyone recognizes. While that layer’s selected, hit Ctrl + G to group it. Name this group “Background” to keep things organized.
Organization matters here. You’ll build multiple character tiles, so group related elements from the start.
Build the Base Character Tile
Create another group called “First Digit.” This holds all elements for one character tile.
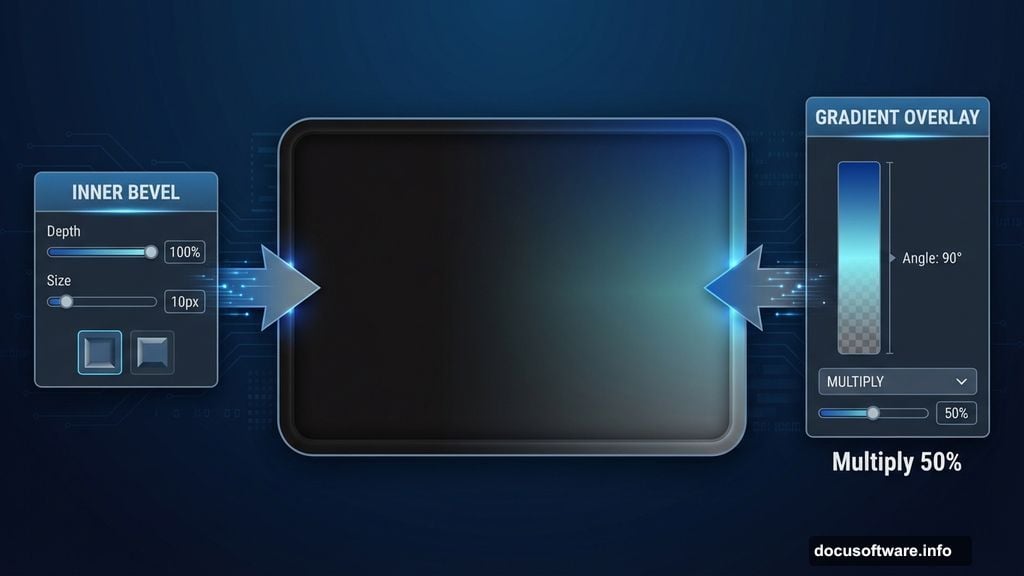
Add a rounded rectangle filled with #141213. This becomes your tile base. Then apply two layer styles:

Bevel & Emboss settings:
- Style: Inner Bevel
- Depth: 100%
- Size: 10 px
- Soften: 0 px
Gradient Overlay settings:
- Blend Mode: Multiply
- Opacity: 50%
- Style: Linear
- Angle: 90°
These styles give the tile physical depth and subtle shading.
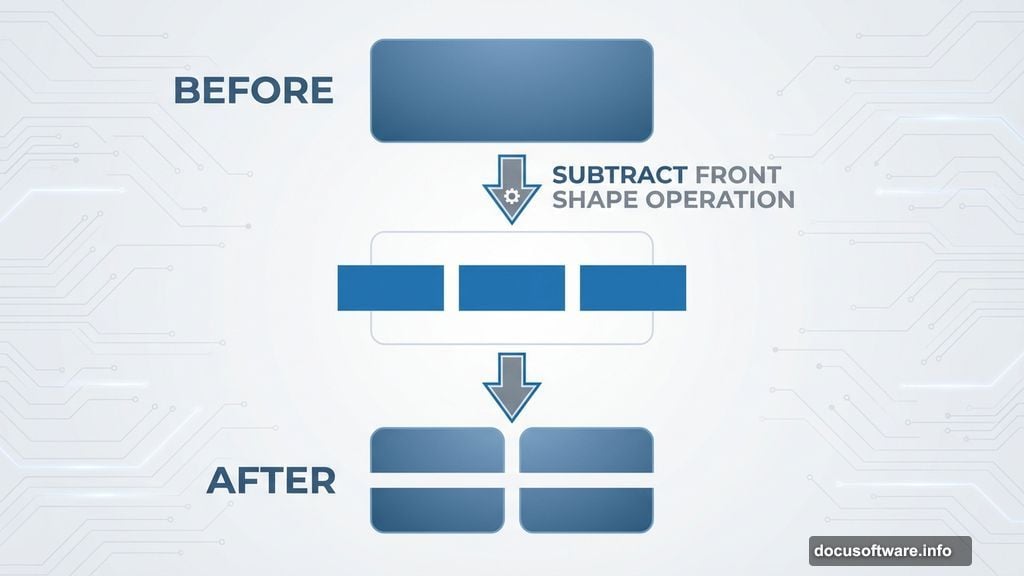
Create the Split Line
Here’s where it gets interesting. Add two small rounded rectangles and one thin rectangle to your base shape. Set their blend mode to Subtract Front Shape. This carves out that signature horizontal split line.
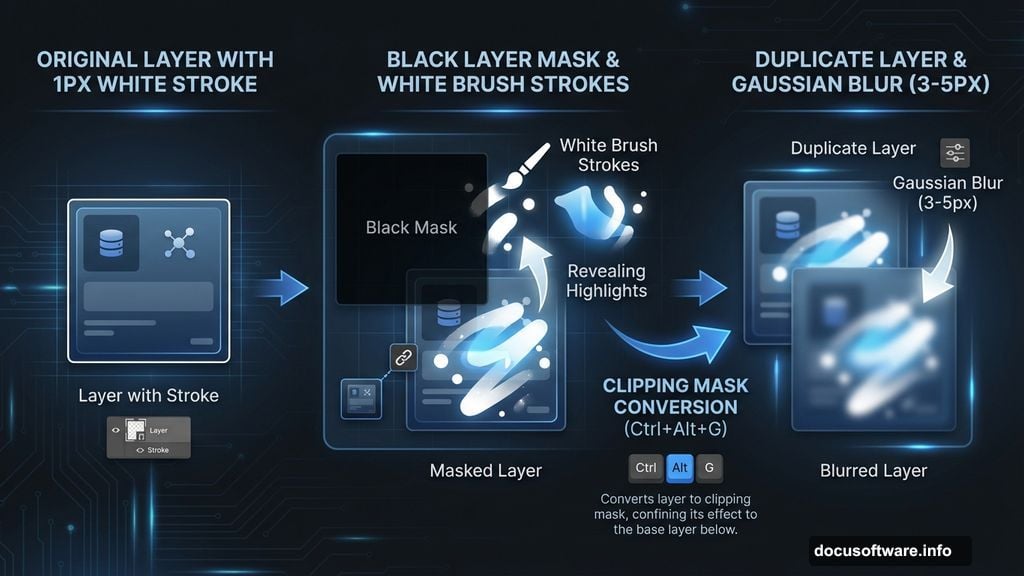
Now Ctrl-click the shape layer to select it. Make a new layer above it. Go to Edit > Stroke and set:
- Width: 1 px
- Color: White
- Location: Inside
Hit Ctrl + D to deselect. Then press Ctrl + Alt + G to convert this stroke layer into a clipping mask.
Add Realistic Highlights
Click the layer mask icon. Fill the mask with black by pressing D, then Ctrl + Delete. Grab your Brush tool and paint white on the mask where light would naturally hit the edges.
This creates sharp highlights. But real objects have both sharp and soft lighting. So duplicate this process on a new layer. After adding the stroke, apply Filter > Blur > Gaussian Blur at about 3-5 px radius.
Mask this softer highlight layer the same way. Paint white to reveal gentle glows along the tile edges.
Design the Character Display
Make another rounded rectangle inside your tile. This becomes the area where numbers or letters appear. Fill it with a slightly lighter shade like #1a1b1f.
Add thin rectangles at top and bottom to simulate the flip mechanism’s visible gaps. Set these to Subtract mode again.
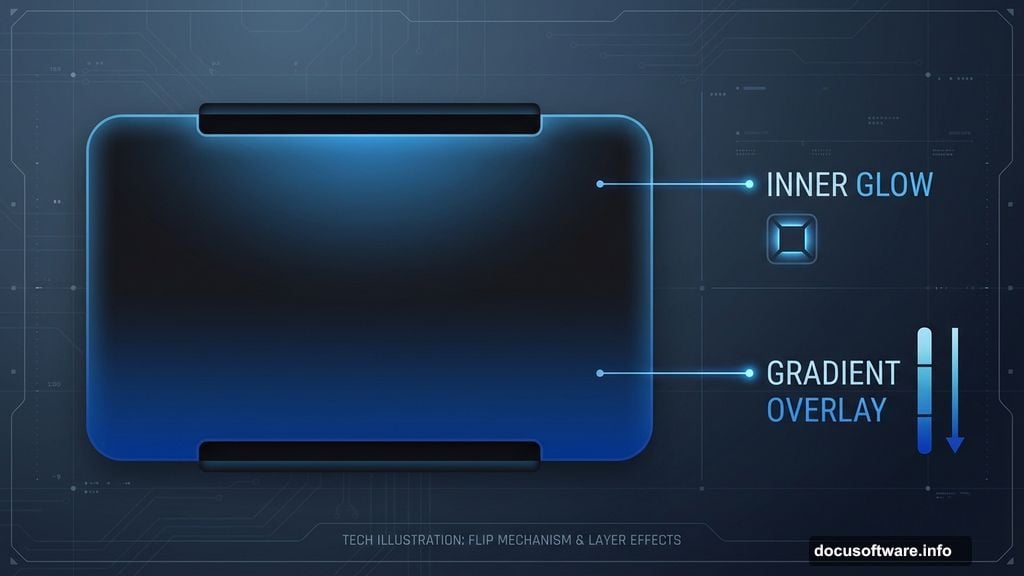
Apply similar layer styles to this inner rectangle:
- Inner Glow for subtle edge lighting
- Gradient Overlay for dimensional shading
The gradient should run vertically to match how light hits a curved surface.
Build the Flipping Effect
Here’s the trick that sells the mechanical flip. Duplicate your character display rectangle. Place one copy slightly above center, another slightly below.
Add horizontal line shapes between them. These represent the thin dividers between flap segments. Make them dark (#0a0a0a) with 50% opacity.
Apply Motion Blur (Filter > Blur > Motion Blur) set to 90° angle and 5-10 px distance. This simulates the rapid flip motion when tiles change.
Add Surface Texture
Real airport displays show wear and fingerprints. Create a new layer above everything. Fill it with 50% gray. Apply Filter > Noise > Add Noise at about 4%.
Then apply Filter > Blur > Motion Blur at 0° angle and 3 px distance. This creates subtle horizontal scratches. Set layer blend mode to Overlay at 20% opacity.
Add a layer mask. Paint black in the mask’s center to keep texture mainly at the edges where handling occurs.
Create the Character
Time to add actual text. Use a bold, monospaced font like Helvetica Bold or Roboto Mono. Airport displays always use clean, easily readable typefaces.
Type your character. Apply these layer styles:
Inner Shadow:
- Opacity: 40%
- Distance: 2 px
- Size: 3 px
Gradient Overlay:
- Black to dark gray
- Opacity: 30%
- Angle: 90°
This makes characters look recessed into the tile surface rather than floating on top.
Build Multiple Tiles
Now duplicate your entire “First Digit” group. Rename it “Second Digit.” Move it next to the first tile with about 20 px spacing.
Change the character to build a complete word or number sequence. Keep duplicating and adjusting until you have the full display.
For variety, slightly randomize each tile’s rotation (±1-2°) and brightness. Real mechanical displays never align perfectly. This subtle imperfection adds authenticity.
Add Environmental Effects
Create a new layer above all tiles. Use a large soft brush with white at 10% opacity. Paint gentle light spots across the display. Set this layer to Overlay mode at 30%.
This simulates overhead terminal lighting hitting the display at angles.
Add another layer. Paint darker areas around display edges with a soft black brush at 5% opacity. This grounds the display in space rather than floating on the background.
Final Polish
Merge all tile groups into one smart object. This lets you apply effects to the entire display while preserving individual tile layers.
Add subtle Gaussian Blur (0.5 px radius) to simulate the slight defocus you’d see in a photo. Then sharpen specific areas with the Sharpen tool at 10% strength.
Finally, add a Curves adjustment layer. Lift the shadows slightly and add a touch of blue to midtones. This mimics the color cast from fluorescent airport lighting.
Make It Animated (Optional)
Want to simulate the flip animation? Duplicate your smart object multiple times. Progressively change characters in each copy. Stack them in sequence.
Open the Timeline panel (Window > Timeline). Convert each layer to a video frame. Set frame duration to 0.1 seconds. Export as GIF for a convincing flip animation.
Why This Works
The key to realistic mechanical displays is layering subtle details. No single effect makes it convincing. But combined highlights, texture, shadows, and slight imperfections create believable depth.
Real airport displays reflect decades of engineering focused on legibility under harsh lighting. Your Photoshop version should capture that same clarity and industrial aesthetic.
Plus, this technique adapts to other vintage displays. Train stations, scoreboards, or retro digital clocks all use similar split-flap mechanisms. Master this once and you can recreate any mechanical display from memory.