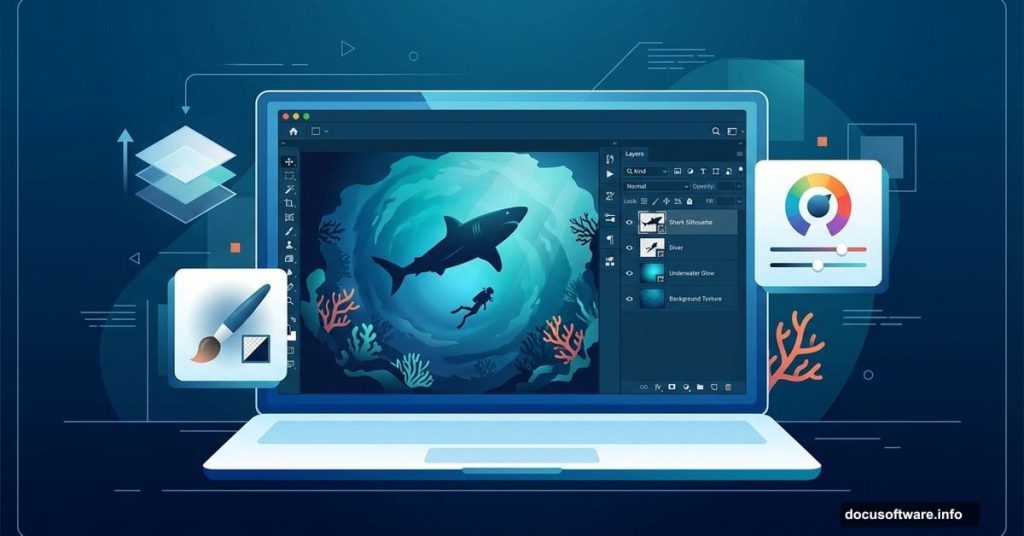
Sharks get a bad rap. But let’s be honest. If you wade into their home and something goes wrong, who’s really the intruder?
That philosophical question aside, creating underwater scenes in Photoshop teaches you fundamental photo manipulation skills. Plus, the final result looks genuinely impressive. So let’s build a dramatic shark-and-diver composition from scratch.
This tutorial covers layering multiple photos, blending modes, masking techniques, and color grading. No advanced skills required. Just patience and attention to detail.
Gather Your Source Images First
Before opening Photoshop, collect these specific photos. You’ll need underwater backgrounds, coral reef details, bubble overlays, plus your main subjects—a diver and a shark.
The tutorial originally listed specific Pixabay images. But those links break over time. So search Pixabay or similar stock sites for these elements. Look for high-resolution images that match your intended composition.
Here’s what works best. Find underwater photos with natural light filtering down from above. That creates realistic depth. Choose a shark image photographed from the side with clear details. Pick a diver photo with good body positioning—swimming forward or looking around works great.
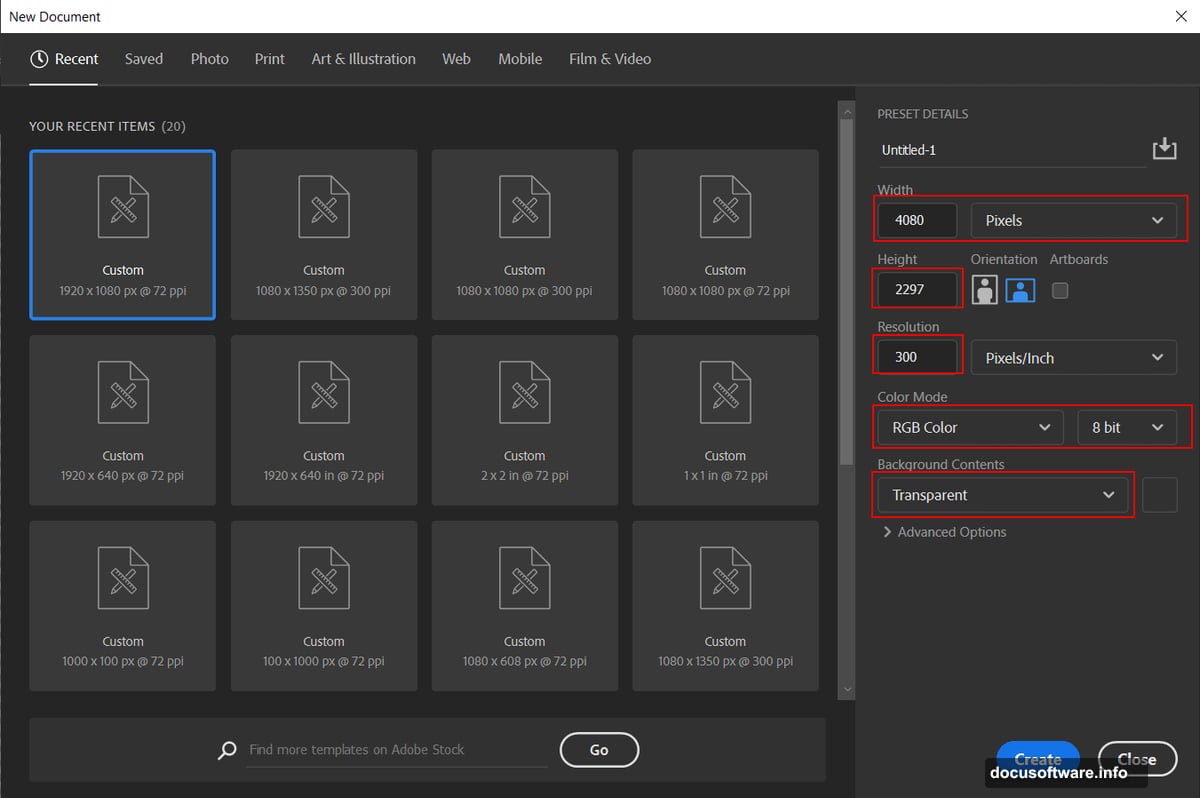
Set Up Your Canvas Properly
Create a new document with these exact specifications. Width 4080 pixels, height 2297 pixels, resolution 300 DPI. Set color mode to RGB 8-bit. Make the background transparent for now.
Why these dimensions? That aspect ratio works perfectly for desktop wallpapers and prints beautifully at large sizes. Plus, starting with high resolution means you won’t lose quality during editing.
Save your project immediately after creating it. Then save frequently as you work. Nothing worse than losing hours of work to a crash.
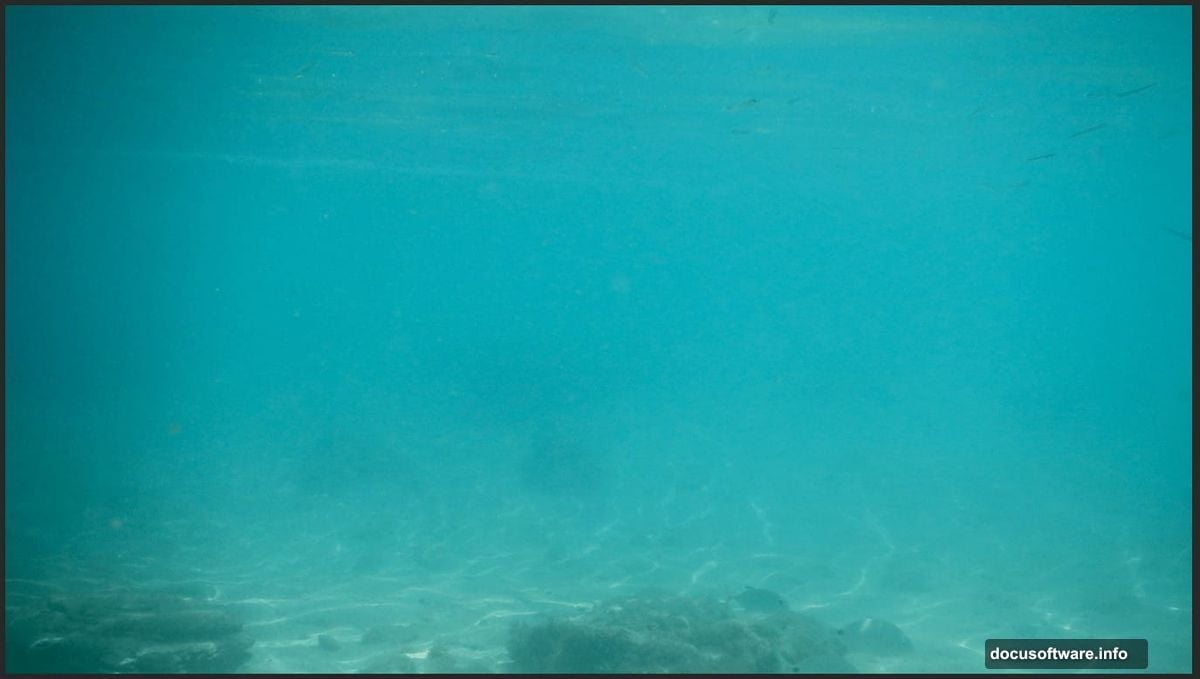
Build the Underwater Environment in Layers
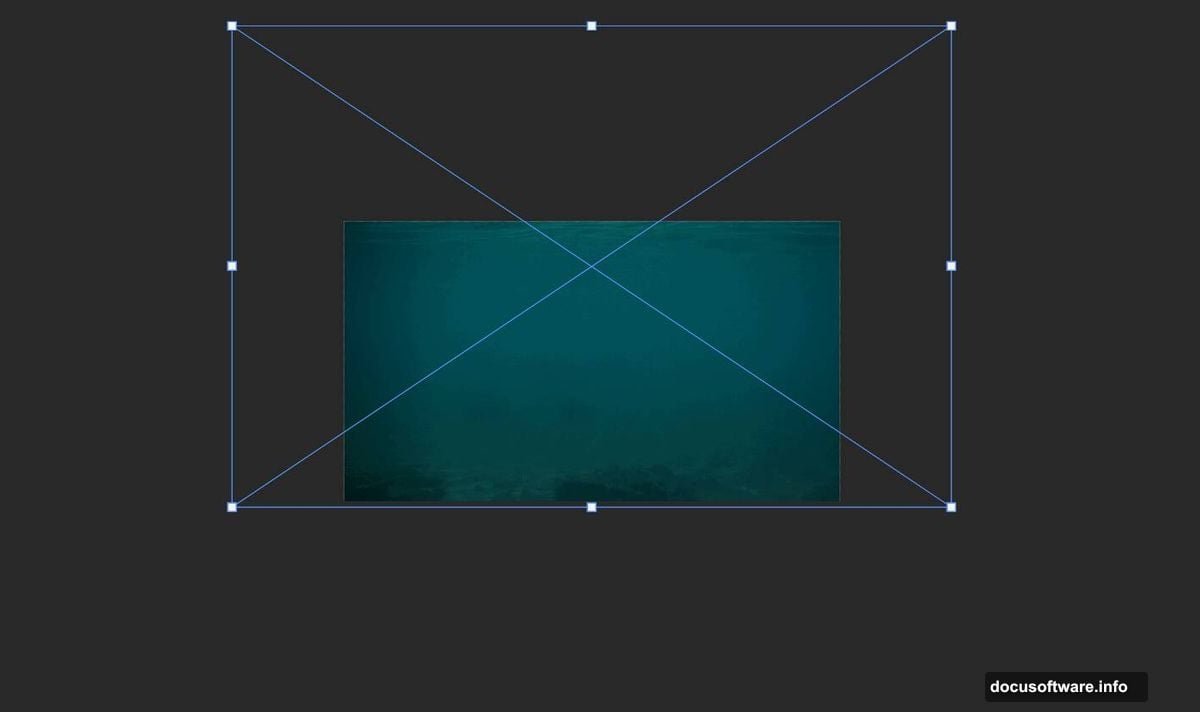
Start with your primary underwater background. Go to File > Place and select your main ocean photo. Position it using Transform (Ctrl/Cmd + T). Hold Alt and Shift together while dragging corners to resize proportionally. In newer Photoshop versions, just hold Alt.
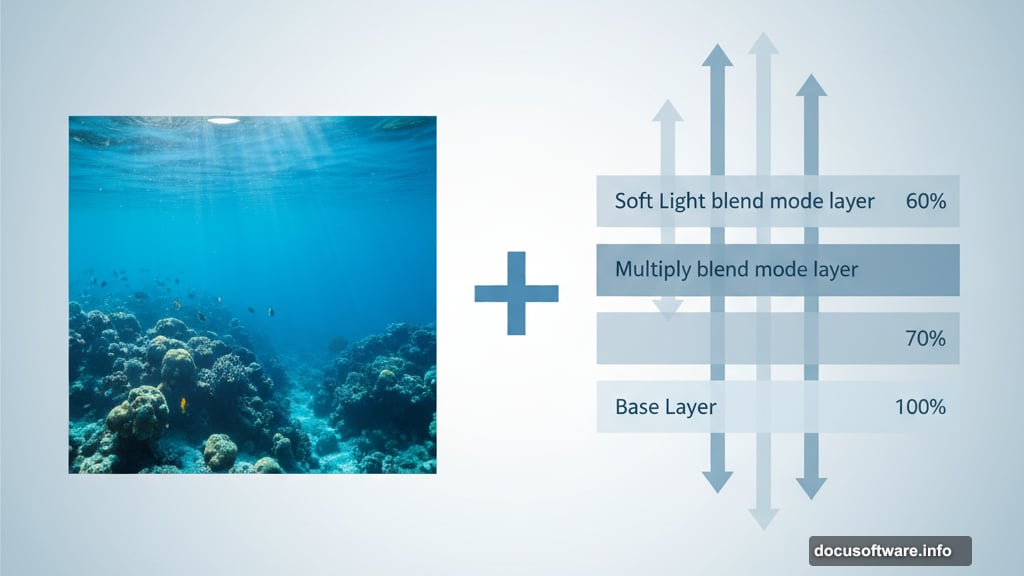
Here’s the crucial part. Layer multiple underwater photos to create depth and atmosphere. Place your second underwater image above the first layer. Change its blend mode to Multiply. This darkens the overall scene and adds richness to shadows.
Then add a third underwater layer. Set this one to Soft Light blend mode instead. Soft Light enhances contrast subtly without destroying the natural look. It adds punch to highlights while preserving shadow detail.
Play with layer opacity if these effects feel too strong. Drop opacity to 60-70% for more subtle results. The goal is realistic depth, not over-processed drama.
Add Coral Reefs for Foreground Interest
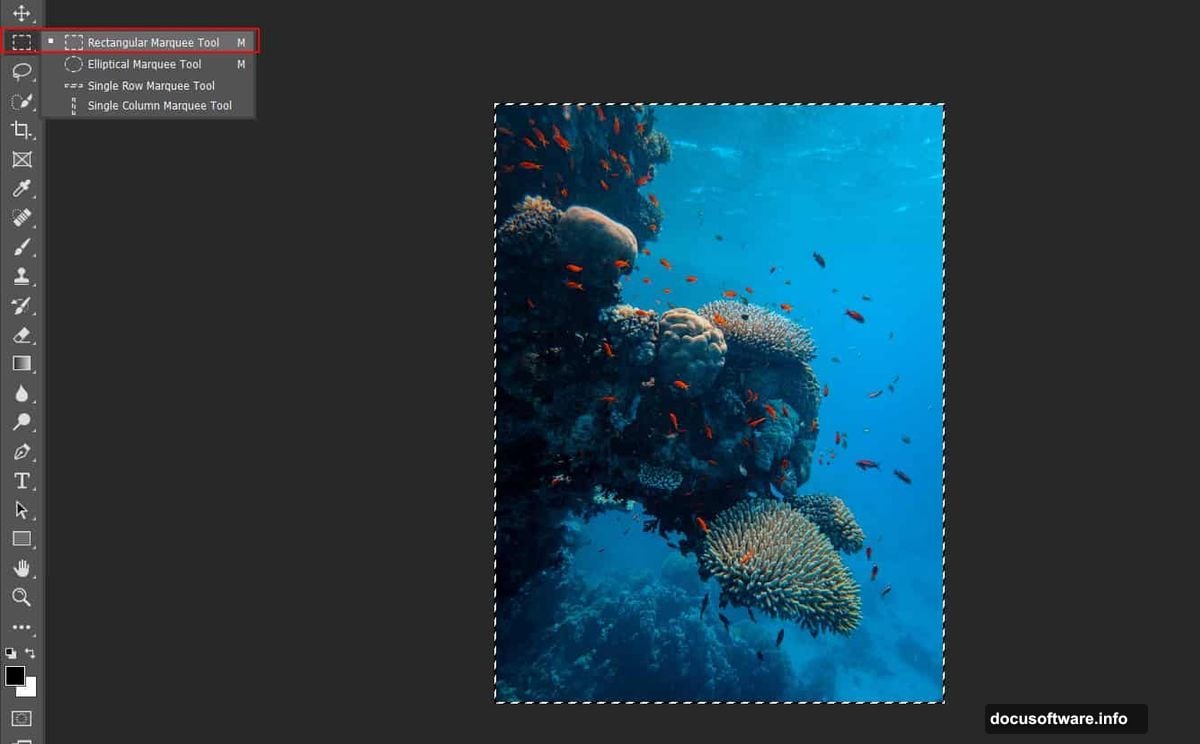
Open your coral reef photo separately. Use the Rectangular Marquee Tool (press M) to select interesting coral formations. Copy (Ctrl/Cmd + C) and paste (Ctrl/Cmd + V) into your main composition.
Position the coral in the lower portion of your canvas. Transform it to fill the foreground naturally. Coral provides visual anchoring—it tells viewers where the ocean floor sits relative to your floating subjects.
Now create a layer mask on the coral layer. Select the Brush Tool (B) and choose a soft round brush. Set foreground color to black. Paint along the edges where coral meets water. This softens harsh boundaries and blends the coral into the scene.
Black paint on a mask hides that area. White reveals it. So paint black to fade edges, white to bring detail back. This masking technique works for every layer in photo manipulation.
Place Your Shark Subject
Here’s where your composition gets interesting. Open your shark photo and extract it from its background. Use the Quick Selection Tool (W) or Pen Tool (P) depending on edge complexity.
Quick Selection works great for most shark photos. Just click and drag to expand your selection. Hold Alt and click to remove areas if it selects too much. Refine Edge helps clean up tricky spots like fins.
After selecting your shark, copy and paste it into your main document. Transform it to appropriate size relative to your diver. Sharks should look intimidating but not impossibly huge. Keep proportions realistic for the species you chose.
Position the shark slightly behind and above the diver. This creates tension—the diver doesn’t see the approaching predator. But viewers do. That narrative element makes static images more engaging.
Add the Diver for Scale and Story
Finding good diver photos takes patience. You need clear silhouettes without distracting gear or bubbles. The body position should look natural for underwater swimming.
Extract your diver using the same selection techniques. Pen Tool works better here since diving gear has hard edges. Take time to trace cleanly around fins, oxygen tanks, and limbs.
Place the diver in the middle depth of your composition. Not too far forward, not pushed back. The diver should feel surrounded by the environment, not pasted on top.
Rotate the diver slightly if needed. Underwater bodies rarely float perfectly horizontal. A slight tilt adds realism. Also consider flipping the diver horizontally if that improves composition flow.
Create Realistic Lighting and Color
Now adjust colors to match underwater reality. Water filters out red wavelengths first, then yellow, leaving blue-green tones dominant. So your final image should lean strongly toward cyan and blue.
Add a Hue/Saturation adjustment layer above all other layers. Shift hue toward cyan by moving the slider left slightly. Reduce saturation by 10-15% to mimic how water desaturates colors.
Then add a Color Balance adjustment layer. Push shadows toward cyan and blue. Move midtones slightly toward green. Leave highlights alone—surface light should stay relatively neutral.
These adjustment layers affect everything below them. That’s why order matters. Always place adjustment layers above the content layers you want to affect.
Add Bubbles for Movement
Underwater scenes feel static without bubbles. They suggest motion, breathing, currents. Find a bubble overlay photo with clear, varied bubble sizes.
Place the bubble layer above your subjects. Set blend mode to Screen. Screen mode makes black areas transparent while keeping bright bubbles visible. Perfect for overlays.
Duplicate your bubble layer a few times. Transform each duplicate differently—resize, rotate, reposition. This creates natural bubble distribution instead of obvious repetition. Vary opacity on some layers for depth.
Paint black on bubble layer masks to remove bubbles from certain areas. Don’t put bubbles directly over important subject details. They should enhance, not distract.
Apply Camera Raw Filter for Final Polish
Here’s where good becomes great. Merge all your layers into a new top layer. Select all layers, right-click, choose “Convert to Smart Object,” then duplicate that smart object.
Go to Filter > Camera Raw Filter. This opens a powerful interface for final adjustments. Start with the Basic tab.
Reduce highlights slightly to recover blown-out areas. Lift shadows to see more detail in dark regions. Add clarity for midtone contrast—but don’t exceed +20 or the image looks crunchy.
Move to the Detail tab. Add sharpening around 40-50. Increase Luminance noise reduction if your source photos were grainy. Keep Color noise reduction moderate.
Finally, use the HSL tab to fine-tune individual colors. Reduce saturation on any colors that fight the underwater blue-green palette. Shift hues slightly to harmonize the overall color scheme.
Fix Common Problems
Sometimes sharks look pasted on despite your best efforts. Here’s why. Light direction doesn’t match between source photos. Or color temperature differs too much between layers.
Fix this by adding a Curves adjustment layer clipped to your shark layer only. Click the adjustment layer, then Alt-click between that layer and the shark layer. This clips the adjustment so it only affects the shark.
Use Curves to match the shark’s brightness and color cast to the environment. If the background leans cyan, push the shark toward cyan too. If shadows are darker in the environment, darken shark shadows to match.
The same technique works for any element that doesn’t integrate well. Clipped adjustment layers let you tweak individual elements without affecting the whole composition.
Learn From This Process
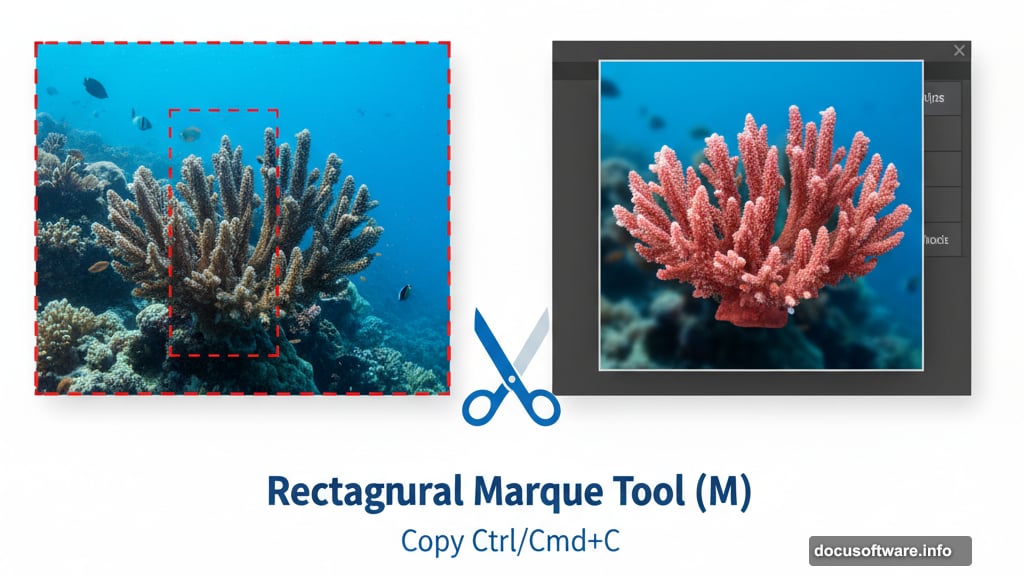
Photo manipulation isn’t about memorizing steps. It’s about understanding principles that apply everywhere. Blend modes create realistic interactions between layers. Masks blend elements seamlessly. Adjustment layers unify disparate photos.
Master these fundamentals and you can create any manipulation you imagine. Not just underwater scenes. Fantasy landscapes, surreal portraits, impossible architecture. The techniques transfer completely.
So experiment beyond this tutorial. Try different blend modes. Stack more adjustment layers. Test unusual photo combinations. That’s how you develop your own style instead of just copying tutorials.
Plus, mistakes teach more than successes. If something looks wrong, figure out why. That understanding builds faster than following instructions perfectly.
Your Turn to Dive In
This composition takes 1-2 hours to complete properly. Don’t rush. Good photo manipulation requires patience and iteration. Build your layers carefully. Adjust colors thoughtfully. Save different versions so you can backtrack if needed.
The final image should look cohesive—like someone actually captured this moment underwater. Not like obviously pasted photos. That’s the difference between amateur manipulation and professional work. Seamless integration of disparate elements into unified reality.
So grab those source images and start building. You’ll learn more in one hands-on project than reading a hundred tutorials. Create your own underwater drama. Just remember—in the shark’s world, we’re the ones trespassing.