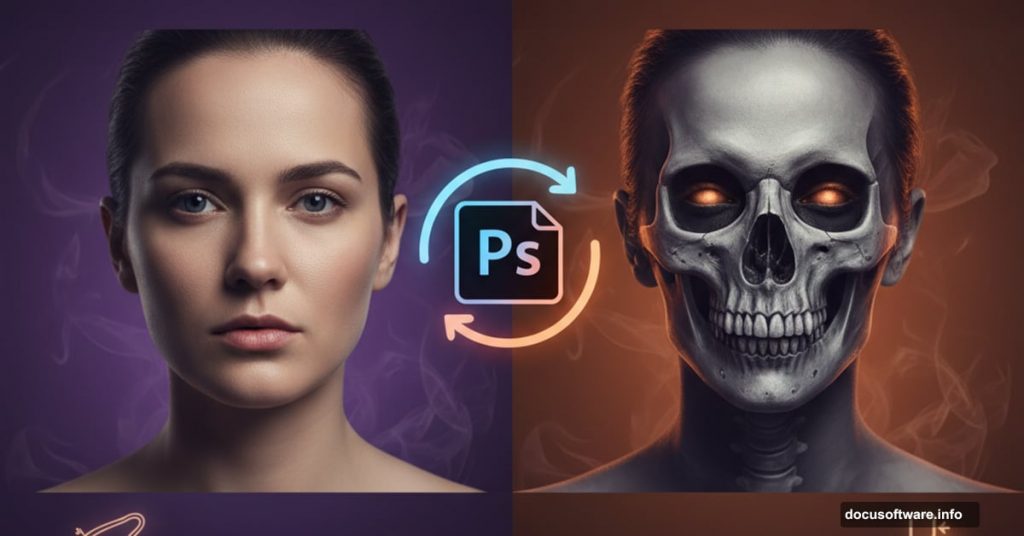
Want to create spine-chilling portrait effects that actually look professional? This Photoshop technique turns ordinary photos into creepy masterpieces using skull overlays and dramatic lighting.
The best part? You don’t need advanced skills. Just follow these steps and watch your portrait transform into something genuinely unsettling.
Why This Technique Works Better Than Filters
Most Halloween effects rely on cheesy filters. They look fake immediately. Instead, this method combines real skull imagery with careful blending to create authentic-looking results.
The secret lies in layering. By stacking desaturated versions of your portrait with skull elements, you build depth that simple filters can’t match. Plus, the final image maintains photographic quality while adding that creepy factor.
Setting Up Your Canvas
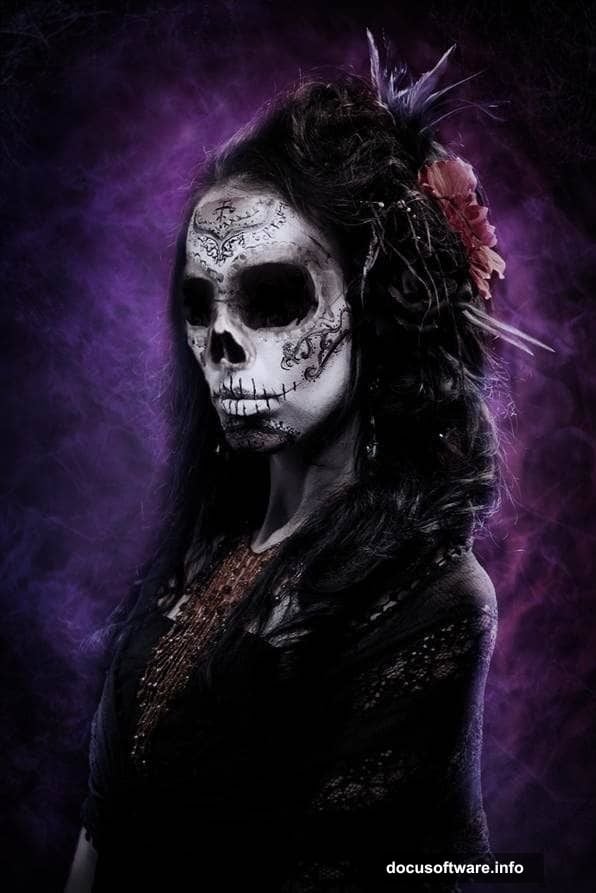
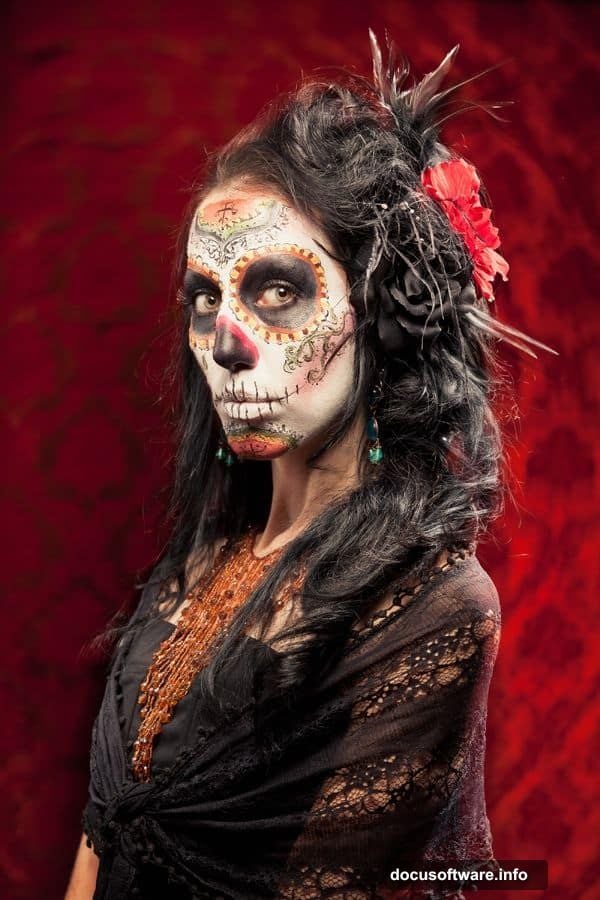
Start by choosing a portrait with strong features. Dramatic makeup helps but isn’t required. The model’s expression matters more than perfect lighting.
Resize your image to 837 x 1300 pixels. This size gives you enough resolution for detail work without slowing down Photoshop. Press Alt+Ctrl+I to open the Image Size dialog and punch in those dimensions.
Building Your Base Layers
Select your model using the Lasso Tool. Don’t worry about perfection here. Rough selections work fine since you’ll blend edges later.
Duplicate your selection by pressing Ctrl+J. This creates a new layer with just your subject. Now you’ve got a clean working layer that won’t mess up your original image.
Creating Ghostly Skin Tones
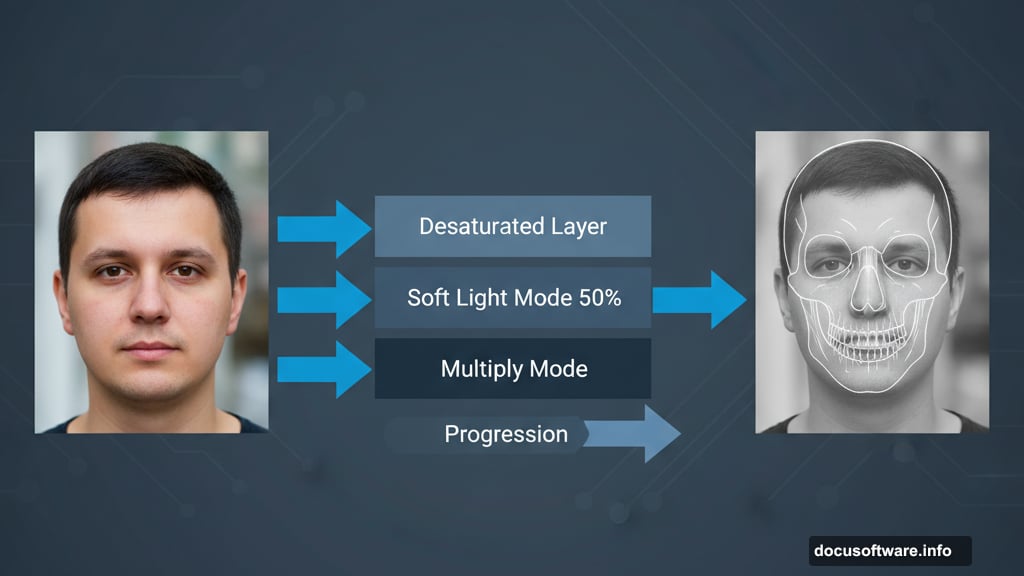
Duplicate that layer again and desaturate it completely. Press Ctrl+U and drag the Saturation slider all the way to -100. This gives you a pure grayscale version.
Change this layer’s blend mode to Soft Light and reduce opacity to 50%. Suddenly your portrait gains an eerie, otherworldly quality. The contrast jumps while the skin takes on that corpse-like pallor.
Here’s where most tutorials stop. But we’re just getting started.
Isolating the Skin for Extra Control
Use the Lasso Tool to select only the model’s skin areas. Duplicate this selection into a new layer. Then reduce saturation by 50% instead of going full grayscale.
This partial desaturation maintains subtle color variations. Real dead skin isn’t uniformly gray. It shows hints of blue, yellow, and green tones. By keeping some color information, your effect looks more convincing.
Adding Depth With Multiply Mode
Duplicate your original model layer one more time. Set this copy to Multiply blend mode. This darkens shadows dramatically and adds dimension to facial features.
Now merge these three working layers together. Right-click and select Merge Down repeatedly until you’ve consolidated them into one layer. This makes the next steps much easier.
Softening Those Hard Edges
Grab your Eraser Tool and set it to a soft brush. Gently erase around the portrait’s edges. This removes the harsh cutout look and helps your subject blend naturally with backgrounds later.
Don’t go crazy here. Just soften the transition between your subject and the canvas.
Positioning the Skull Elements
Open your skull image and drag it onto your portrait. Position it over the face area. Press Ctrl+T to enter Free Transform mode.
Scale the skull down until it roughly matches your model’s facial proportions. Lower the layer opacity temporarily so you can see through and align it properly. The eye sockets should sit approximately where the model’s eyes are.
Creating Those Haunting Eye Sockets
Erase everything except the skull’s eye socket area. You want to keep just enough to create that hollow, dead-eyed look.
Duplicate this eye socket layer and flip it horizontally to create the second eye. Use Free Transform (Ctrl+T) to adjust size and position until both eyes match your model’s face structure.
Merge these two eye layers together. Then use Free Transform repeatedly to fine-tune the placement. Small adjustments make huge differences in the final look.
Matching the Skull to Skin Tone
Your skull probably doesn’t match your portrait’s color palette yet. Press Ctrl+U and reduce saturation to about -53. This removes the yellowish bone color and makes it blend with the ghostly skin tones you created earlier.
Duplicate the eye socket layer one more time. Set this copy to Soft Light blend mode with 30% opacity. This adds subtle shadows around the eye areas and helps integrate the skull elements seamlessly.
Adding Depth to Eye Sockets
Here’s a crucial step many tutorials skip. You need to darken those eye sockets to create real depth.
Create a new layer and paint black inside the eye socket areas using a soft brush. Set this layer to Multiply mode and adjust opacity until it looks natural. The sockets should appear hollow and deep, not just pasted on.
Blending Skull Fragments With Skin
Notice how the outer edges of the skull elements still look too separate from the skin? Fix this by carefully erasing the hard edges where skull meets skin.
Use a soft eraser at low opacity. Build up the transition gradually. You want viewers to question where the skull ends and skin begins. This ambiguity creates that unsettling effect.
Also darken the forehead area slightly. Add a curves adjustment layer and pull down the midtones in that region. This helps the skull fragments appear like they’re emerging from beneath the skin rather than sitting on top.
Adding Texture for Realism
Real decomposed skin shows texture variation. Grab a grungy texture image and overlay it on your portrait at low opacity. Set the blend mode to Overlay or Soft Light.
Erase the texture from areas you want to keep smooth. Focus the texture on the forehead, cheeks, and around the skull elements. This adds that rotted, ancient look.
Enhancing With Lighting Effects
Your portrait probably looks flat still. Add drama with custom lighting.
Create a new layer and paint white highlights on the high points of the face using a soft brush. Set this layer to Overlay mode. This mimics the way light catches on bone structure.
Similarly, paint black in the shadows and hollow areas. Use Multiply mode for the shadow layer. These lighting adjustments bring your portrait to life (or death, technically).
Final Color Grading
Almost done. Add a Color Lookup adjustment layer to unify the color palette. Try the “Moonlight” or “Horror Blue” LUTs if you have them. Otherwise, manually add a slight blue tint using a Color Balance adjustment layer.
This final color grade ties everything together and amplifies the creepy atmosphere.
Common Mistakes to Avoid
Don’t over-saturate the skull elements. They should blend naturally, not stand out as obviously added elements. Keep saturation low across the entire image.
Also avoid making the effect too dark. You want viewers to see all your careful detail work. Balance the darkness with strategic highlights that reveal form.
Most importantly, spend time on those transitions between skull and skin. Rushed blending always shows. Take your time with soft erasers and low opacity brushes.
Taking It Further

Once you’ve mastered this basic technique, experiment with additional elements. Add spider webs across the face using separate layers. Incorporate cracks and decay using custom brushes.
You can also adjust the skull placement for different effects. Position it lower for a jaw-dropping look. Or place multiple small skull fragments throughout the face for a shattered appearance.
The technique remains the same. Layer, blend, and refine until you achieve the look you want.
Why This Works for All Skill Levels
This tutorial breaks down into manageable steps. Each one builds on the previous without requiring expert knowledge. The blend modes do most of the heavy lifting.
That said, your results improve with practice. Your first attempt might look rough. By your third or fourth portrait, you’ll nail those subtle transitions that make the effect convincing.
Don’t expect perfection immediately. Focus on understanding how layers interact and how blend modes affect your image. The technical skills develop naturally through repetition.
This Halloween portrait manipulation technique works because it combines simple tools in smart ways. The skull overlay provides instant impact. The careful blending and lighting create believability. Together, they transform ordinary portraits into genuinely unsettling artwork that stands out from typical holiday effects.