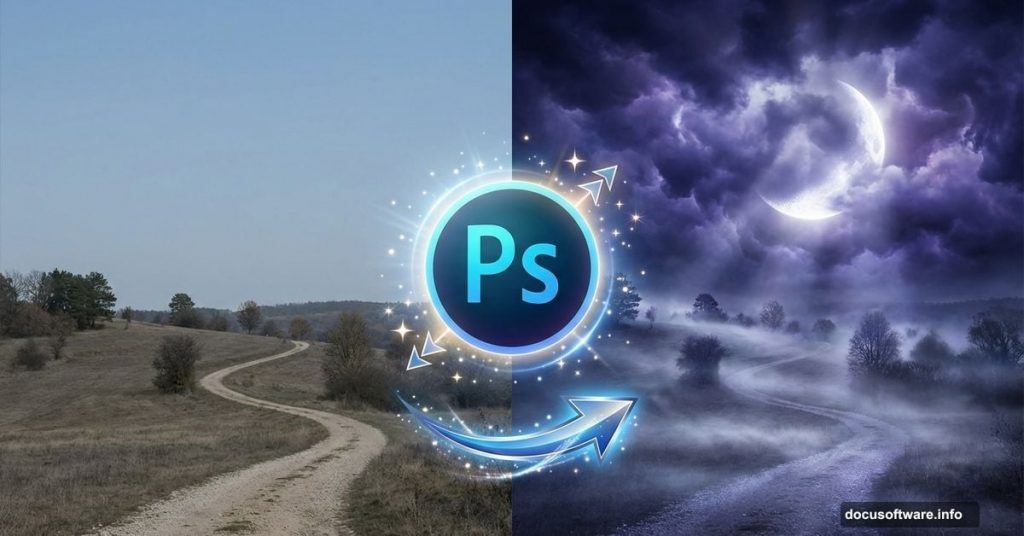
Got a bland landscape photo collecting dust on your hard drive? Time to give it new life.
This tutorial walks through transforming ordinary outdoor shots into dramatic moonlit scenes. You’ll learn to blend multiple skies, add atmospheric fog, and create convincing lighting that makes viewers wonder if you actually traveled somewhere exotic. Spoiler: you didn’t.
The techniques work for any landscape photo. Plus, once you master these basics, you can apply them to countless other photo manipulations.
Gather Your Source Images First
Before jumping into Photoshop, collect the raw materials. You’ll need several photos to composite together.
Required images:
- Base landscape (ground/terrain)
- Two different sky photos
- Optional: human figure for scale
- Optional: fog brush pack
The original tutorial uses stock images from Pelleron Art and SnakStock. But honestly? Use whatever images you have available. The technique matters more than the specific source files.
Just make sure your sky photos have interesting cloud formations. Flat, boring skies won’t suddenly become dramatic just because you’re compositing them.
Build Your Sky Foundation
Create a new Photoshop document. Then drag your first sky photo into it.
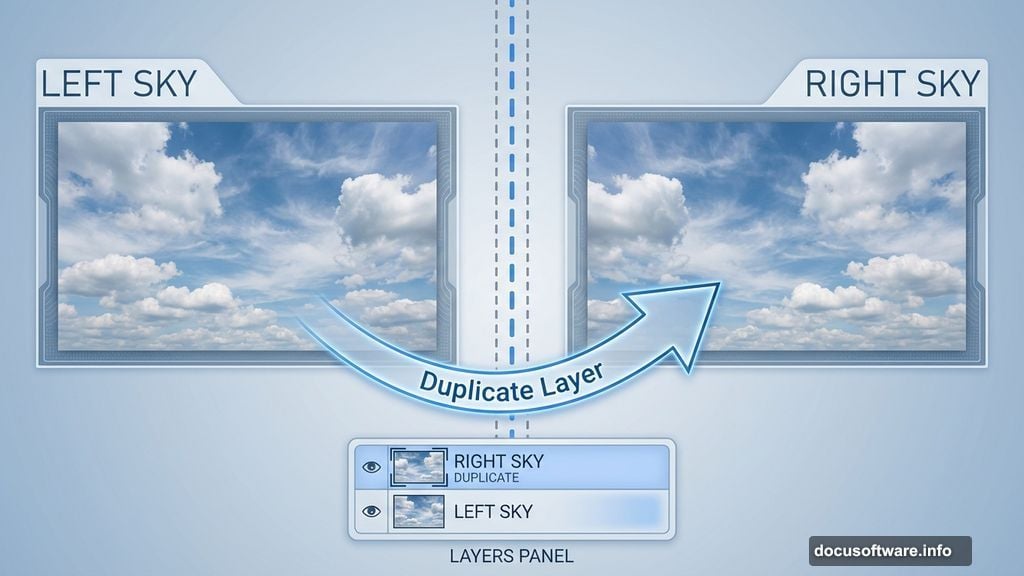
Position this layer in the top left corner. Name it LEFT SKY. Yes, naming layers seems tedious when you start. But trust me—working with 50+ unnamed layers becomes a nightmare fast.
Now duplicate that layer. Right-click on LEFT SKY and select “Duplicate Layer.” Name the copy RIGHT SKY and move it to the top right corner.
You’ve now got two identical skies side by side. Next, you need to blend them seamlessly.
Master the Layer Mask Technique
Here’s where layer masks become your best friend. They allow non-destructive editing, meaning you can always undo mistakes later.
Click on RIGHT SKY. Then hit the “Add Layer Mask” button at the bottom of your Layers panel. It looks like a rectangle with a circle inside.
Grab the Brush Tool (press B). Set these properties:
- Color: Black
- Opacity: 100%
- Hardness: 0%
Make sure the layer mask is selected (click on the white rectangle next to your layer thumbnail). Then paint along the left edge where the two sky layers meet.
The black brush hides parts of RIGHT SKY, revealing LEFT SKY underneath. Keep painting until the transition looks natural. Soft, feathered edges work better than hard lines.
Pro tip: You could use the Eraser Tool instead. But layer masks let you fix mistakes by painting with white to reveal hidden areas again.
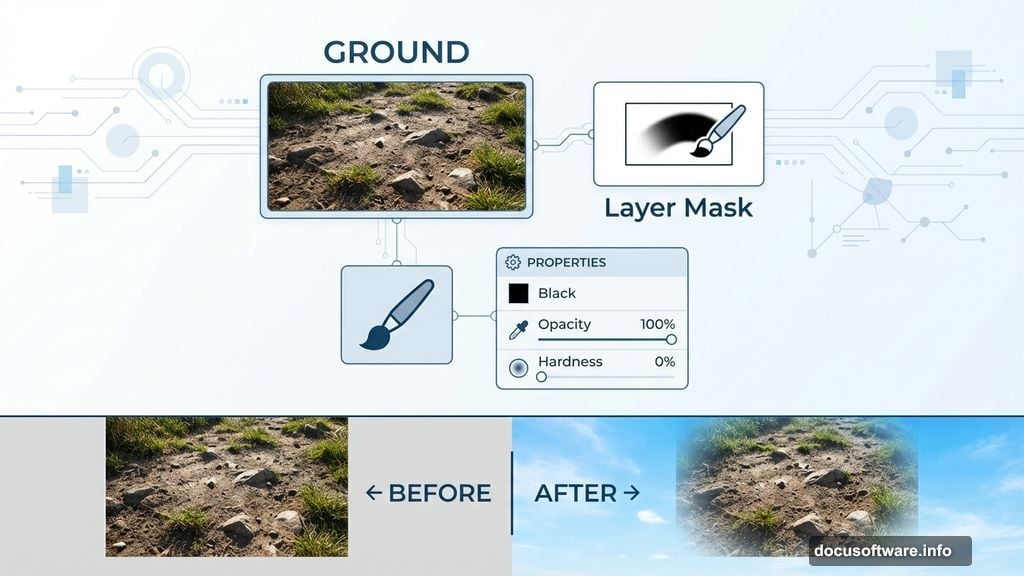
Drop In Your Ground Layer
Drag your landscape ground photo into the document. Place this layer above all the sky layers.
Name it GROUND. Resize if needed to fill the frame properly.
Right now you can’t see any sky because the ground photo covers everything. Time to fix that with another layer mask.
Add a layer mask to GROUND. Grab your soft brush with black color again. Paint over the upper portion where sky should be visible.
This reveals the composite sky you built earlier. Keep the transition natural—real horizons aren’t perfectly straight lines. Add some variation to match the terrain.
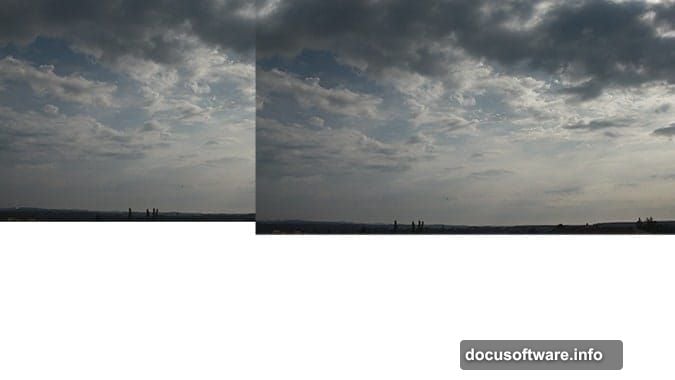
Create Atmospheric Depth With Fog
Real moonlit scenes have atmospheric haze. Adding fog separates foreground from background, creating depth.
Download fog brushes or create your own. Load them into Photoshop through the Brush settings.
Create a new layer above GROUND. Name it FOG. Set the layer blend mode to Screen or Lighten.
Pick a soft fog brush. Use white or light gray color. Set Opacity around 30-50%. Paint fog along the horizon line and in the distance.
Build up the effect gradually with multiple brush strokes. Too much fog at once looks fake. Layer it subtly instead.
Key principle: Distant objects should have more fog. Foreground elements should stay clear.
Add Dramatic Moon Lighting
Moonlight has a cool, blue-ish tone. It’s also much dimmer than sunlight, creating high contrast scenes.
Create a new adjustment layer: Layer > New Adjustment Layer > Color Balance. Shift the midtones toward blue and cyan. This gives everything that moonlit color cast.
Next, add selective lighting with curves. Create another adjustment layer: Layer > New Adjustment Layer > Curves.
Pull the curve up slightly to brighten the scene. Then add a layer mask and paint with black to darken certain areas. Leave highlights where moonlight would naturally hit—tops of hills, edges of rocks, anything facing the sky.
This selective brightening mimics how moonlight creates dramatic shadows and highlights.
Build Realistic Shadows
Moonlight comes from one direction. Your shadows need to match that direction consistently.
Create a new layer above GROUND. Set blend mode to Multiply. Pick a dark blue color (not pure black—real shadows have color).
Paint shadows on the ground where objects would block moonlight. Keep them soft and subtle. Hard-edged shadows look artificial under moonlight.
Adjust layer Opacity until shadows feel natural. Usually 40-60% works well.
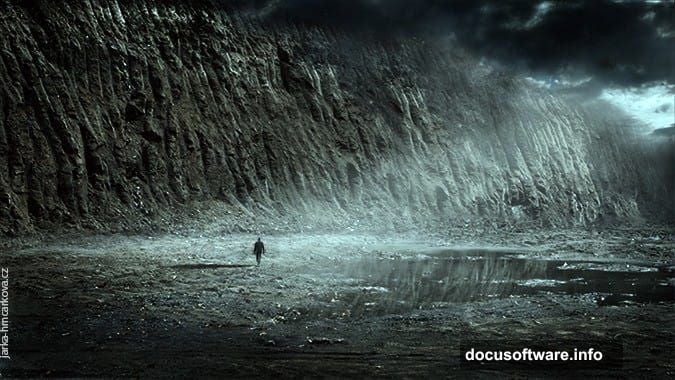
Add a Human Figure for Scale
Optional but effective: add a small human silhouette. This gives viewers a sense of scale and makes the scene more relatable.
Drag in a photo of a person. Cut them out from their background (use the Quick Selection Tool or Pen Tool).
Place the figure somewhere in the middle ground. Not too close, not too far. Resize appropriately for the perspective.
Since this is a moonlit scene, the person should be mostly silhouetted. Add a layer mask and darken them heavily. Leave just a thin rim of light on the edge facing the moon.
Fine-Tune With Final Adjustments
Almost done. Now polish the overall look.
Create a new adjustment layer: Layer > New Adjustment Layer > Levels. Adjust the black and white points to increase contrast. Moonlit scenes need strong contrast to feel dramatic.
Add another Color Balance adjustment if needed. Shift shadows even more toward blue. Push highlights slightly toward yellow—moonlight isn’t pure blue.
Finally, add a subtle vignette. Create a new layer, fill it with black, and add a large feathered white circle in the center using the layer mask. Set blend mode to Soft Light and reduce Opacity to 20-30%.
This draws the eye toward the center of your composition.
The Power of Non-Destructive Editing
Throughout this process, you used layer masks instead of erasing. You used adjustment layers instead of applying changes directly.
Why does this matter? You can always go back and tweak anything. Change your mind about the fog placement? Edit the layer mask. Want different colors? Adjust those Color Balance layers.
This flexibility makes photo manipulation infinitely easier. You’re never locked into decisions you made an hour ago.
Plus, when you inevitably want to apply these techniques to different images, you’ll already have a template. Just swap out the source photos and adjust the masks.
Beyond This Tutorial
These techniques work for far more than moonscapes. The same principles apply to:
- Sunset scenes with dramatic orange skies
- Stormy atmospheres with dark clouds
- Futuristic sci-fi landscapes with multiple moons
- Fantasy environments with impossible lighting
Master the fundamentals—layer masks, adjustment layers, selective lighting—and you can create nearly any imagined scene.
The key is understanding how light actually works in reality. Then you can fake it convincingly in Photoshop.
So grab some source images and experiment. Your boring landscape photos deserve a second chance.