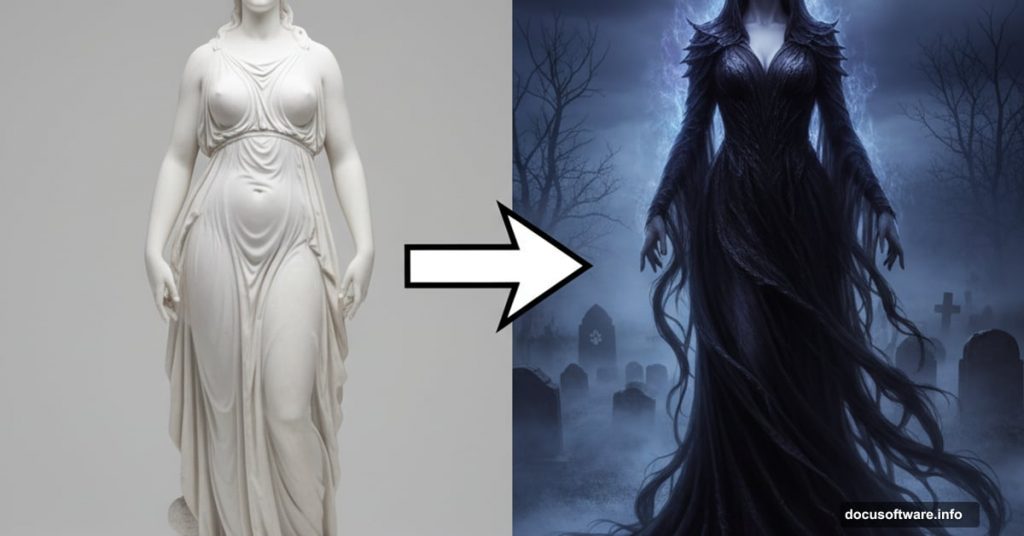
Want to create spine-chilling photo manipulations? This tutorial shows you how to turn an ordinary statue into a mysterious dark queen haunting a cemetery.
You’ll master essential Photoshop techniques that work for any dark fantasy scene. Plus, these same skills apply to countless other manipulation projects. No advanced degree in Photoshop required.
What You’ll Actually Learn
This isn’t just about following steps blindly. You’ll understand the core techniques behind professional photo manipulation.
The tutorial covers dodge and burn painting, smart masking strategies, and atmospheric lighting. Moreover, you’ll learn how to blend multiple elements seamlessly. These skills transfer directly to your future projects.
Expect to spend 2-3 hours on this project. But the techniques you’ll master are worth way more than that time investment.
Gather Your Materials First
Before diving in, download all the stock images you’ll need. Free resources work perfectly for this project.
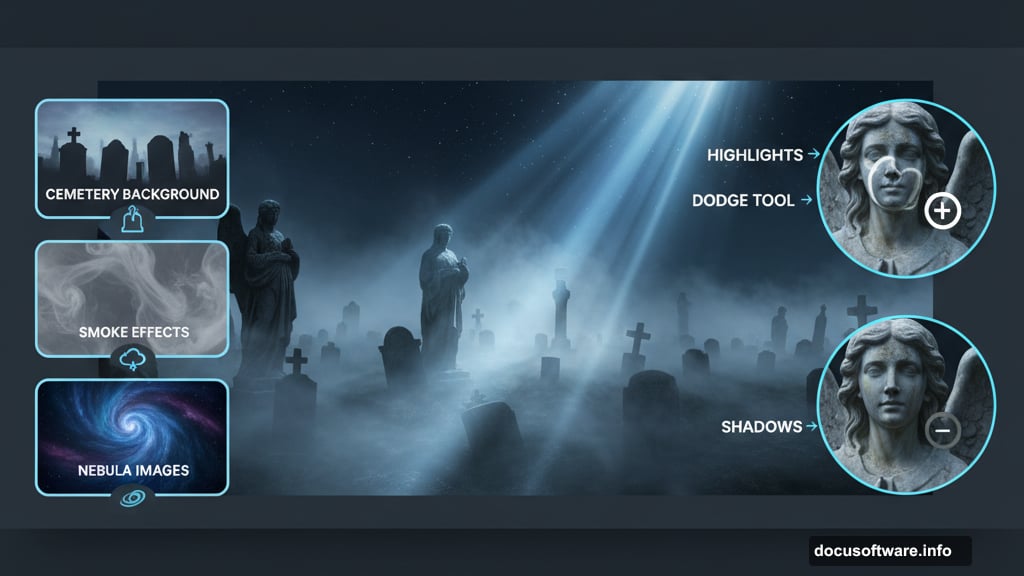
You’ll need several key elements. A statue serves as your main figure. Cemetery scenes provide the background atmosphere. Plus, smoke effects, nebula images, and skeletal elements add the eerie touches.
The tutorial provides specific download links for each resource. However, similar images work fine if some links break. In fact, experimenting with different source materials often produces unique results.
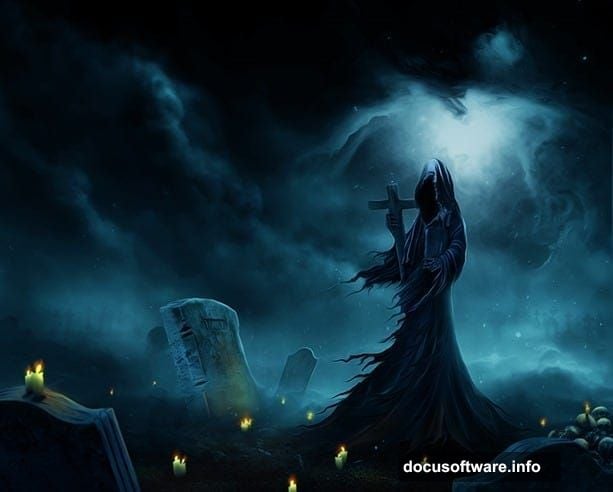
Make sure you’re running Photoshop CS3 or newer. Older versions lack some essential features we’ll use.
Extract Your Main Subject
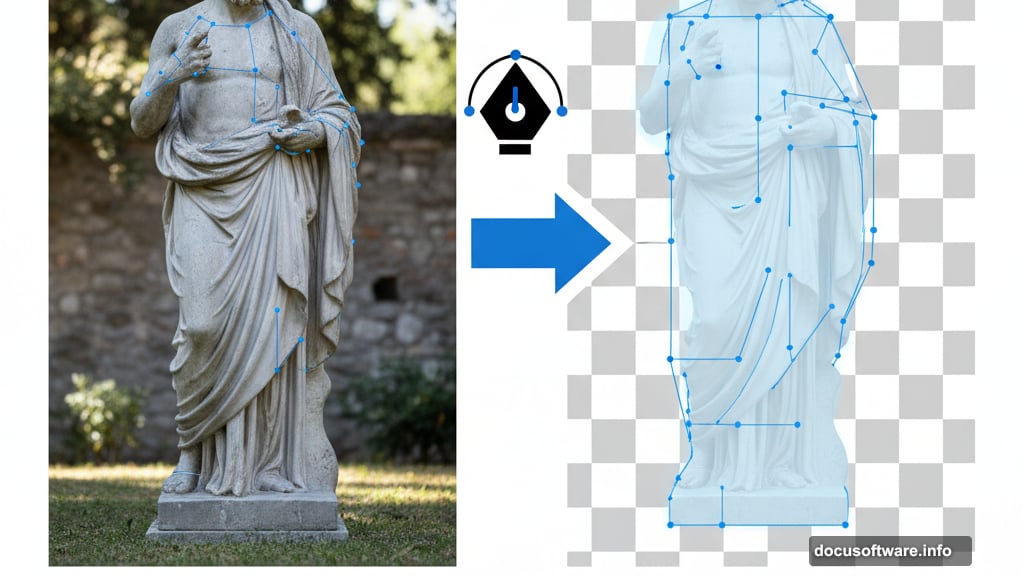
Start by isolating the statue from its original background. The pen tool gives you the cleanest results for this step.
Select the pen tool and carefully trace around the statue’s edges. Take your time here. Clean extraction makes everything easier later. So don’t rush through this foundation step.
Once you’ve created your path, convert it to a selection. Then copy the statue to a new layer. Delete or hide the original background layer.
Your extracted statue should have crisp, clean edges. Plus, you want to preserve all the fine details in the sculpture. These details become important when we add atmospheric effects later.
Build Your Base Canvas
Create a new document for your final composition. This gives you a clean workspace separate from your extracted elements.
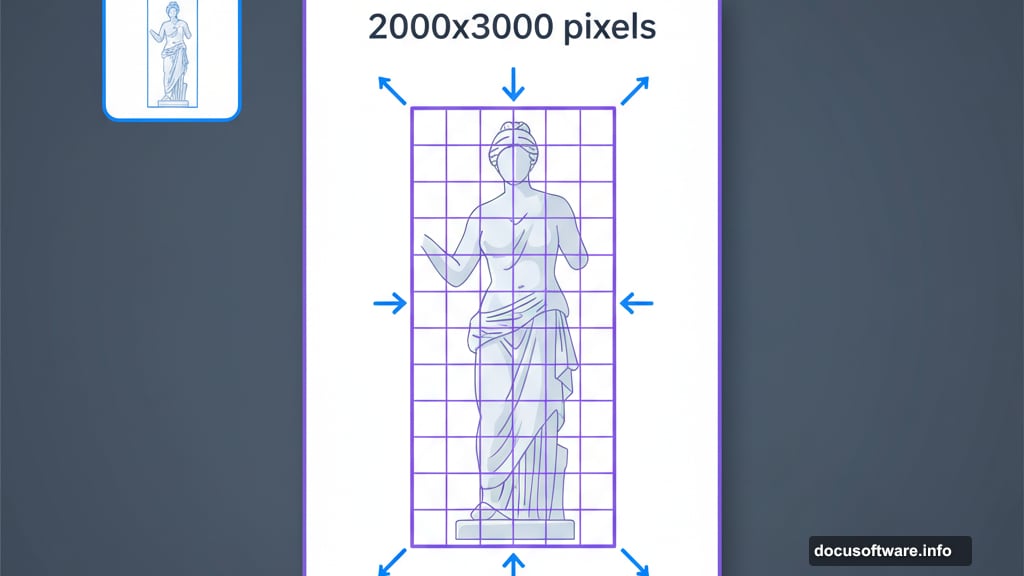
Set your canvas to a vertical orientation. Something around 2000×3000 pixels works well. But adjust based on your final output needs. The tutorial recommends specific dimensions that create good proportions.
Place your extracted statue in this new document. Now comes the fun part. Hit Ctrl+T to activate free transform. We’re going to warp this statue into something more ethereal and mysterious.
Right-click inside the transform box and select Warp. Gently adjust the statue’s proportions. Make it taller and thinner for that otherworldly look. Don’t go overboard though. Subtle changes often work better than dramatic distortions.
Hide the Lower Body
Our dark queen needs to appear as if she’s emerging from the cemetery ground. So we’ll hide her lower half using a layer mask.
Click the layer mask icon at the bottom of your layers panel. A white thumbnail appears next to your statue layer. That’s your mask.
Select a soft brush with black as your foreground color. Paint on the mask to hide the statue’s lower portion. The beauty of masks is they’re non-destructive. Made a mistake? Switch to white and paint it back.
Gradually fade the statue into transparency. This creates that ethereal, ghostly effect. Moreover, the gradual fade looks more natural than a hard cutoff.
Add Cemetery Atmosphere
Now we’ll build the spooky cemetery setting around your figure. Import your cemetery background image.
Position it beneath your statue layer. Scale it to fit your canvas dimensions. Then adjust the lighting to match your overall mood.
The background should feel gloomy and mysterious. Desaturate it slightly if the colors feel too vibrant. Dark cemeteries rarely have bright, cheerful colors. So aim for muted tones that enhance the eerie atmosphere.
Use additional texture layers to add depth. Cemetery ground textures, misty overlays, and fog elements all contribute to the mood. Blend these elements using layer masks and opacity adjustments.
Master Dodge and Burn
Here’s where your manipulation really comes alive. Dodge and burn add dimension and drama to flat images.
Create a new layer set to Overlay blend mode. This becomes your dodge and burn layer. Fill it with 50% gray. Now you can paint light and shadow non-destructively.
Select the Dodge tool to brighten areas. The Burn tool darkens them. Work subtly. Build up your effects gradually with multiple passes. In fact, professional results come from restraint, not heavy-handed application.
Focus on enhancing the statue’s dramatic lighting. Brighten the highlights on her face and clothing. Darken the shadows in the folds and recesses. This increases contrast and visual interest.
Blend Multiple Elements
Your cemetery scene needs more than just a figure and background. Tombs, smoke effects, and atmospheric elements create richness.
Import each element on its own layer. This gives you maximum flexibility for adjustments. Position them thoughtfully throughout your scene.
Use layer masks to blend each element seamlessly. The edges shouldn’t look cut-and-pasted. Instead, they should feel naturally integrated into the environment. Soft brushes on your masks help achieve this integration.
Moreover, adjust each element’s color and lighting to match your overall atmosphere. Everything should feel like it belongs in the same scene. Unified lighting direction is crucial here.
Add Supernatural Elements
Skeletal hands reaching from the ground enhance the creepy factor. Smoke wisps add mystery. These details transform a good manipulation into a great one.
Place skeletal elements strategically. They should support your composition, not distract from it. The dark queen remains your focal point. So additional elements should enhance her presence, not compete with it.
Smoke and mist create atmospheric depth. Layer multiple smoke images at varying opacities. Change their blend modes to Screen or Lighten to make them transparent. Then position them to add depth and mystery to your scene.
Remember to match the lighting on every element. Smoke catching light should glow appropriately. Shadows should fall in consistent directions. These details separate amateur work from professional results.
Create Dramatic Lighting
Lighting makes or breaks photo manipulation. Your scene needs a clear light source that ties everything together.
Add subtle rim lighting to your dark queen. This separates her from the background and adds drama. Create this effect using the dodge tool or by painting white on a new layer set to Overlay mode.
Consider adding glowing elements like candles or mystical energy. These provide practical light sources that justify your lighting choices. Plus, they add visual interest and supernatural atmosphere.
Use adjustment layers to fine-tune your overall lighting. Curves and Levels adjustments help balance brightness across your entire composition. Moreover, they let you enhance contrast without destroying detail.
Final Color Grading
Your manipulation probably looks good now. But color grading takes it from good to stunning.
Add a Color Lookup adjustment layer. Experiment with different presets until you find one that enhances your mood. Dark, desaturated looks work well for cemetery scenes. But don’t be afraid to experiment.
Fine-tune individual colors using Hue/Saturation adjustment layers. Maybe push the greens toward teal for a more supernatural feel. Or enhance the reds in any fire or candlelight elements.
A subtle vignette draws attention to your dark queen. Create this by adding a Curves adjustment layer with a layer mask. Darken the edges while keeping the center bright.
Polish the Details
Step back and look at your composition with fresh eyes. What needs refinement?
Check your edges carefully. Any obvious masking mistakes become visible now. Fix them by refining your layer masks with a smaller brush.
Add final atmospheric touches. Maybe some dust particles floating in the air. Or additional mist in the background. These subtle details add richness without overwhelming the scene.
Sharpen selectively if needed. Your main figure should be reasonably sharp. But background elements can be softer. This creates depth through selective focus.
Save Your Masterpiece
Flatten your image only after saving a layered copy. You’ll thank yourself later when you want to make adjustments.
Save a PSD file with all layers intact. This preserves your work for future edits. Then create a flattened JPEG or PNG for sharing.
Consider saving multiple versions at different resolutions. A high-resolution version for prints and a web-optimized version for online sharing both have their uses.
What You Actually Accomplished
You just created a professional-looking dark fantasy manipulation. More importantly, you learned techniques that apply to countless other projects.
The dodge and burn skills work for any photo enhancement. Smart masking techniques apply to all composite work. Plus, the lighting principles translate to any scene you create.
These aren’t just steps to follow. They’re foundational skills that make you a better digital artist. So practice them in different projects. Experiment with variations. The more you use these techniques, the more intuitive they become.
Your next cemetery scene will come together faster. And you’ll spot opportunities to apply these skills in unexpected places.
