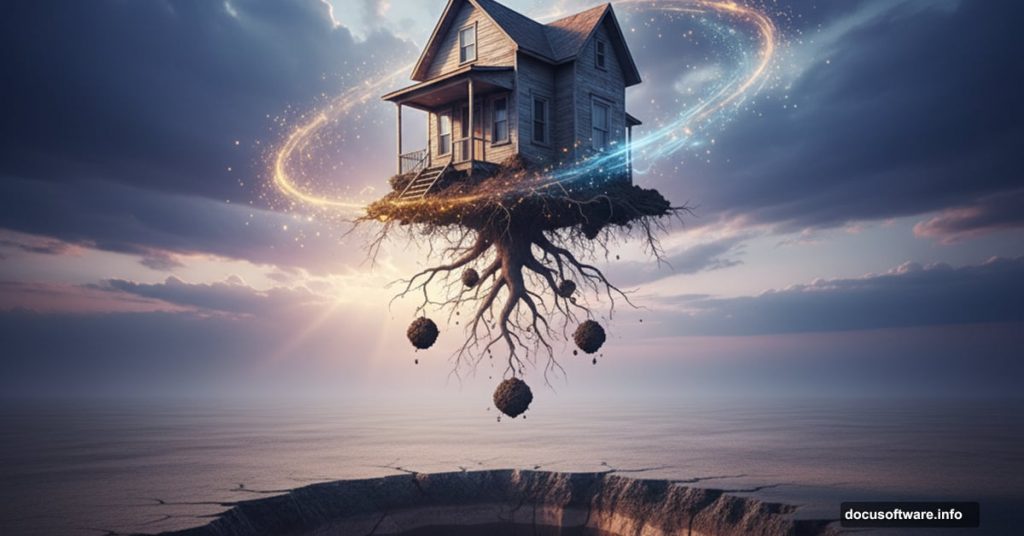
Ever wanted to make a house float through the sky? Sounds complicated, but it’s actually straightforward once you know the right techniques.
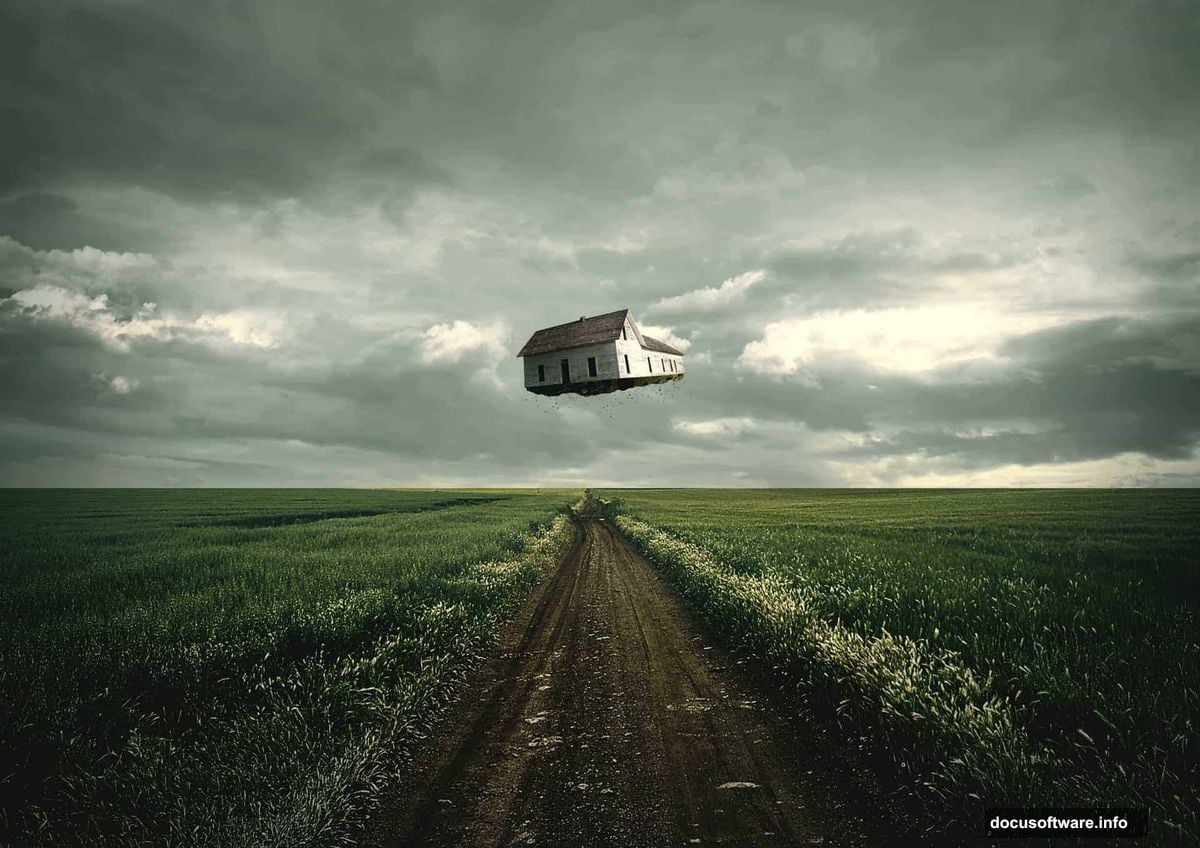
This tutorial walks you through creating a surreal photo manipulation where a house breaks free from the ground and travels through mystical clouds. You’ll learn how to blend multiple photos seamlessly, add realistic shadows and lighting, and create that magical “uprooted” effect that makes the whole scene believable.
No advanced skills required. Just follow along step by step, and you’ll have a fantasy image that looks like it took hours instead of the 30-45 minutes it actually takes.
What You’ll Need Before Starting
First, gather your stock images. You’ll need photos of a desert road, cloudy sky, an old house, and some floating island references. The tutorial recommends specific stock images from SuperStarStock, nightfatestock, and royalstock, but similar alternatives work fine.
Also grab some winter snowflake brushes for adding atmospheric details later. These help sell the mystical vibe.
Make sure you’re working in Photoshop CS6 or newer. Older versions work too, but some menu locations might differ slightly.
Setting Up Your Canvas
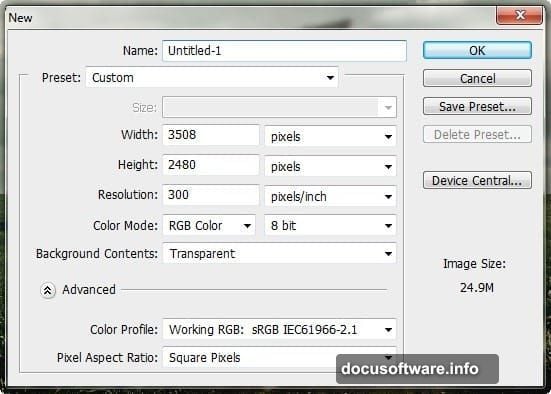
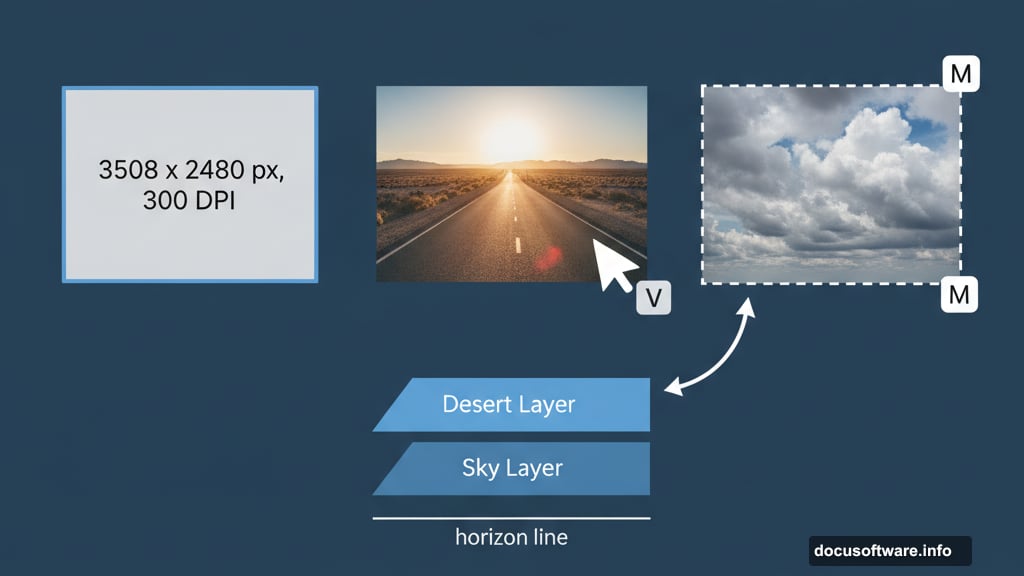
Start with a new file sized 3508 by 2480 pixels at 300 DPI. That’s standard A4 dimensions, which gives you plenty of resolution for printing if needed.
Keep the background transparent. You’ll fill it completely anyway, but starting transparent makes masking easier later.
Set your color mode to RGB, 8-bit. No need for 16-bit unless you’re planning extreme color grading afterward.
Building the Background Scene
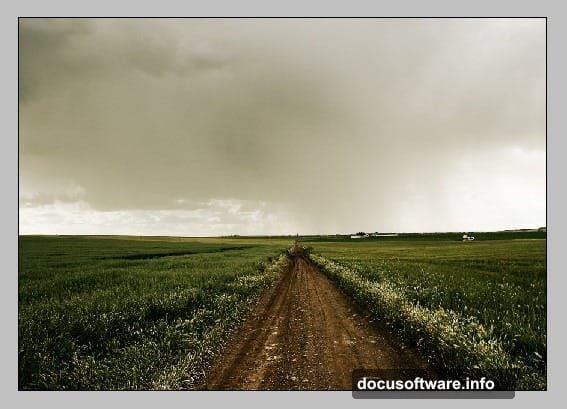
Open your desert road stock photo first. Drag it onto your canvas using the Move tool (press V). Position it so the horizon line sits roughly one-third up from the bottom.
Now activate Free Transform by pressing Ctrl/Cmd + T. Stretch the image to fill your canvas completely. Don’t worry about slight distortion here since the surreal style forgives minor perspective issues.
Next comes the sky. Open your cloudy sky stock image and use the Rectangular Marquee Tool (M) to select just the sky portion. Drag that selection onto your main canvas and position it above the desert layer.
Transform the sky layer to match your canvas width. The key is making sure the sky and ground blend naturally at the horizon line. If there’s a visible seam, feather the edges slightly with a soft eraser brush.
Creating Realistic Lighting
Here’s where amateur composites usually fall apart. Mismatched lighting screams “fake” louder than anything else.
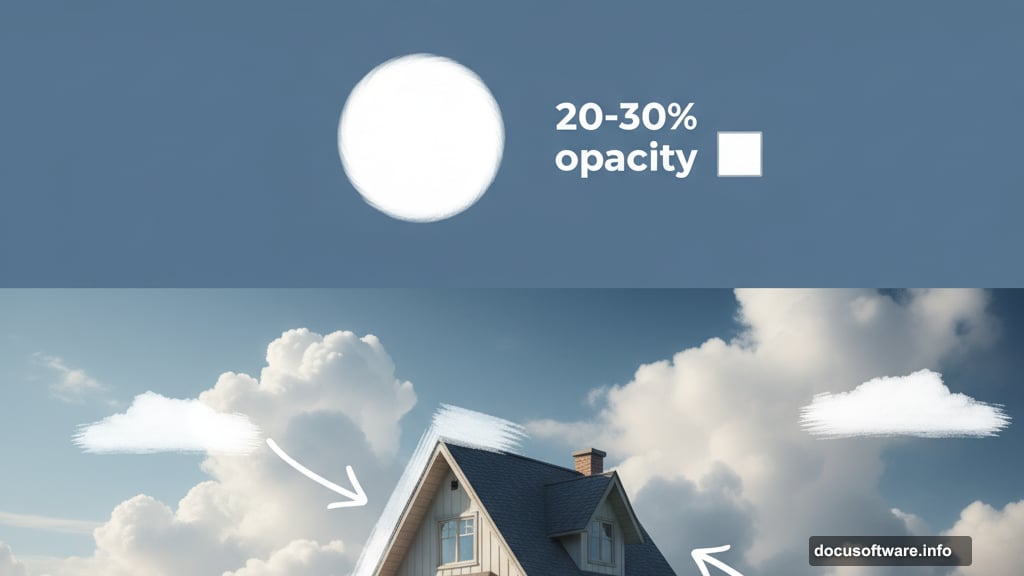
Create a new layer above everything and name it “Lighten.” Set this layer’s blend mode to Overlay. Now grab a soft brush (B) with white color and low opacity (around 20-30%).
Brush gently on areas where light should naturally hit strongest. In this case, that means the upper portions of clouds and the parts of the ground facing your imaginary light source.
Think about where your sun or moon sits in the scene. Then add subtle highlights consistently from that direction. This single step makes everything look like it belongs in the same photograph.
Create another layer called “Shadow” and repeat the process with black instead of white. Add shadows on the opposite side of your light source. Less is more here—overdoing shadows looks muddy fast.
Extracting and Positioning Your House
Now for the fun part. Open your old farmhouse photo and carefully select around it using the Pen Tool (P) for precision or Quick Selection Tool (W) for speed. The Pen Tool takes longer but gives cleaner edges, especially around roof peaks and corners.

Once selected, drag the house onto your main canvas. Don’t worry about size yet. First, position it roughly where you want it floating.
Activate Free Transform (Ctrl/Cmd + T) again and resize the house to fit your scene. Make it large enough to be the clear focal point but not so huge it dominates everything.
Here’s the trick that sells the floating effect: tilt the house slightly. Rotate it just 2-3 degrees clockwise or counterclockwise. This small rotation suggests movement and breaks the static feeling of a normal house.
Adding the Uprooted Ground Effect
This separates decent composites from great ones. When something floats unnaturally, you need to show why.
Grab a photo of a small island or chunk of land with visible roots and dirt. Select the bottom portion with visible earth and roots. Copy that selection onto your canvas and position it directly under your house.
Transform and warp this ground chunk to match your house’s base dimensions. It should look like this dirt literally broke off and came along for the ride.
Add shadows underneath this floating ground using a dark brush on a new layer set to Multiply blend mode. Shadows ground the effect (pun intended) and make the impossible seem possible.
Matching Colors and Atmosphere
Nothing kills immersion faster than one element looking like it came from a different photograph. Because it did.
Select your house layer and add a Hue/Saturation adjustment layer (Ctrl/Cmd + U) clipped to just the house. Adjust the colors until the house matches the overall tone of your background. If your sky has warm orange tones, add slight warmth to the house. Cool blue sky? Cool down the house colors.
Do the same for the floating ground chunk underneath. Everything should share a similar color temperature.
Add a slight blue tint to shadows and warm tone to highlights across all elements. This unified color grading ties disparate photos together beautifully.
Adding Atmospheric Effects
Grab those snowflake brushes you downloaded earlier. Create a new layer above everything and brush random snowflake patterns across the scene. Set this layer to Screen blend mode and lower opacity to around 30-40%.
This adds atmospheric depth and enhances the mystical feeling. Feel free to blur some snowflakes slightly for that depth-of-field effect.
Add a subtle vignette by creating a new layer, filling it with black, and using a large soft eraser to clear the center. Set this to Soft Light blend mode around 20-30% opacity. This draws eyes toward your floating house naturally.
Fine-Tuning Shadows and Highlights
Go back through each element and refine shadows. Your house should cast a shadow on its own floating ground chunk. That ground should cast a softer shadow onto the clouds below (yes, even floating things cast shadows in fantasy worlds).
Use a soft black brush on layers set to Multiply blend mode. Keep shadows subtle and soft-edged since you’re high in the sky where light scatters.
Add rim lighting along edges of your house that face the light source. This creates separation from the background. Use a small white brush on an Overlay layer, painting carefully along roof edges and walls.
Adding Final Touches
Create a new layer and fill it with 50% gray. Set blend mode to Overlay. Now use the Dodge Tool (O) to brighten highlights and Burn Tool (O) to deepen shadows across the entire image. This non-destructive technique lets you enhance contrast without permanently altering your layers.
Add slight lens blur to distant elements if desired. The sky and far background can handle a touch more blur than foreground elements, creating realistic depth.
Consider adding birds or other small flying elements for scale and life. Even tiny silhouettes make a big difference in selling the scene’s believability.
Common Mistakes to Avoid
Sharp selection edges stand out immediately. Always feather selections by 1-2 pixels and use a soft eraser to blend edges naturally into the scene.
Inconsistent light direction ruins everything. Pick one light source position and stick with it across all elements. Don’t add highlights from the left on one element and from the right on another.
Over-saturation kills realism fast. Keep colors slightly muted and let one or two accent colors dominate. Too many bright, saturated elements fight for attention.
Forgetting to match grain and texture between photos makes composites look flat. Add slight noise (Filter > Noise > Add Noise) at around 2-3% to everything so all elements share similar texture.
Why This Technique Works
The beauty here lies in simplicity masked as complexity. You’re essentially combining a few photos, adding some painted light and shadow, and letting blend modes do the heavy lifting.
Most people overthink photo manipulation. They try adding dozens of adjustment layers and complex masking when basic brushwork and smart layering achieve better results faster.
This floating house technique teaches fundamental compositing skills that apply to any fantasy photo manipulation. Master these basics—selection, transformation, lighting, color matching—and you can create any surreal scene you imagine.
Plus, the final result looks impressive enough that people assume you spent hours on intricate work. In reality, you followed a logical process that mostly involves patience and attention to lighting consistency.
Taking It Further
Once comfortable with this basic technique, try variations. Float entire buildings or landscapes. Create chains of floating islands. Add characters standing on your floating structures.
The same principles apply to underwater scenes, clouds made of unexpected materials, or gravity-defying architecture. You’re limited only by imagination and stock photo availability.
Experiment with different atmospheric effects too. Fog, rain, lightning, or magical particles all enhance surreal scenes when applied with restraint.
Your photos should tell stories, not just look weird for weirdness’s sake. Think about why your house floats and where it’s traveling. Those narrative choices inform your lighting, color, and detail decisions.
Practice this technique until manipulating lighting and blending photos becomes second nature. Then you’ll spend less time fighting technical problems and more time crafting compelling fantasy worlds.