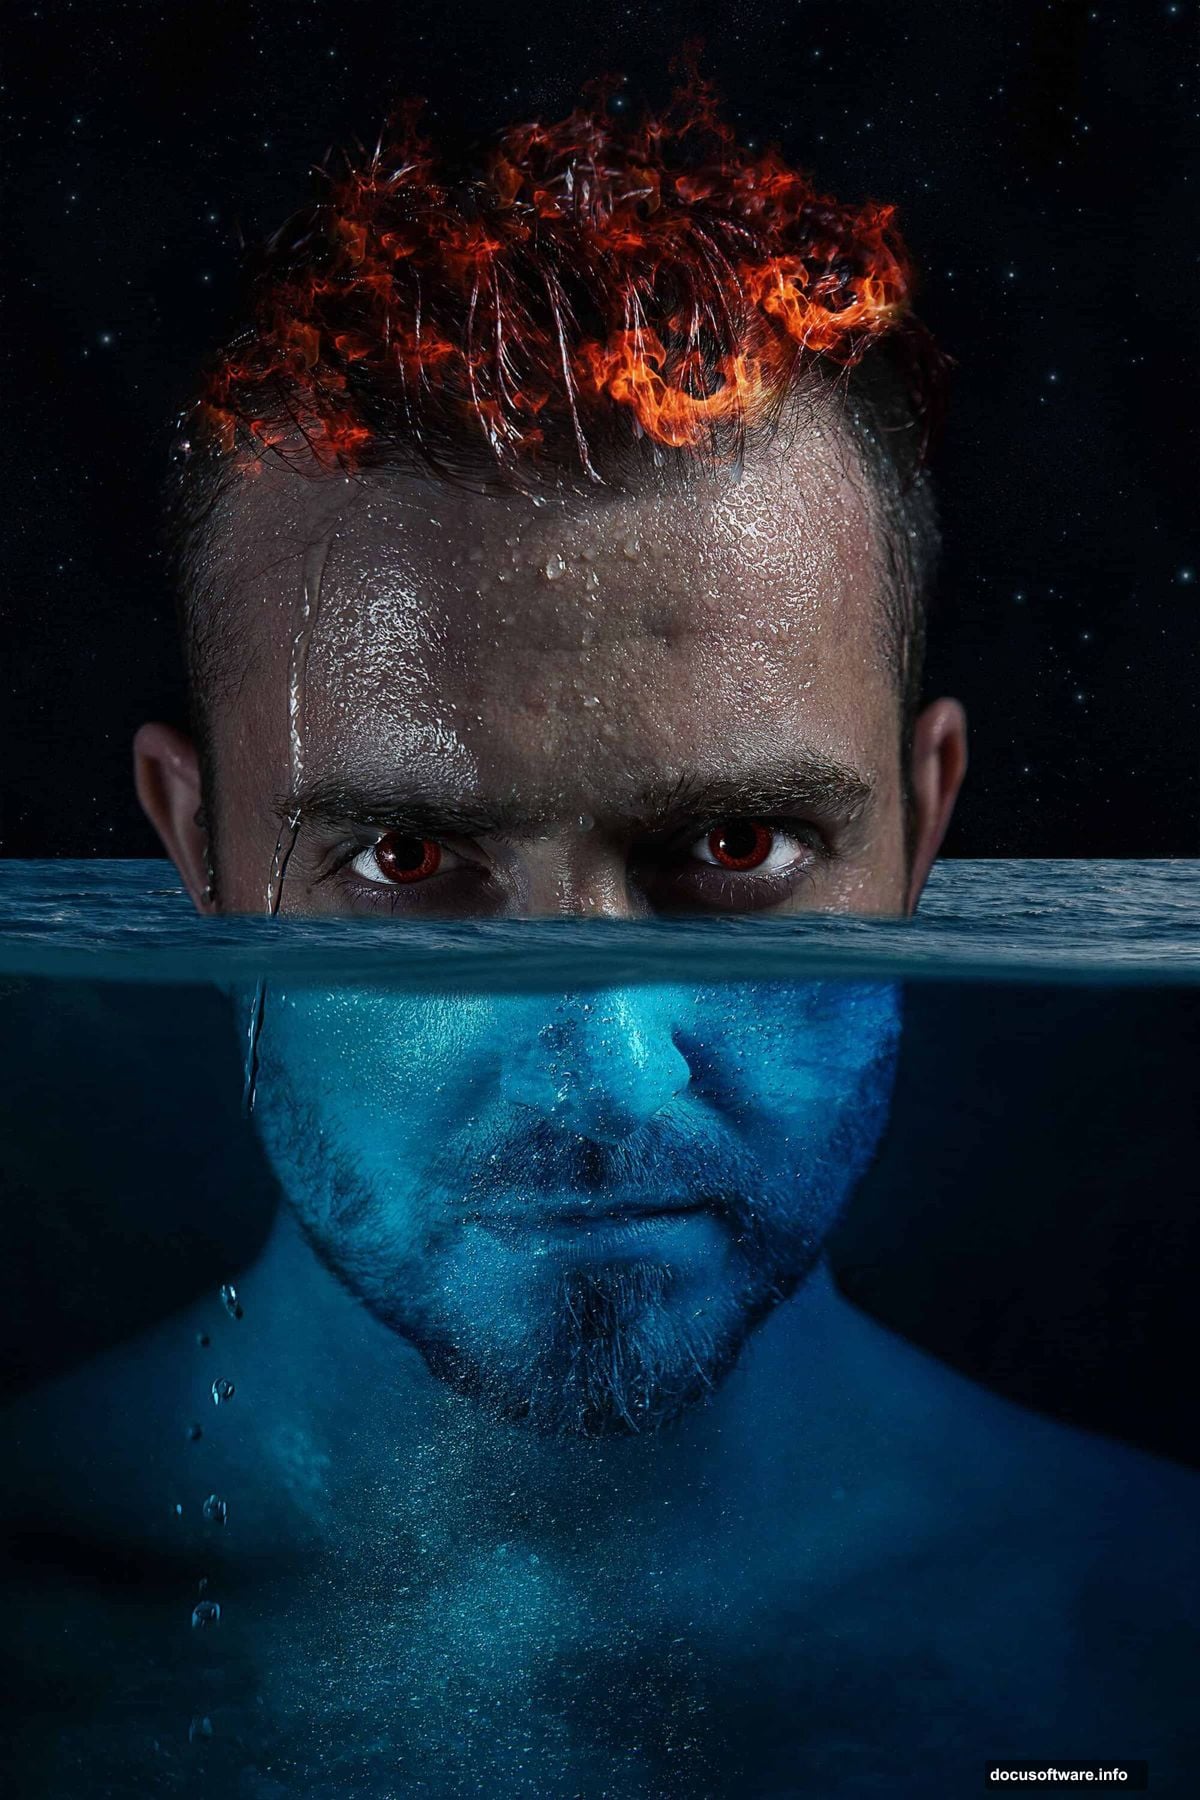
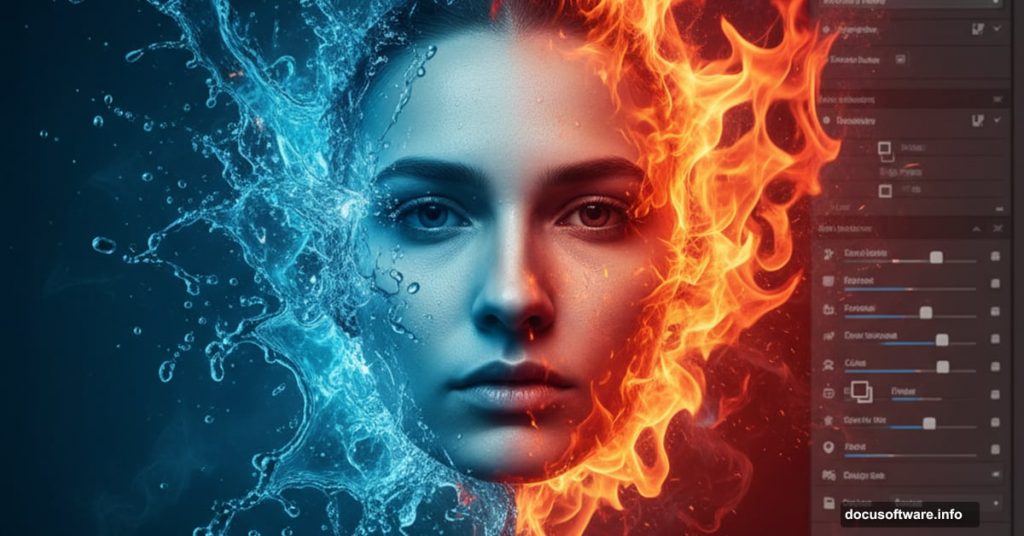
Creating impossible scenes is what makes Photoshop addictive. Fire meeting water shouldn’t work in real life. But in Photoshop? It looks stunning.
This tutorial shows you how to build a dramatic portrait where elements collide. You’ll blend underwater scenes with flames, creating something that grabs attention instantly. Plus, the techniques work for tons of other projects beyond this specific effect.
Let’s dive in. You’ll need Photoshop and about 45 minutes to complete this.
What You’ll Need Before Starting
Gather these stock images first. Having everything ready saves time and frustration later.
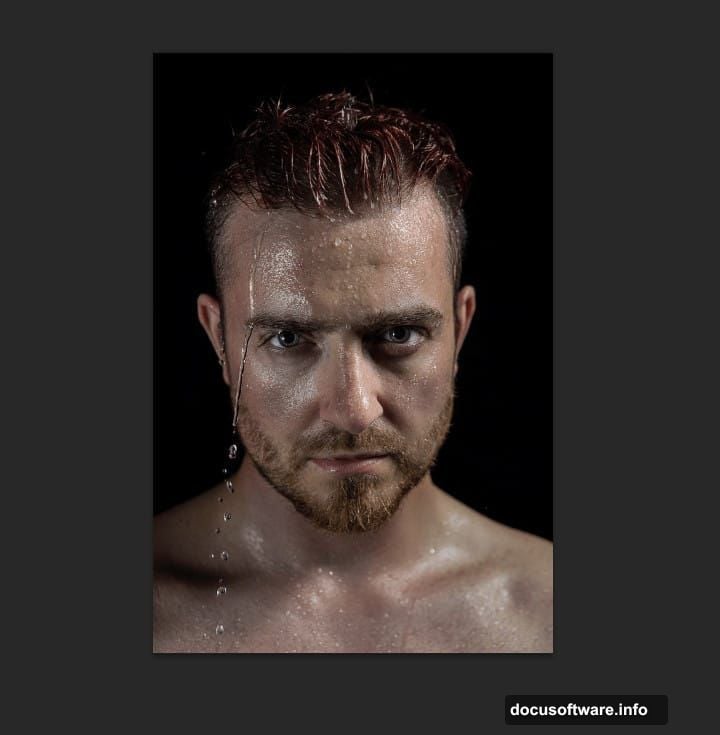
You need a base portrait photo. Choose one with good contrast and clear facial features. Then collect water textures, fire stock images, and underwater scene photos. The tutorial works best with high-resolution images, so avoid anything under 2000 pixels wide.
Also, make sure you understand layer masks. This effect relies heavily on masking techniques. If you’re rusty on masks, practice on a simple project first. Trust me, it’s worth the extra prep time.
Setting Up Your Base Portrait
Start by opening your portrait photo in Photoshop. This becomes your foundation layer.

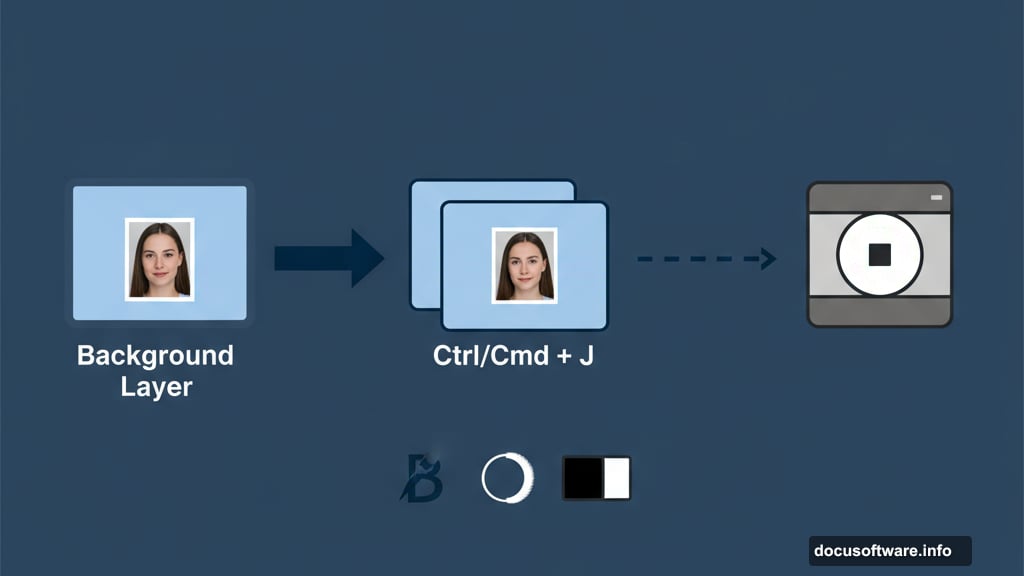
Press Ctrl/Cmd + J to duplicate the background layer. Always work on copies, never the original. That way you can restart if something goes wrong without losing your starting point.
Next, analyze your portrait lighting. Note where shadows fall and where highlights appear. You’ll match these later when adding water and fire elements. Photoshop can’t fix fundamentally mismatched lighting, so pay attention now.
Adding the Ocean Background
Open your ocean texture image. Use the Rectangular Marquee Tool (M) to select the portion you want.
Here’s a useful trick. Hold Shift while dragging to constrain proportions. This prevents accidentally stretching or squashing your selection. Release the mouse before releasing Shift to maintain the constraint.
Copy the selection (Ctrl/Cmd + C) and paste it into your working document (Ctrl/Cmd + V). Then transform it to fit (Ctrl/Cmd + T). In Photoshop CC, hold Alt while dragging corners to resize from the center. Older versions require Alt + Shift together.
Position the ocean behind your portrait subject. This creates depth immediately.
Masking for Seamless Blending
Create a layer mask on your ocean layer. Click the layer mask icon at the bottom of the layers panel.
Switch to the Brush Tool (B). Choose a soft round brush and set foreground color to black. Painting with black on a mask hides areas, while white reveals them. This concept is fundamental to masking.
Paint along the edges where ocean meets portrait. Use a larger brush for broad areas and a smaller one for details. Vary your brush opacity for gradual transitions. Hard edges look fake, so blend generously.
However, don’t go overboard with softness. Some areas need crisp edges to maintain realism. Find the balance through experimentation.
Adjusting Color and Tone
Add a Hue/Saturation adjustment layer. Go to Layer > New Adjustment Layer > Hue/Saturation.
Underwater scenes typically have blue-green color casts. Shift your hues toward cyan and blue. But don’t make everything uniformly blue. Real underwater photos show color variation based on depth and light penetration.
Reduce saturation slightly too. Water absorbs color, especially reds and yellows. So desaturated tones look more believable than overly vibrant ones.
Next, add a Levels adjustment layer. Crush the blacks slightly and adjust midtones to match your portrait’s existing contrast. The goal is making all elements feel like they exist in the same environment.
Adding Water Texture Layers
Open your water texture images. You’ll layer multiple textures for realistic depth.
Copy and paste each texture into your document. Position them at different depths in your layer stack. Textures closer to the “camera” should be larger and less transparent. Deeper layers appear smaller and more faded.
Change blend modes to experiment. Screen, Overlay, and Soft Light often work well for water effects. Also adjust opacity on each layer. Subtle layering beats one strong texture every time.
For each texture layer, create a mask. Paint away areas that shouldn’t show. Focus on keeping your portrait subject visible while surrounding them with watery depth.
Building the Fire Elements
Fire requires more careful masking than water. Flames have complex edges that need special attention.
Open your fire stock image. Use the Quick Selection Tool (W) or Select > Color Range to isolate flames from their background. Fire photographs usually have dark backgrounds, making selection easier.
Copy selected flames and paste into your document. Position them where you want fire to appear. Then change the blend mode to Screen. This removes black backgrounds automatically while preserving flame colors and brightness.
Moreover, flames need to interact with your subject realistically. Add a layer mask to your fire layer. Paint away areas where fire shouldn’t appear or should appear dimmer. Fire illuminates nearby objects, so consider adding warm highlights to your portrait where flames sit close.
Matching Lighting Across Elements

This step makes or breaks the effect. Mismatched lighting screams “fake photo manipulation.”
Create a new layer above your portrait. Set blend mode to Overlay. Use a soft brush with warm orange colors to paint subtle light on areas facing your fire elements. This simulates fire illumination on skin and clothing.
Similarly, add cool blue highlights on areas facing your underwater elements. Water reflects and refracts light differently than fire. So use cooler tones with lower opacity.
Finally, add shadows where elements block light. Fire might cast shadows away from its source. Water creates darker areas in deep pockets. These lighting touches sell the impossible scene as believable.
Refining Edges and Details
Zoom in to 100% and check your edges. Sloppy masking becomes obvious at full resolution.
Use the Refine Edge tool on your masks where needed. This helps with hair, clothing texture, and other complex edges. For fire specifically, consider using the Smudge Tool at low strength to blend flame edges naturally.
Also look for color fringing where elements meet. Sometimes you’ll see unwanted color halos around masked objects. Fix these with the Decontaminate Colors option in Refine Edge, or paint them out manually with a small brush.
Remember that perfection isn’t always the goal. Some roughness can add to the dynamic, chaotic feel of fire meeting water. But there’s a difference between intentional roughness and lazy masking.

Adding Final Atmospheric Effects
Underwater scenes have particles floating around. Add these for extra realism.
Create a new layer. Use a particle brush or paint small dots manually. Vary size and opacity to simulate depth. Particles closer to the camera appear larger and sharper, while distant ones look smaller and hazier.
Additionally, consider adding light rays. Water refracts sunlight into visible beams. Create a new layer, set to Screen blend mode, and paint diagonal light rays with a soft brush. Use white or pale blue. Then reduce opacity until they look subtle.
For fire areas, add spark particles. Small bright dots around flames suggest embers and heat. But use these sparingly. Too many particles make the image cluttered and confusing.
Color Grading for Cohesion
Your elements are placed and blended. Now unify everything with color grading.
Add a Color Lookup adjustment layer. Photoshop includes several cinematic LUTs (color lookup tables) that can instantly elevate your image. Try the “Moonlight” or “Teal Orange Plus Contrast” options for dramatic effects.
Then add a Curves adjustment layer. Create a subtle S-curve to boost contrast. Also adjust individual color channels. Lifting the blue channel in shadows while dropping it in highlights creates a popular teal-and-orange look.

However, don’t go too heavy on color grading. The fire and water elements already provide strong color contrast. Excessive grading can make the image look oversaturated or muddy.
Sharpening and Output
Almost done. Time for final sharpening before export.
Flatten your image or create a merged copy on top (Ctrl/Cmd + Alt + Shift + E). Apply the Unsharp Mask filter. Use Amount around 80-120%, Radius 1.0-1.5 pixels, and Threshold 0. These settings work for most web-resolution images.
For print output, use different sharpening settings based on final size. Larger prints need less aggressive sharpening than smaller ones. When in doubt, test print a small section first.
Save your PSD file with all layers intact. Then export a flattened JPG or PNG for sharing. Keep the layered version in case you want to make changes later.
Common Mistakes to Avoid
Several pitfalls catch beginners attempting this effect.
First, inconsistent light direction. Fire and water create distinct lighting patterns. If your fire lights the left side of the face but water highlights the right, the effect fails. Choose one primary light source and stick with it.
Second, over-blending. Some artists smooth everything until the image looks airbrushed. Real scenes have texture and variation. Embrace some roughness and contrast.

Third, ignoring physics. Water refracts light at predictable angles. Fire burns upward and outward. When your elements defy basic physics, viewers notice subconsciously even if they can’t articulate why the image feels wrong.
Finally, color overload. Fire provides warm tones, water gives cool ones. That’s already strong color contrast. Adding more saturated colors usually makes the image garish rather than dramatic.
Taking It Further
Master these basics and you can create countless variations.
Try different portrait subjects. Action poses work especially well with this technique. Or experiment with multiple subjects in one scene, each surrounded by different elements.
Also consider adding other elements beyond fire and water. Smoke, ice, earth, and air all offer unique visual qualities. Combining three or more elements creates even more complex and eye-catching results.
Finally, don’t limit yourself to portraits. This technique works for product photography, fantasy scenes, or abstract compositions. The core skills—masking, color matching, and lighting simulation—transfer to countless projects.
The most important lesson? Photoshop rewards experimentation. Save often and try wild ideas. Digital manipulation costs nothing but time. So take creative risks and push boundaries.
This effect looks complicated but breaks down into manageable steps. Work through each phase carefully and you’ll build something impressive. Plus, the techniques you learn apply far beyond this single tutorial.
Post Title: Water & Fire Portrait Effect in Photoshop Guide
Meta Description: Creating impossible scenes is what makes [Photoshop](https://www.adobe.com/products/photoshop.html) addictive. Fire meeting water shouldn’t work in real life. But in
