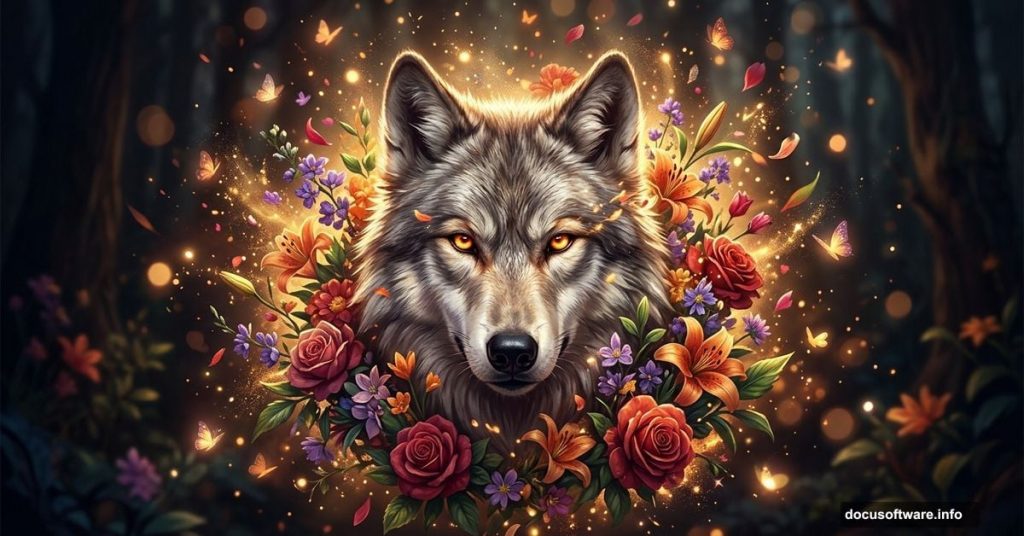
Few things capture imagination quite like a majestic wolf surrounded by blooming flowers. This tutorial walks you through building that exact scene from scratch — combining a powerful wolf portrait with vibrant floral elements, fire particles, and butterflies into one cohesive, atmospheric photo manipulation.
By the end, you’ll have a finished piece that feels alive, layered, and cinematic. Plus, even if you’re fairly new to Photoshop, each step builds logically on the last. So let’s get started.
Tutorial Resources You’ll Need First
Before touching Photoshop, gather everything. You’ll need a wolf photo, two flower stock images, roses, a bird, vines, ivy, two butterfly images, stars, and a custom brush set. Having all assets ready before you begin saves a lot of back-and-forth later.
Setting Up Your Canvas
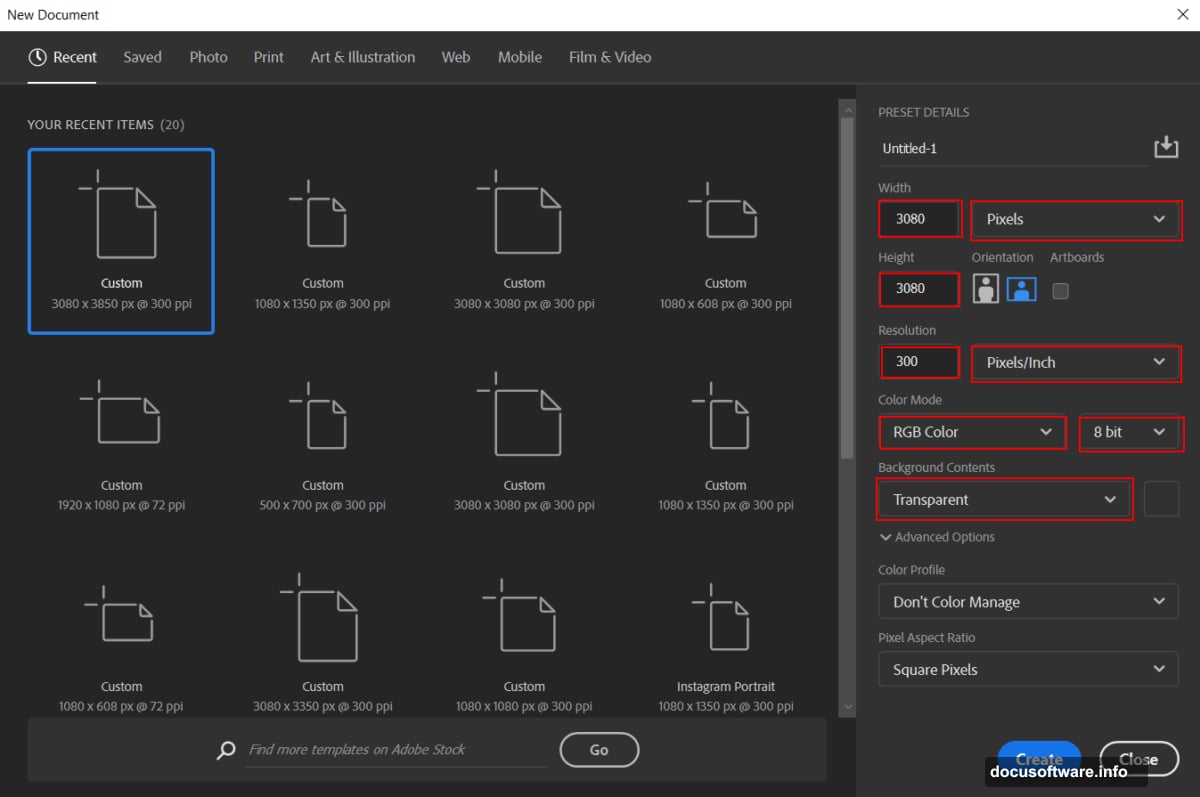
Start fresh. Go to File > New and enter these settings:
- Preset: Custom
- Width: 3080px
- Height: 3080px
- Resolution: 300px
- Color Mode: RGB Color, 8-bit
- Background Contents: Transparent
That square 3080px canvas gives you plenty of room to work. The 300dpi resolution also means your final piece prints beautifully if you ever want a physical copy.
Placing and Sizing Your Wolf
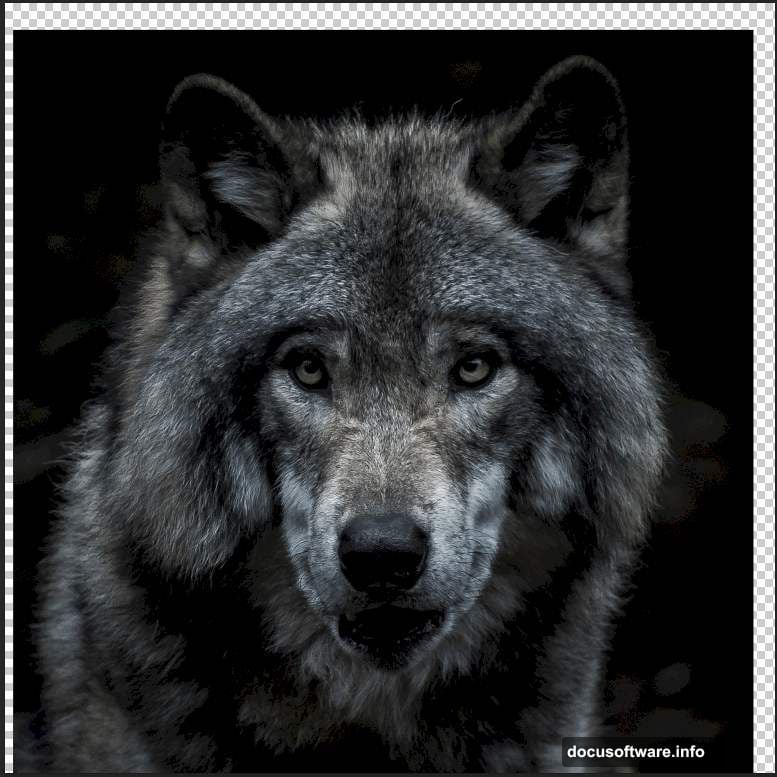
Go to File > Place and select your wolf photo. Once it lands on the canvas, grab the Transform tool with Ctrl/Cmd + T. Hold Alt + Shift and resize proportionally until the wolf fills the frame the way you want. If you’re using Photoshop CC, just hold Alt — it resizes all sides together automatically.
Position matters here. Center the wolf slightly lower than you’d expect. That leaves breathing room at the top for flowers and atmospheric elements later.
Building the Wolf’s Color Tone
This is where the mood takes shape. Add three adjustment layers stacked above your wolf layer. Each one clips to the layer below, so changes only affect the wolf itself.
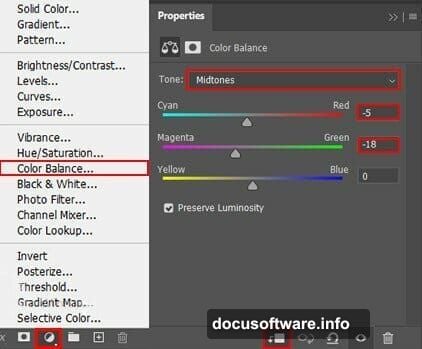
First, add a Color Balance adjustment layer. This shifts the overall temperature of the wolf’s fur. Second, drop in an Exposure adjustment layer to control brightness and shadow depth. Third, add a Hue/Saturation layer to push the colors in a warmer or cooler direction depending on your vision.
Together, these three layers transform a flat stock photo into something that feels like it belongs in your composition.
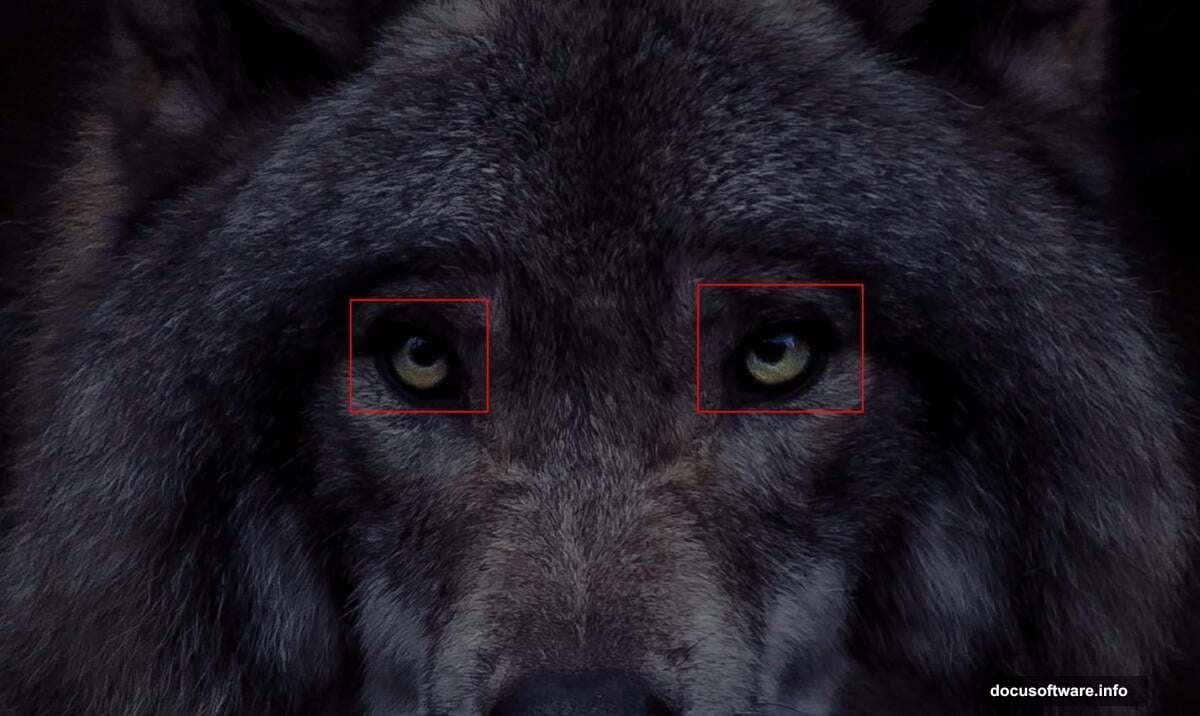
Making the Eyes Glow
The eyes are everything in a wolf portrait. A few brush strokes bring them to life dramatically.
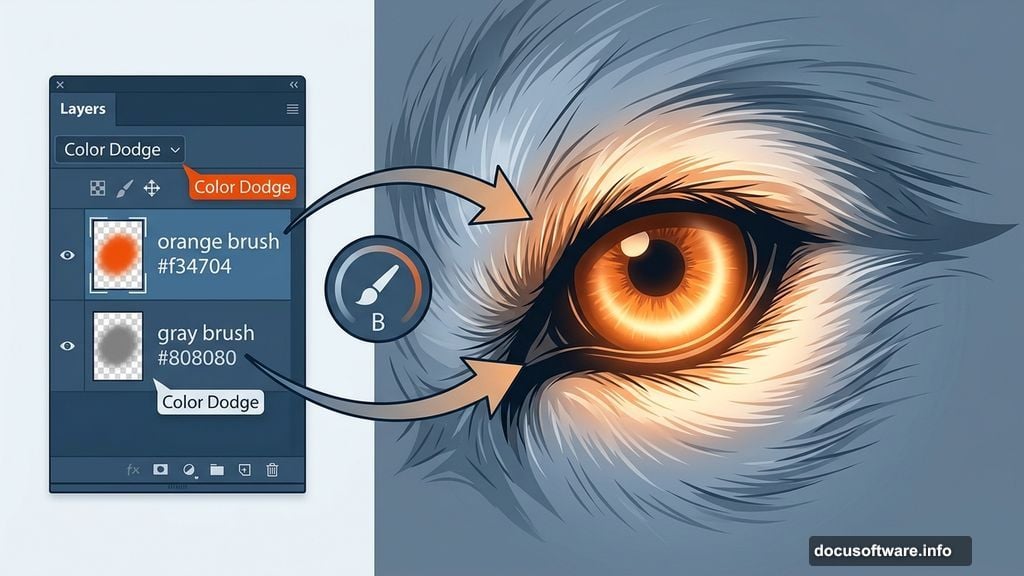
Create a new layer. Grab the Brush Tool (B) and select a soft round brush. Set your foreground color to gray (#808080) and paint gently over both eyes. Then change that layer’s blend mode to Color Dodge. Watch the eyes brighten immediately.
Next, create another new layer above that. Switch your foreground color to a deep orange (#f34704). Paint over the eyes again with the same soft brush. Set this layer to Color Dodge blend mode with 30% opacity. The orange tint gives the eyes that wild, almost supernatural intensity that makes the whole piece feel electric.
Adding a Soft Light Corner
Create one more new layer. Paint a soft white area in the lower-left corner using a large, soft round brush. Set the blend mode to Soft Light at 80% opacity. This subtle touch adds depth and dimension, giving the composition a gentle vignette effect without darkening the edges harshly.
Bringing in the Butterflies
Now the scene starts feeling magical. Open your first butterfly image. Use the Lasso Tool (L) to draw a selection around the butterfly — don’t stress about perfection here, just get close. Copy it with Ctrl/Cmd + C and paste it onto your main canvas with Ctrl/Cmd + V.
Use the Transform tool again to resize and position it. Scatter butterflies at different sizes around the wolf and flowers. Variation in scale creates a sense of depth, making some butterflies feel close and others feel distant.
Layering Flowers, Vines, and Roses
This is the most visually rewarding part of the process. Bring in your flower and rose images the same way you added the butterfly. Layer them around the wolf’s head and shoulders, letting petals overlap the fur naturally.
Vines and ivy work beautifully as framing elements. Place them along the edges of the canvas to anchor the composition. The goal is to make the wolf look like it’s emerging from a lush, wild garden rather than simply posed in front of one.
Vary your opacity on some flower layers for a dreamy layered effect. Some elements sit fully opaque in the foreground while softer, lower-opacity layers push back into the distance.
Fire Particles and Stars
Fire particles scattered through the scene add energy and contrast against all those cool organic shapes. Place them sparingly — a little fire goes a long way. Stars brushed in lightly across darker areas of the background add sparkle without overwhelming the natural elements.
Both work best with blend modes like Screen or Linear Dodge (Add). These modes drop out the dark backgrounds automatically, leaving only the bright particles visible.
Final Color Grading
Two finishing touches pull everything together and make the piece feel professionally graded.
Add a Gradient Map adjustment layer at the very top of your layer stack. A warm golden-to-deep-violet gradient adds richness and unifies the color palette across all your different stock elements. Reduce its opacity until it feels subtle but present.
Then go to Filter > Camera Raw Filter on a merged copy of your image. Camera Raw gives you precise control over highlights, shadows, clarity, and vibrance. A small clarity boost sharpens the wolf’s fur texture beautifully. Pulling down the highlights slightly recovers detail in the brighter flower areas.
Why This Technique Clicks
What makes this composition work isn’t any single step — it’s the layering philosophy. Every element gets its own layer, its own blend mode, its own adjustments. Nothing gets permanently merged until the very end. That flexibility means you can tweak colors, reposition flowers, and adjust the eye glow at any point without starting over.
If you’re new to photo manipulation, this wolf scene is a fantastic project to build confidence. The skills you practice here — color grading with adjustment layers, blending stock elements naturally, painting with blend modes — apply to virtually every compositing project you’ll ever tackle.
Take your time with the flower placement especially. Moving a rose two inches to the left can completely change how balanced the composition feels. Trust your eye, zoom out often, and don’t be afraid to try different blend modes until something clicks.