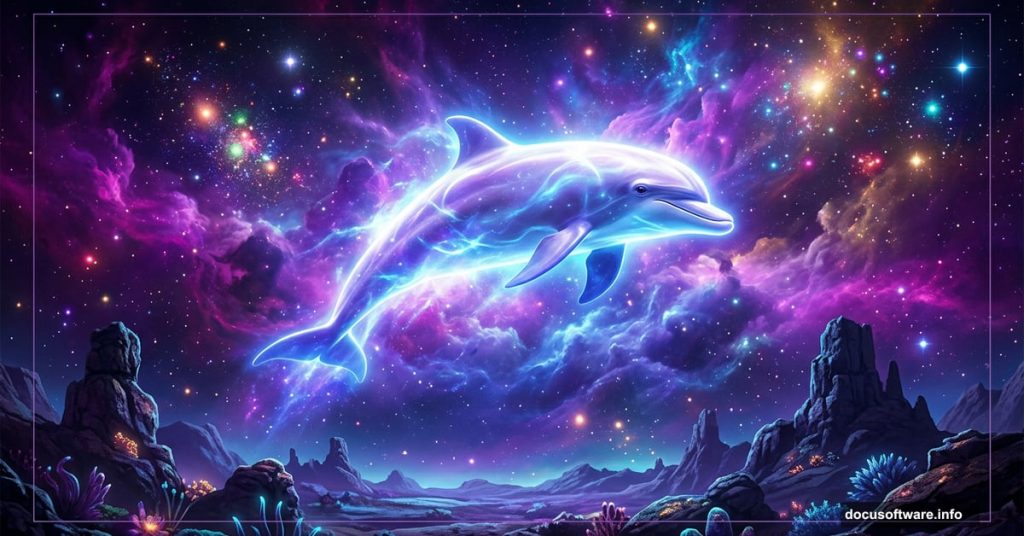
Ever wanted to combine deep-sea creatures with outer space? This tutorial walks you through building a stunning sci-fi photo manipulation featuring a fantasy dolphin soaring through a cosmic landscape. It sounds ambitious, but the process breaks down into manageable steps that even intermediate Photoshop users can follow.
We’ll layer landscape photos, add stars and nebula effects, drop in a dolphin, and tie everything together with adjustment layers. By the end, you’ll have a polished, otherworldly scene that looks genuinely impressive.
Here’s what you’ll need before starting: Ground 1 image, Ground 2 image, a sky photo, stars texture, three nebula images, and a dolphin photo. Grab those resources, open Photoshop, and let’s get building.

Build Your Ground Environment First
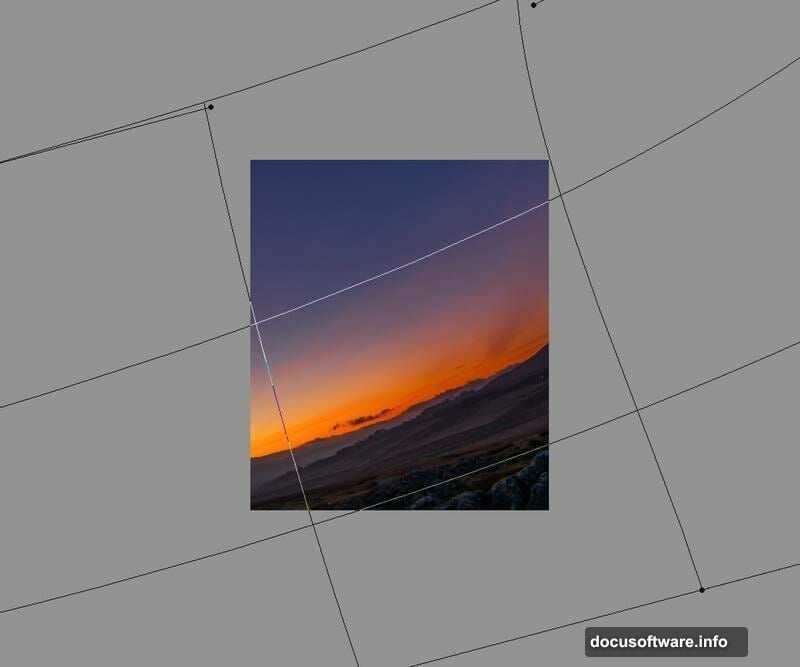
Start by creating a new document at 1530 x 1888 pixels and fill it with white. Open your Ground 1 image and drag it onto the canvas using the Move Tool (V).
Now convert that layer to a Smart Object. This protects your original image while letting you edit non-destructively. Then use Free Transform (Ctrl+T) and switch to Warp mode to rotate and reshape the landscape until the perspective feels natural.
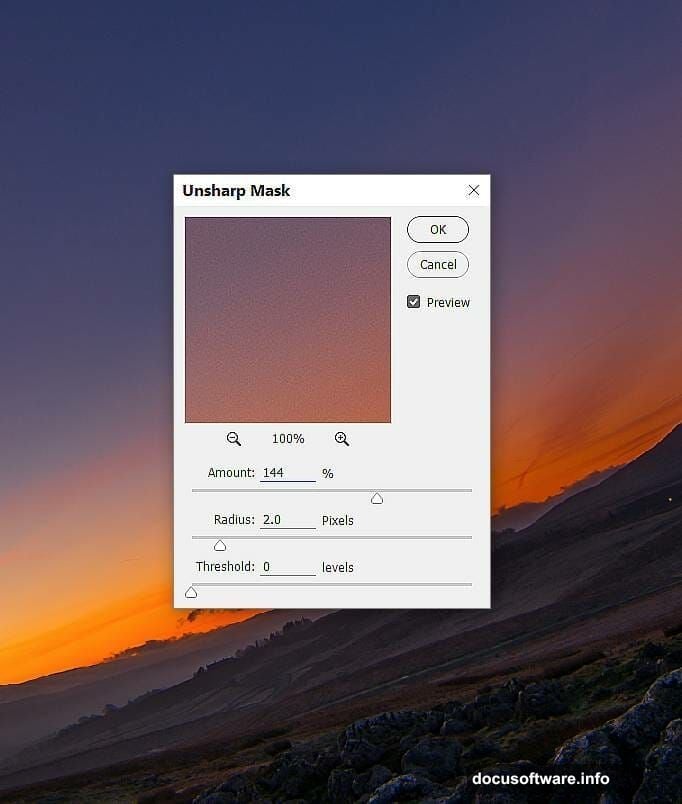
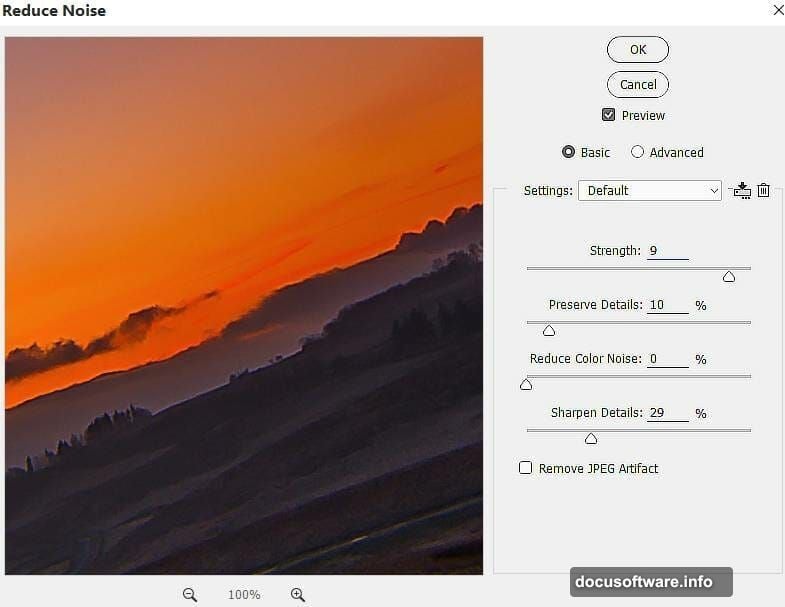
Next, sharpen the ground. Go to Filter > Sharpen > Unsharp Mask and dial in your settings. Follow that immediately with Filter > Noise > Reduce Noise to clean up any artifacts the sharpening introduced. These two steps together give the ground texture without making it look crunchy or over-processed.
Color Grading the Landscape Layers
With your ground sharpened, add a Color Balance adjustment layer and set it as a Clipping Mask so it only affects the ground beneath it. Adjust the Midtones and Highlights sliders to push the colors in a warmer, more fantastical direction.
Here’s where masking earns its keep. On the Color Balance layer mask, grab a soft round brush in black and paint over areas where the color shift looks too heavy. This lets you control exactly where the warm tones sit.
Now open Ground 2 and place it above Ground 1. Use Ctrl+T with Warp mode again to match its perspective to the existing ground. Add a layer mask and use a soft black brush to erase the sky and horizon from Ground 2, blending the two ground images seamlessly.
Create a new layer above Ground 2, set it as a Clipping Mask, and use the Clone Stamp Tool (S) to fix any perspective mismatches on the left side of the composition. Then stack a Curves adjustment layer on top to darken Ground 2 slightly, followed by a Color Balance adjustment layer to warm it up and match it to Ground 1.
Bring In the Sky and Start the Cosmos
Open your sky image and use the Rectangular Marquee Tool (M) to select just the sky portion. Drag that selection into the top of your main canvas and use Ctrl+T to rotate it so it aligns naturally with your ground layers.
This is where the scene starts transforming from landscape to something cosmic. The sky forms the backdrop for everything that comes next, so spend a few extra minutes getting the perspective and color balance right before moving forward.

Stars, Nebulae, and the Sci-Fi Magic
Once your base environment is solid, it’s time to layer in the space elements. Add your stars texture above the sky layer and experiment with blend modes like Screen or Lighten to make them glow naturally against the scene without killing the sky colors underneath.
Then bring in your three nebula images one at a time. Position them, adjust their opacity, and use the same Screen blending approach. Nebula layers add incredible depth and color variation. Plus, masking edges with a soft brush keeps them from looking pasted on.
Adding the Dolphin and Fantasy Effects
Place your dolphin image into the scene and mask out its background carefully. Position it so it feels like it’s genuinely swimming through the cosmos rather than sitting on top of the image.
Here’s where the real fun starts. Use your nebula images again, this time masking them directly around the dolphin to create a glowing, ethereal effect on its body. Standard brushes with low opacity can add soft light streaks and energy trails. The goal is making the dolphin feel like it belongs in this world, not borrowed from a wildlife photo.
Finishing Touches With Adjustment Layers
Pull the whole composition together using global adjustment layers at the top of your layer stack. A Curves layer to control overall brightness and contrast, a Color Balance layer to unify the color palette, and possibly a Hue/Saturation layer to push the cosmic blues and purples work really well here.
Step back and look at the full scene. Does the dolphin feel integrated? Do the ground and sky read as one environment? Adjust your layer opacities and mask edges until everything feels cohesive.
Photo manipulation like this is honestly one of the most satisfying things you can do in Photoshop. There’s something wonderful about taking completely unrelated photos and convincing the viewer they belong together. The key is patience with your masks and consistency with your color grading. Nail those two things and your space dolphin will look like it was always meant to exist among the stars.