Photo manipulation is one of those Photoshop skills that looks impossibly complex from the outside. But break it into stages, and the whole process becomes surprisingly manageable — even fun.
This tutorial walks you through building a full surreal fantasy scene featuring a Great Enchantress. You’ll start with a dramatic landscape, layer in mystical elements, add a model and animals, then finish with atmospheric lighting, shadows, and a moody color grade. Think of it as assembling a puzzle where you control every piece.
Ready? Let’s build something magical.
What You’ll Create
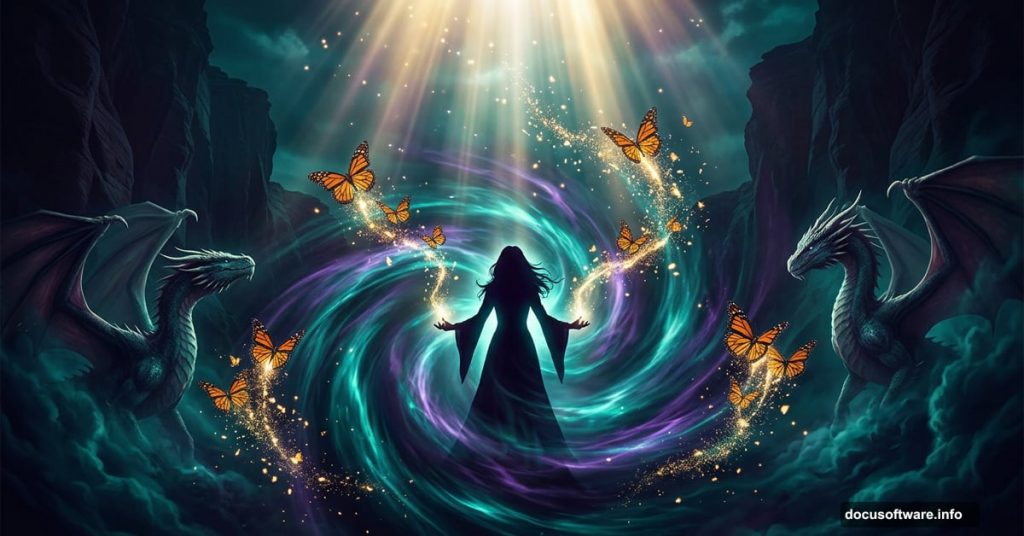
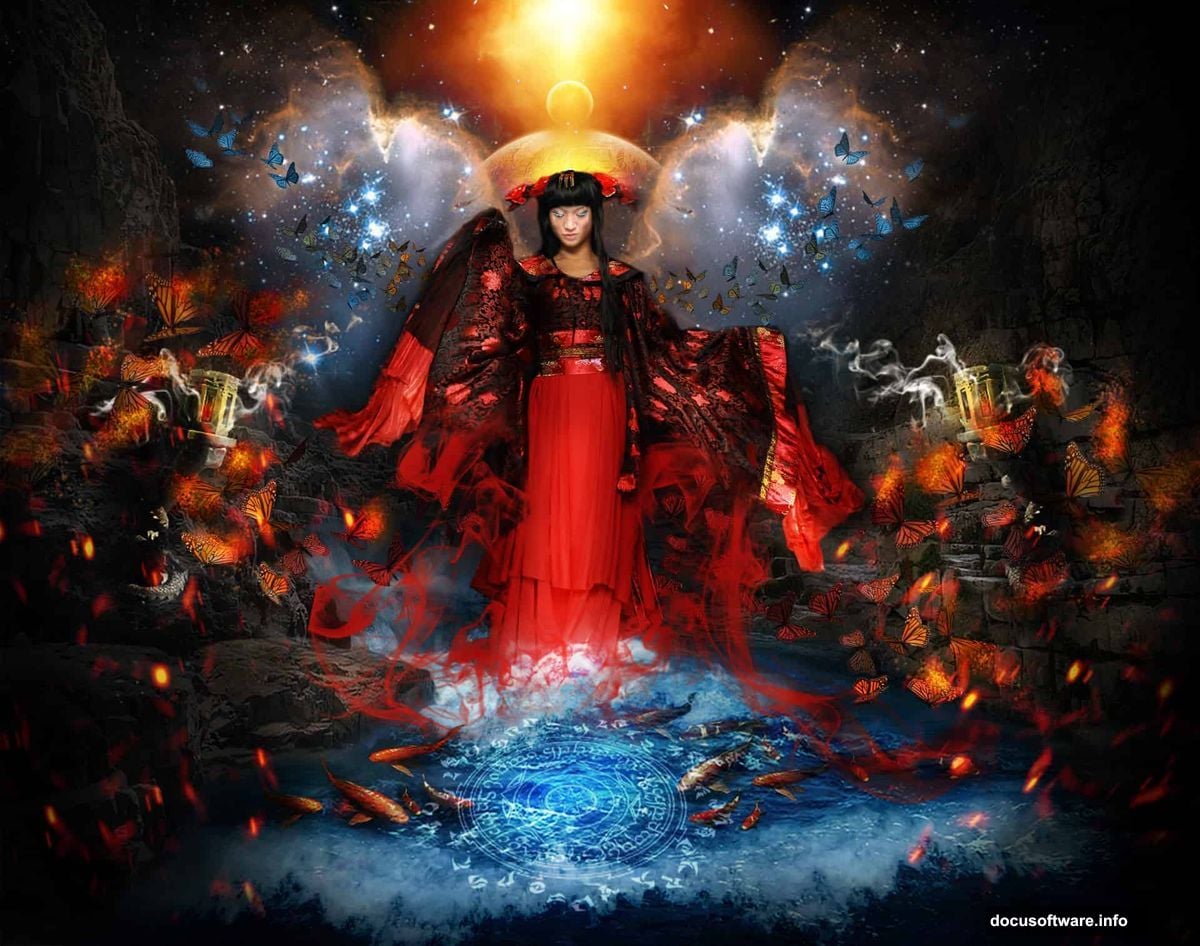
The final piece tells a story. An enchantress stands in a sweeping amphitheater-style landscape, surrounded by dragons, butterflies, smoke, and celestial light. The mood is dark and mysterious, with bleak color tones that tie everything together.
You’ll work through four main stages: the landscape, the mystical props, the character, and the finishing effects. Each stage builds on the last.
Before diving in, gather your resources. You’ll need galaxy textures, ocean wave images, a canyon photo, a dragon tower statue, monarch butterfly clipart, two model photos, a dark angel image, smoke brushes, a planet image, mandala art, and spark overlays. Free versions of most of these are available on DeviantArt and similar stock sites.
Any version of Photoshop works here. The techniques are universal.
Setting Up Your Canvas
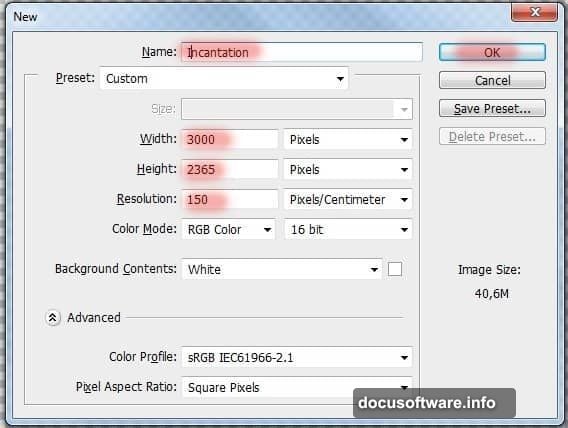
Start clean. Go to File > New (or press Ctrl+N) and create a document at 3000 pixels wide by 2365 pixels high. Name it something evocative — the tutorial author calls it “Incantation,” which sets the right creative tone immediately.
This size gives you plenty of room to work with layers, masks, and effects without losing detail. Smaller canvases get messy fast when you’re stacking this many elements.
Building the Landscape Foundation
The landscape forms the entire backbone of this piece. Get it right, and everything else has a natural home to sit in.
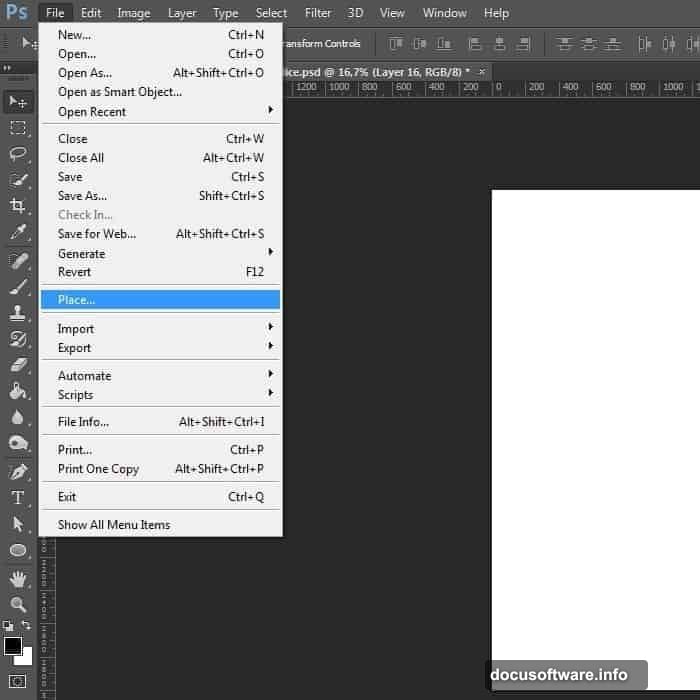
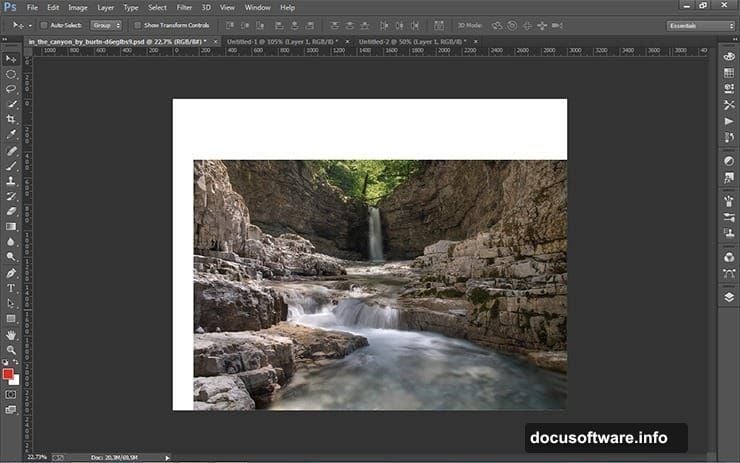
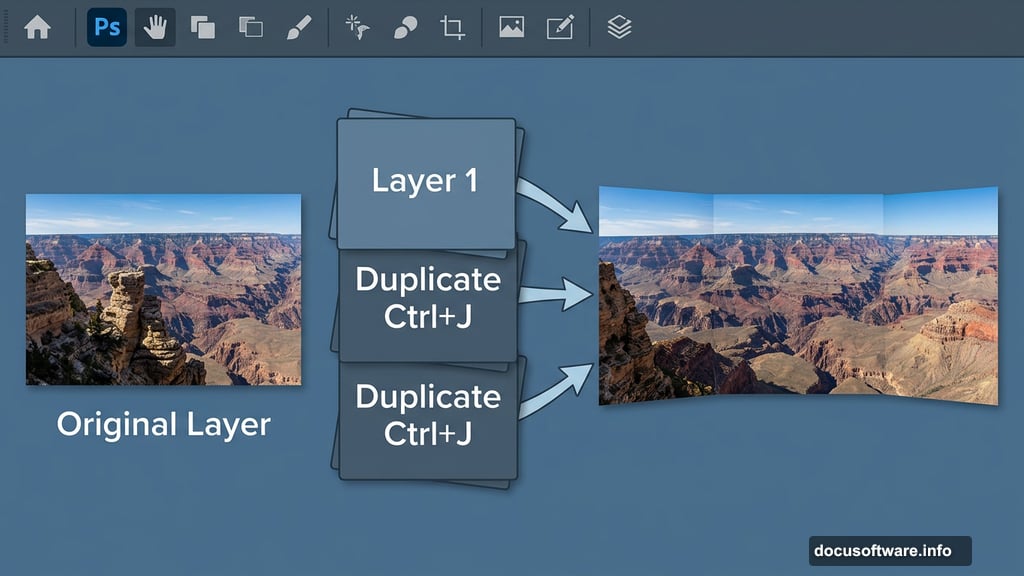
Go to File > Place and bring in your canyon image. Position it in the lower right corner without resizing. This placement is deliberate — you’re not stretching one image across the whole canvas. Instead, you’ll build the landscape from multiple copies to create a realistic, expansive feel.
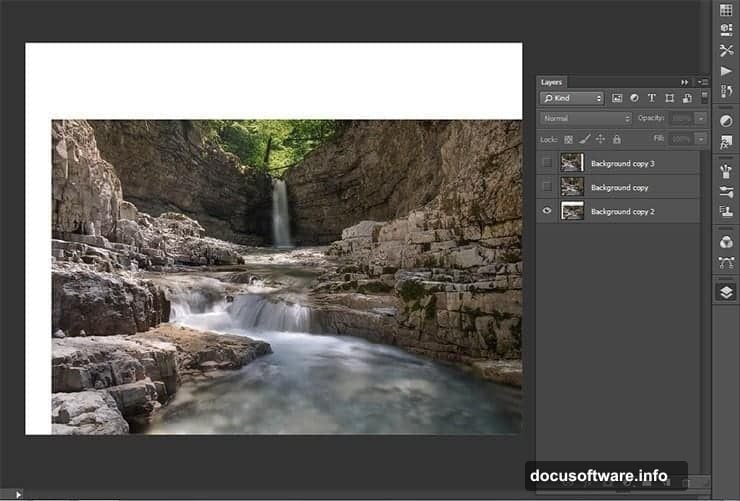
Next, duplicate the landscape layer twice using Ctrl+J. Now you have three versions to work with. Take the first duplicate and use Transform (Ctrl+T) to scale it slightly larger than the canvas. Do the same with the second duplicate, then shift it to the left side of the frame.
Why does this work better than simply stretching one image? Stretching a single landscape layer looks flat and artificial. Overlapping slightly different placements of the same image creates natural depth variation. The scene starts to feel like a real place rather than a flat backdrop.
Blending the Landscape with Layer Masks
Here’s where Photoshop starts earning its reputation. Select your first landscape duplicate layer and click the layer mask icon at the bottom of the Layers panel. A white mask thumbnail appears next to your layer.
Layer masks are non-destructive. You paint black on the mask to hide parts of a layer, and white to reveal them. This lets you blend the edges of your duplicated canyon images so they flow seamlessly into each other.
Use a soft round brush set to low opacity. Paint black along the edges where the layers overlap. Take your time here — the blending quality directly affects how believable the whole scene feels. Rushed masking shows immediately in the final image.
Repeat this masking process on your other landscape layers. The goal is a single cohesive amphitheater environment that feels deep and mysterious. That amphitheater shape matters because it creates a natural focal point. The eye travels inward toward the center, which is exactly where your enchantress will eventually stand.
Adding Sky and Atmosphere
A dark fantasy piece needs the right sky. Bring in your galaxy texture using File > Place and position it above your landscape layers in the stack.
Apply another layer mask and blend the sky into the landscape edges. The horizon line needs to feel natural — harsh edges between sky and ground immediately break the illusion.
This is also where ocean wave images can add surprising texture. Waves have gorgeous natural flow and movement. When blended creatively, they can suggest fog, mist, or mystical energy rolling through a fantasy landscape. Experiment with low-opacity placement along the ground line or background edges.
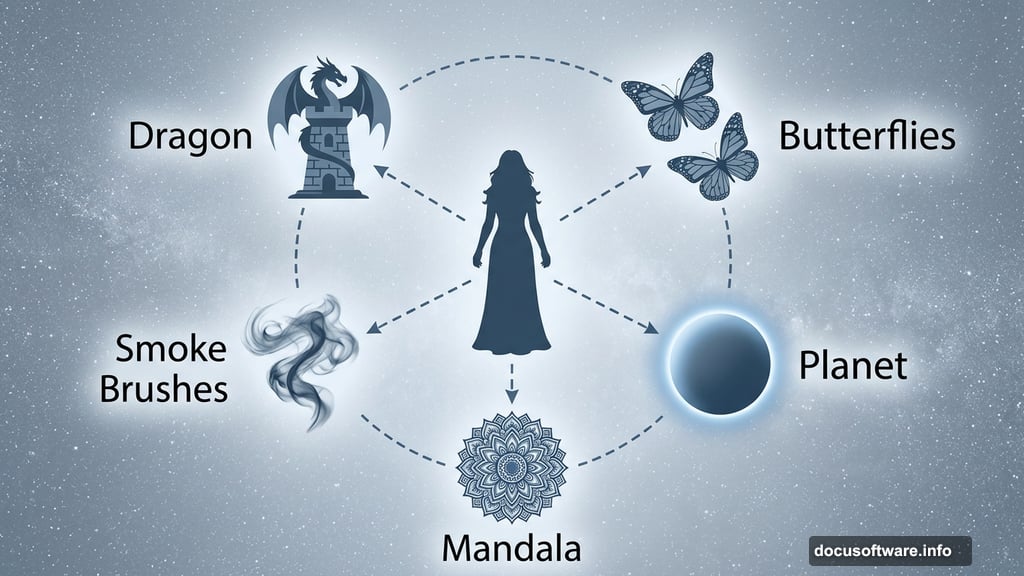
Placing Your Mystical Elements
With the landscape solid, you start adding the props that define the story. The dragon tower statue is one of the most visually striking additions. Place it using File > Place, then position it in the background to suggest ancient architecture.
Scale matters here. Making the tower large enough to be clearly recognizable but not so dominant that it steals focus from your enchantress. It should feel like part of the world, not a pasted-on afterthought.
For each element you add, immediately apply a layer mask and check how its edges blend with the surrounding layers. A clean blend separates a polished manipulation from an amateur collage.
The planet image adds celestial drama to the sky. Place it, reduce opacity to somewhere between 40-70%, and experiment with blending modes. Screen or Lighten modes often work well for glowing celestial objects, allowing them to feel luminous rather than pasted on.
Mandala artwork adds symmetrical mystical detail that complements the enchantress theme. Place it strategically — perhaps centered above where your character will stand — and use blending modes like Screen at reduced opacity to make it glow into the scene rather than sit on top of it.
Building the Character
Your enchantress comes from combining two model photos and the dark angel image. Place your first model photo and use the Quick Selection Tool or Pen Tool to cut away the background. The Pen Tool gives cleaner edges on detailed clothing and hair.
Once cut, apply a layer mask rather than deleting the background permanently. Always preserve your options.
Place and blend the second model image to extend or enhance the figure. Maybe the second image provides better arm positioning, or a different angle adds to the composition. This kind of composite work is exactly why photo manipulation gets exciting — you’re building an ideal version of your subject from multiple real sources.
The dark angel image likely contributes wings or dramatic costume elements. Apply the same cut-and-mask process. Pay careful attention to where the wings or costume elements meet the model’s body. These joints are where amateur and professional work diverge.
Shadows and Lighting — the Critical Step
Shadows are what make everything feel physically present in the scene. Without proper shadow work, even beautiful elements float uselessly above the landscape.
Create a new layer above your model and set it to Multiply blending mode. Use a soft black brush at around 10-15% opacity to paint shadows beneath and around the figure. Think about where your light source is. In this piece, the lighting feels dramatic and coming from above or slightly behind the enchantress.
Also add shadows beneath any props touching the ground — the dragon statue especially. Objects that cast no shadow look pasted in.
For lighting, create a new layer set to Screen or Overlay mode. Use a soft white or warm-colored brush to paint light hitting the edges of your character and nearby elements. This rim lighting technique sells the feeling that your character exists in the same light environment as the landscape.
Smoke and Sparks
Smoke brushes add enormous atmosphere quickly. Load your smoke brushes into Photoshop and paint wisps of dark or light smoke around the base of the enchantress, near the dragon statue, and along the ground.
Use multiple layers for smoke so you can adjust each wisp independently. Some should sit behind the character, some in front. This layering creates a convincing sense of depth.
Spark overlays work best on a layer set to Screen mode. This blending mode makes black invisible, leaving only the bright spark elements visible. Scale them down, rotate them, scatter them around the focal areas — particularly near the enchantress’s hands or wherever magical energy makes narrative sense.
Butterfly clipart adds a delicate contrast against the heavy mystical elements. Scale butterflies down significantly and scatter them naturally. A few near the enchantress’s hands or floating in the mid-ground suggest she has a connection to the natural world even while commanding darker forces.
Color Grading the Finished Scene
Color grading unifies everything. Without it, elements from different source photos sit in their own separate color worlds, and the whole piece feels like a mood board rather than a painting.
Go to Layer > New Adjustment Layer > Color Lookup or use Curves and Hue/Saturation adjustment layers at the top of your layer stack. The tutorial author describes achieving a “bleak color tone effect,” suggesting desaturated blues, deep teals, and pulled-back highlights.
Pull your highlights slightly cyan or teal. Push your shadows toward deep blue or purple. Reduce overall saturation so no single color screams for attention. This kind of grading is what gives fantasy manipulations their signature cinematic quality.
Add a Gradient Map adjustment layer at low opacity — perhaps 15-20% — set to map from deep blue to a warm amber. This subtle addition helps unify the color temperature across all your disparate source images.
Finally, add a slight vignette. Create a new layer, fill it with black, apply a large feathered elliptical selection in the center, and delete it. Set this layer to Multiply at 30-40% opacity. The darkened edges draw attention inward toward your enchantress.
Bringing It All Together
The best photo manipulations tell a complete story. Every element here serves that story — the amphitheater suggests a place of power and ceremony, the dragon tower implies ancient history, the smoke and sparks show active magic, and the enchantress herself stands at the center commanding it all.
Getting there takes patience. Some elements will need repositioning after you add the next layer. Shadows will need touching up once you see the full composition. Color grading might reveal that one element sticks out and needs further adjustment. That’s completely normal.
Work in stages. Save frequently. Keep your layers organized with clear names. When you get lost, zoom out to full view and spend a minute just looking at the whole composition before diving back in.
The commenters who followed this tutorial noted that the layer work becomes genuinely exciting once you push through the initial complexity. That experience holds true for nearly every advanced Photoshop project. The difficulty curve feels steep at first, then suddenly everything clicks.