Ever looked at a magical fantasy photo manipulation and thought, “How did they DO that?” The glowing lights, the dreamy depth, the ethereal atmosphere — it all feels like some kind of digital wizardry. But honestly, it comes down to a handful of Photoshop techniques that anyone can learn.
This tutorial walks you through creating an eerie, enchanting fairy scene complete with dragonflies, magical glow effects, and a beautiful depth of field. Photoshop artist Monika Nowakowska breaks it all down step by step, so you can build these skills and apply them to your own photo manipulations and matte paintings. You’ll need Photoshop CS5.5 or later to follow along.
Let’s create some magic.
What You’re Building
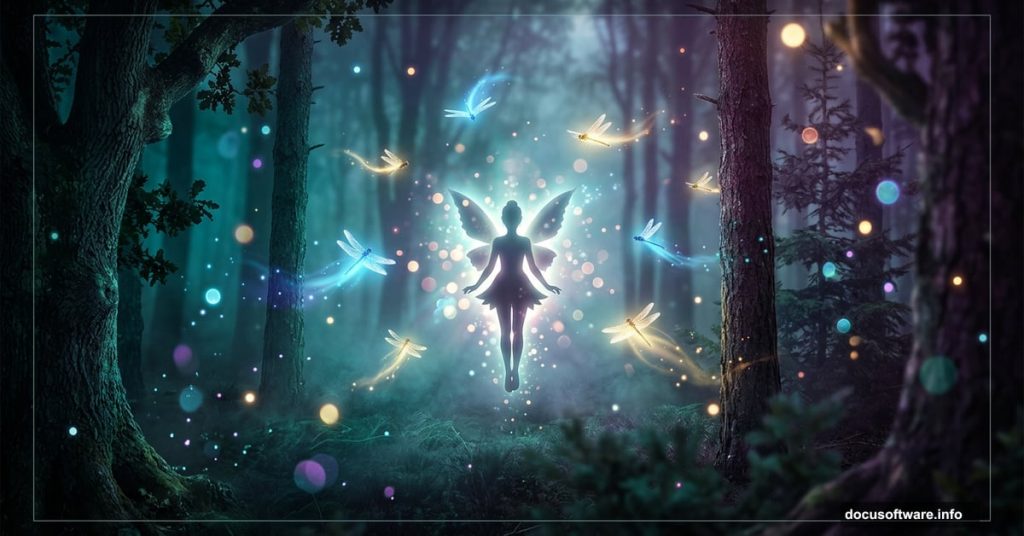
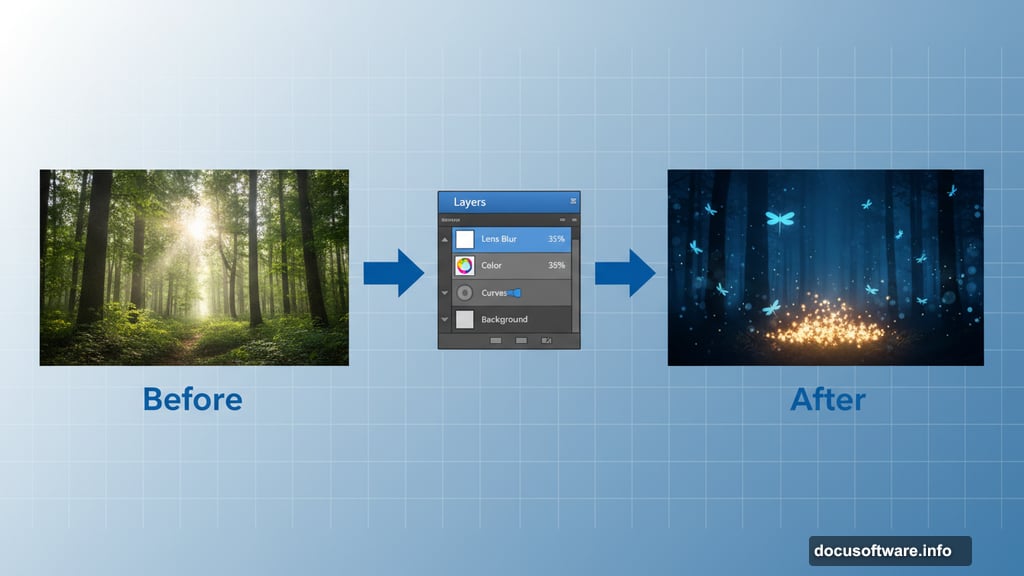
The final result is a moody, atmospheric photo manipulation — a fairy surrounded by dragonflies in a misty forest at night. Think soft glowing light, dramatic depth, and that mysterious quality you see in the best fantasy digital art.
To pull it together, you’ll need these free resources:
- Deep Forest stock photo (rgbstock)
- Burst of Light stock (rgbstock)
- Dragonfly Brushes by Gothic11shadow
- Fae Wings stock by Leaush
- Oracle Stock 9 by Charligal Stock
- Dead Tree PNG by GD08
- LAV Flutter Pack Blue 01 by Geoectomy Stock
Got everything downloaded? Let’s start building.
Setting Up Your Background
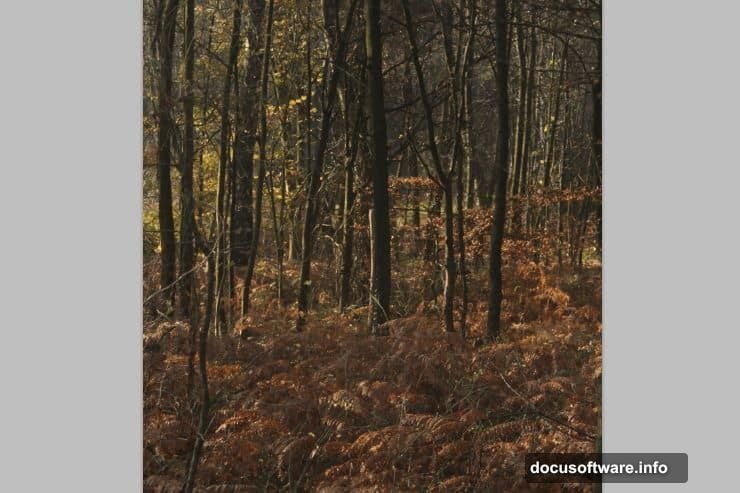
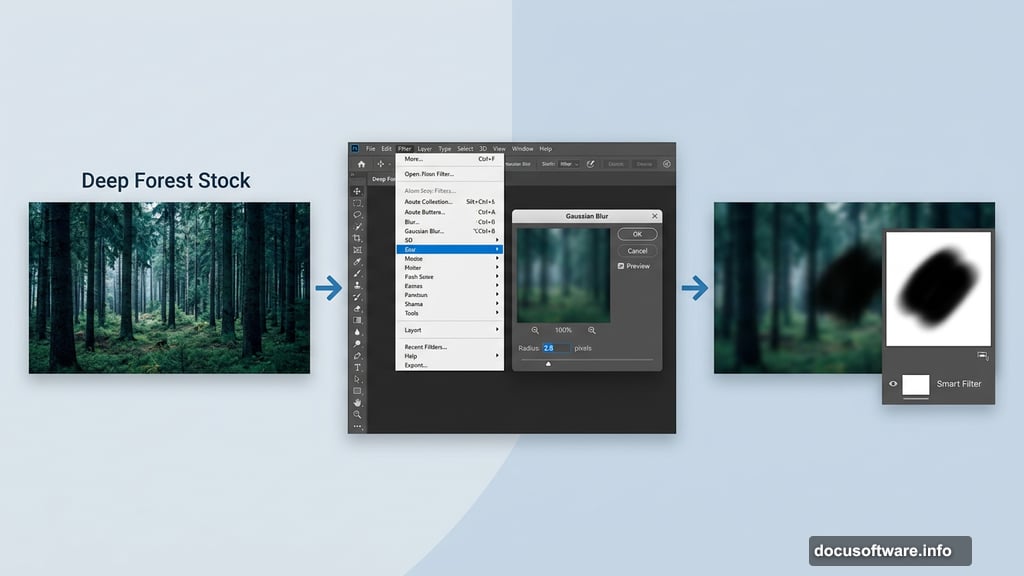
First, create a new file in portrait orientation. Then place your Deep Forest stock image as the base layer.
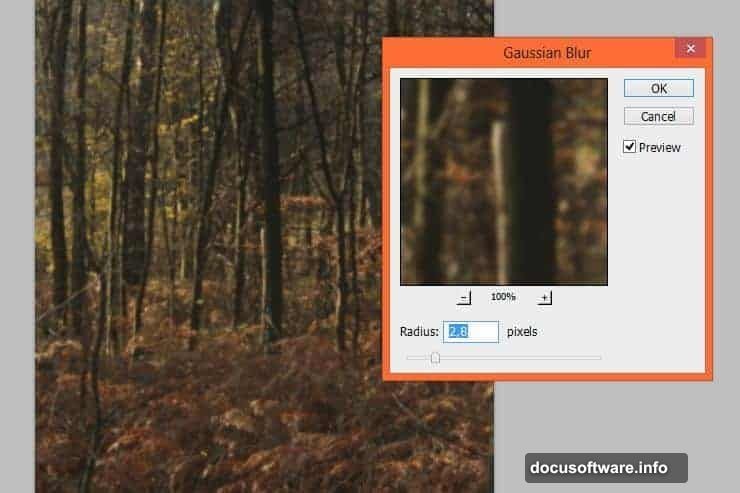
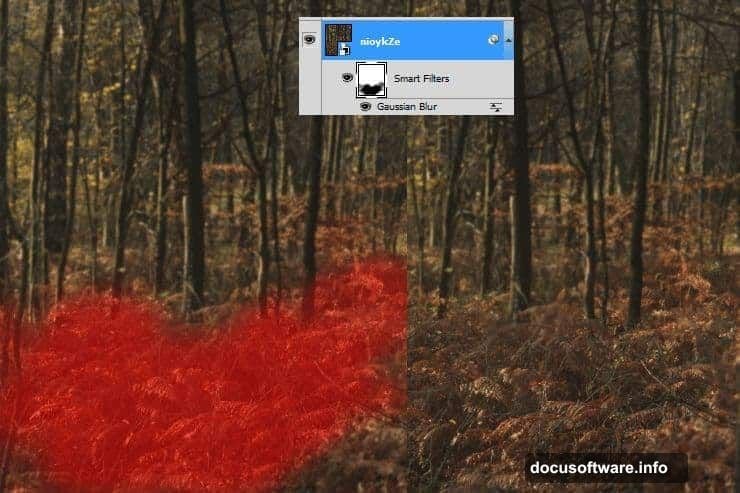
Here’s where it gets interesting. Go to Filter > Blur > Gaussian Blur and set it to 2.8 pixels. This subtle blur starts creating that soft, painterly feel right away.
Now, here’s a handy Photoshop trick many beginners miss. You can mask Smart Filters directly on the layer. Click the white canvas next to the Smart Filter title, grab a large soft brush, and mask out the center of the ground area. Drop your brush opacity down and work gradually. This creates genuine depth — sharp where you want focus, soft everywhere else.
Building the Lens Blur Depth Effect
Duplicate your Deep Forest layer. Right-click the Smart Filter title and choose Clear Smart Filters, then rasterize the layer.
Now go to Filter > Blur > Lens Blur. This filter is the secret weapon for realistic depth of field. Experiment with the settings — Monika’s settings work well as a starting point, but playing around gives you different and often surprising results.
Add a layer mask to this new layer and erase the foreground and some of the nearest trees. Then drop the layer opacity down to 35%. This subtle layering is what separates flat manipulations from ones with real atmospheric depth.
![A Photoshop layers panel showing the Deep Forest layers with Lens Blur and Gaussian Blur Smart Filters applied, demonstrating depth of field setup for a fairy photo manipulation]
Turning Day Into Night
Now it’s time to transform that forest into a nighttime scene. Add a Color Balance adjustment layer and shift the tones toward cooler, darker values — blues and cyans create that convincing nighttime feel.
Next, add a new layer (Shift + Ctrl + N). Set your foreground and background colors to black and white, then go to Filter > Render > Clouds. Paint some additional black strokes along the bottom edge for better blending.
Change this cloud layer’s blending mode to Screen and drop the opacity to 22%. Suddenly you’ve got a subtle, convincing fog rolling through your forest floor.
Finally, add a Brightness/Contrast adjustment layer and reduce the contrast. This is a detail that makes a huge difference. At night, everything loses contrast — scenes look flatter and softer than in daylight. Matching that reality makes your manipulation far more believable.
Adding the Fairy and Wings
With your background established, it’s time to bring in the star of the scene. Place your fairy stock (Oracle Stock 9) into the composition and position her where she feels natural within the forest environment.
The wings come from the Fae Wings stock by Leaush. Place them on a separate layer behind your fairy figure. Use a layer mask to blend them naturally, paying careful attention to the edges. Monika recommends a larger brush with pressure sensitivity for outer edges, then switching to a smaller, softer brush for the more transparent inner sections of the wings.
The LAV Flutter Pack curtain fabric (LAV088 specifically) adds a beautiful trailing element to the composition. Place it and spend real time on the masking. As Monika puts it in her own words from the tutorial comments: “Good cutting is happy cutting, and less work later.” The white background needs careful, patient masking — there’s no shortcut, but the payoff is worth it.
Creating the Magical Glow
This is the part everyone wants to know. How do you get that gorgeous, otherworldly glow?
Start with the Burst of Light stock placed above your fairy. Set the blending mode to Screen — this makes all the dark areas invisible and leaves only the light. Position it so the glow emanates naturally from around your fairy figure.
For additional glow effects, create new layers and paint soft, diffuse light using a large, very low opacity brush. Warm yellows and cool blues work beautifully together in fantasy scenes. Build up the glow in multiple passes rather than one heavy stroke. This gradual approach gives you much more control and creates a more natural result.
Blending modes are your best friends here. Experiment with Screen, Overlay, and Soft Light for different glow qualities. Each one interacts differently with the layers beneath it.
Painting in the Dragonflies
The dragonfly brushes from Gothic11shadow add life and movement to the scene. Create a new layer above your background but below the fairy, and paint in several dragonflies at different sizes and opacities.
Smaller, more transparent dragonflies in the background reinforce your depth of field. Larger, slightly sharper ones in the mid-ground feel closer. Apply a very slight Gaussian Blur (around the same 2.8 pixels you used on the background) to background dragonflies. This consistency makes the whole scene feel cohesive rather than pasted together.
Final Glow and Color Grading
The last stage ties everything together. Add a new layer at the top of your stack and paint very soft, large areas of color — cool purple-blues in the shadows, warm ambers near your light source.
Set this layer to Soft Light or Overlay blending mode at low opacity. This color grade unifies all your separate elements under the same light conditions. It’s the difference between a composition that looks assembled and one that looks like a real moment captured in a magical world.
For the dead tree PNG, place it in the foreground and apply a slight Gaussian Blur — slightly stronger than your background blur. This counterintuitive move pushes it out of focus as if it’s too close to the “camera,” which actually increases the sense of depth dramatically.
Apply a final Brightness/Contrast tweak and consider a subtle Color Balance adjustment across the whole composition. Shift everything slightly cooler and darker. Then add one final soft glow layer around your fairy figure to make her the undeniable focal point.
This kind of project teaches you more about Photoshop than almost any other exercise. You’re using blur for depth, blending modes for atmosphere, light painting for magic, and careful masking for believability — all in one image. Each technique reinforces the others, and before long you’ll find yourself reaching for these tools instinctively in all your photo manipulation work.
The best advice for this kind of project? Don’t rush the masking, and don’t be afraid to experiment with opacity and blending modes. The numbers in this tutorial are starting points, not rules. Your forest, your fairy, your glow — make it yours.