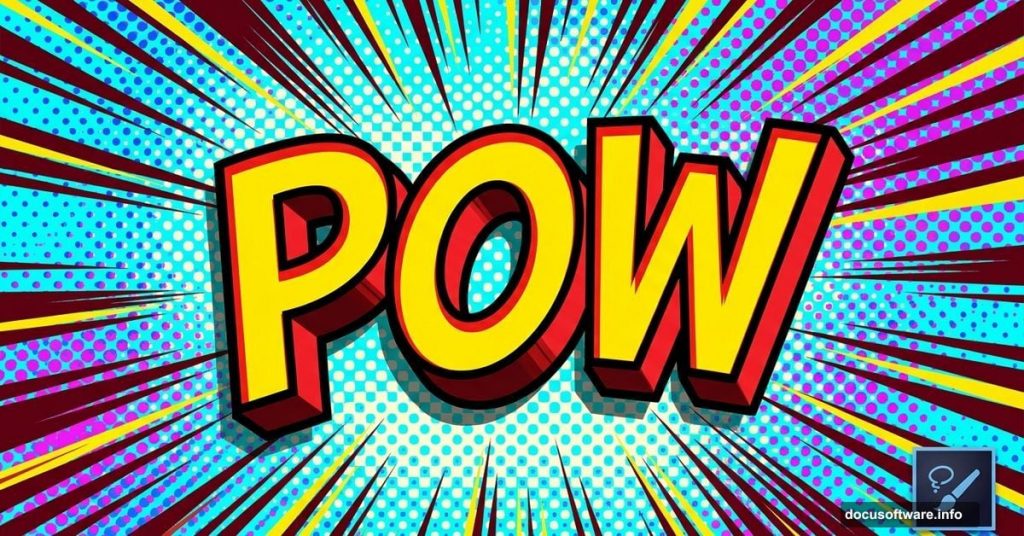
Want to make text that looks like it leaped straight out of a Marvel comic? This Photoshop tutorial walks you through building a bold 3D comic book text effect from scratch. You’ll work with layer styles, halftone brushes, and the Pen tool to create something that genuinely pops.
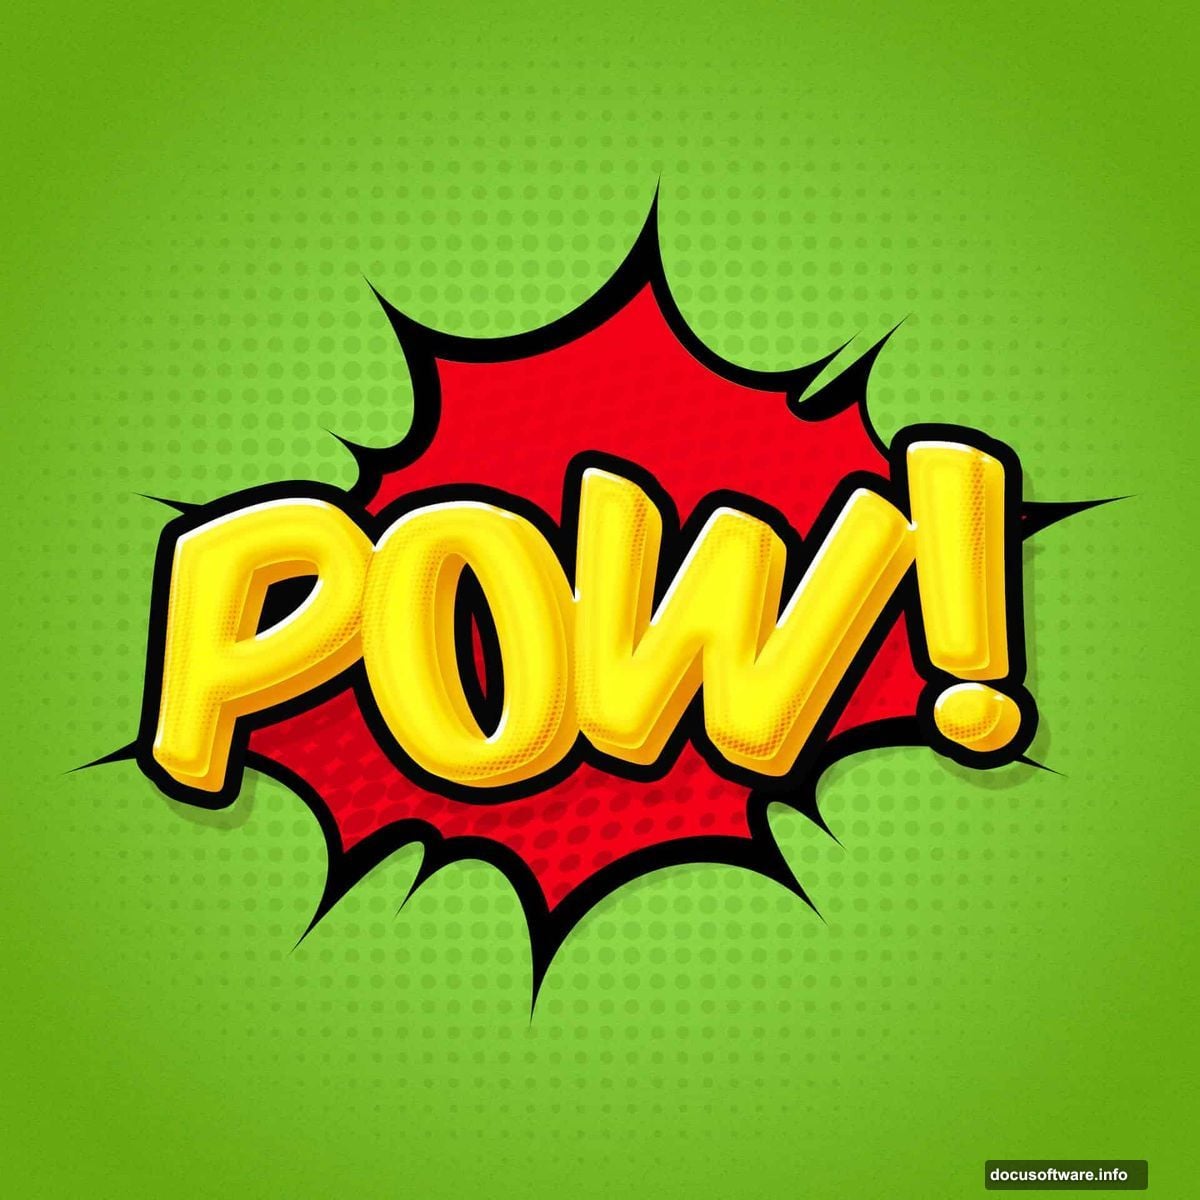
The finished result mimics classic comic book fonts rendered in 3D. Plus, you’ll pick up skills you’ll use again and again in future projects.
What You Need Before Starting
First, grab two free resources. Download the halftone brushes from DeviantArt (search for Gregkmk’s brush pack). Then grab the Komika Axis font from DaFont, created by Vigilante Typeface Corporation.
Both are free. Both are essential to nailing that authentic comic look.
This tutorial was built in Photoshop CC, so any recent version should work fine.
Setting Up Your Document and Background
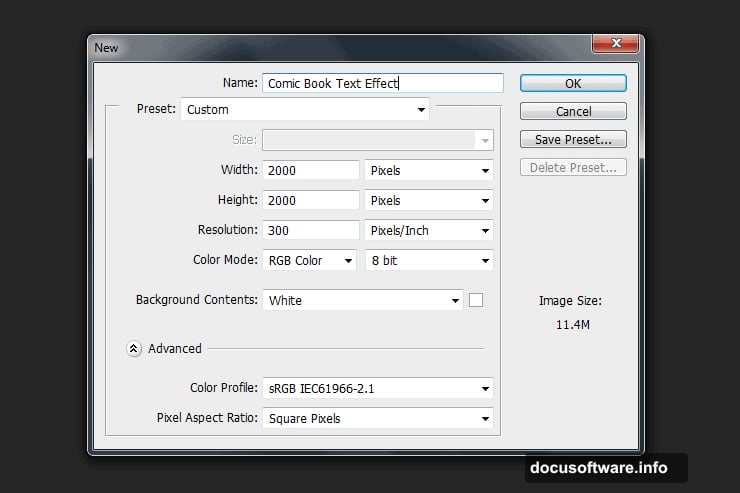
Open Photoshop and create a new document. Go to File > New and set your canvas to 2000 px by 2000 px. Resolution doesn’t matter here since we’re working purely in pixels.
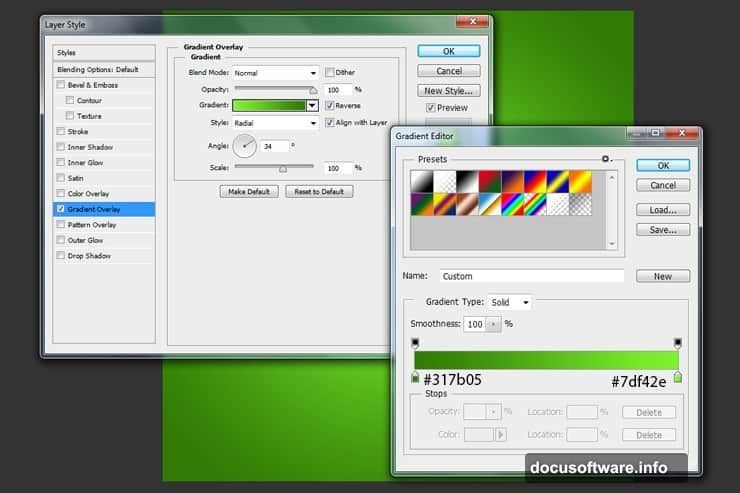
Next, double-click your background layer to open the Layer Style window. Apply a gradient to give the background some depth. This gradient becomes the foundation everything else sits on top of.
Building the Halftone Pattern Layer
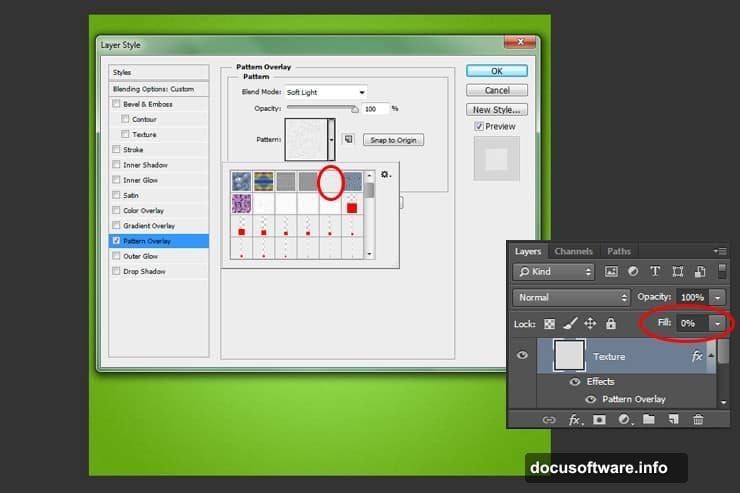
Now create a new layer. Fill it with any color, then drop the Fill value to 0%. That sounds odd, but it lets you apply layer style effects without the fill color showing through.
Double-click this layer and apply a pattern overlay. This creates that classic comic book dot texture underneath your main design.
Adding Halftone Brush Accents
Create another new layer. Select the Brush tool by pressing B. Set your brush size to 1957 pixels and choose your halftone brush from the pack you downloaded.
Place the halftone in the center of your document. Then change the layer blending mode to Luminosity and drop the Fill to 16%. This subtle touch adds visual texture without overpowering everything else.
Creating the Shape with the Pen Tool
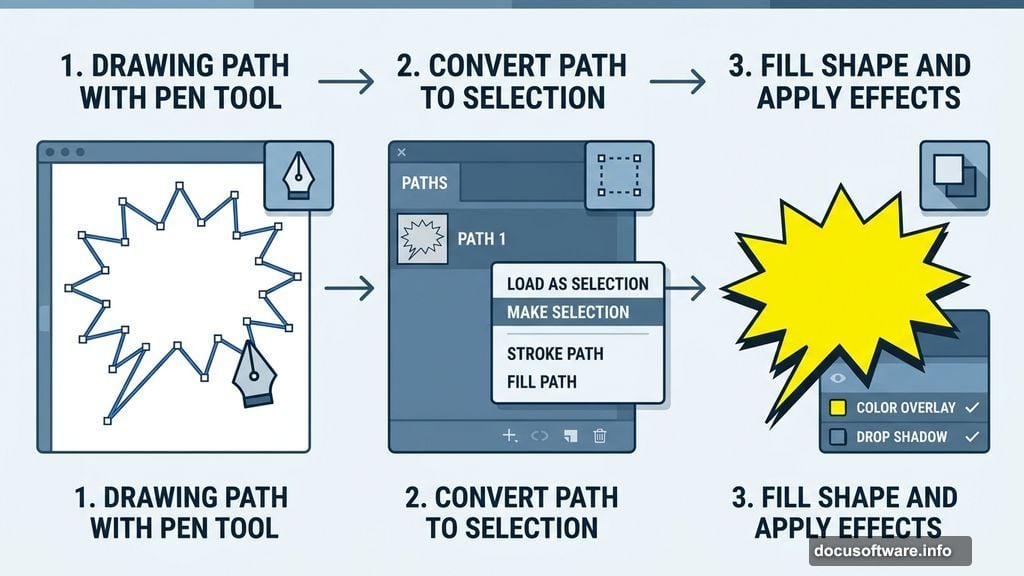
Create a new layer. Grab the Pen tool by pressing P and draw a custom shape. Think of the jagged, dynamic shapes you see in comic speech bubbles or action panels.
Head over to your Paths tab. Right-click the path you just made and select Make Selection. Click OK to confirm.
Fill the selection with your chosen color. Then double-click the layer and add a Color Overlay plus a Drop Shadow through the Layer Style window. These two effects together make the shape feel grounded and dimensional.
Applying Halftones Directly to the Shape
Create a new layer on top. Hold Ctrl and click the thumbnail of your shape layer. That loads the shape as an active selection.
With the Brush tool still active, paint your halftone brush inside that selection. You can use any color. Then double-click this layer and add a Gradient Overlay, making sure the Fill is set to 0% first.
This step is where that comic book halftone shading effect really starts to take shape.
Adding the Outline Shadow Layer
Create one more new layer. Use the Pen tool again to trace an outline just outside your original shape. Convert it to a selection, then fill it with pure black (#000000).
Move this black layer underneath your shape layer in the Layers panel. It acts as a hard offset shadow, which is exactly how classic comic book lettering creates that punchy 3D depth.
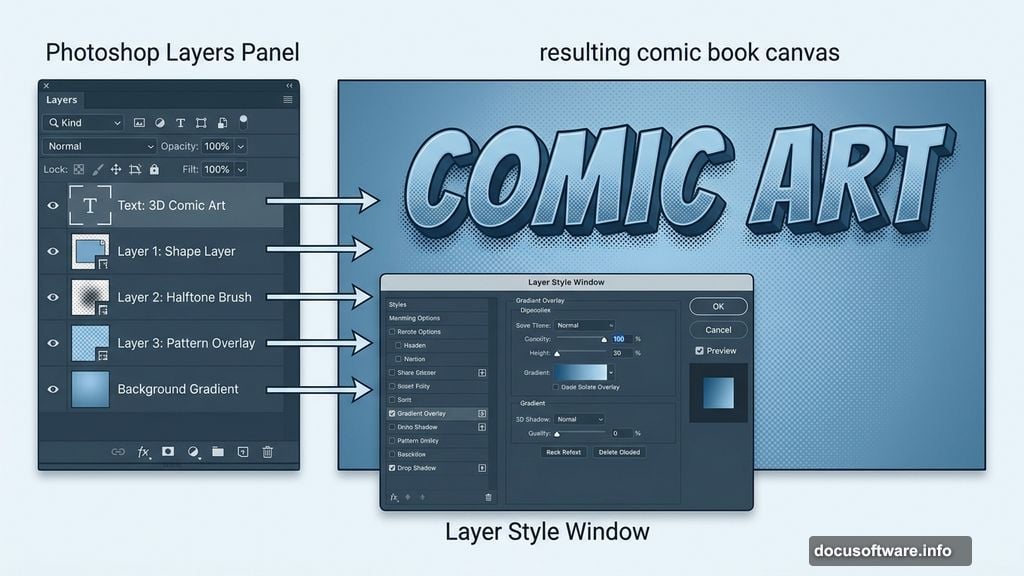
Layer Styles Make Everything Work
The real magic in this effect comes from stacking layer styles carefully. Bevels, strokes, color overlays, and drop shadows work together to sell the 3D illusion. Each layer plays a specific role, and the order they stack matters just as much as the settings themselves.
Take your time with each step. Small adjustments to shadow angle or bevel depth create noticeably different results.
This whole effect is a great introduction to how powerful Photoshop’s layer styles panel can be. Once you understand how halftone textures, gradient overlays, and offset shadows interact, you can apply the same thinking to dozens of other creative projects.
Comic book style design is genuinely one of the most fun techniques in Photoshop. The results feel bold, energetic, and satisfying every single time you pull it off well.