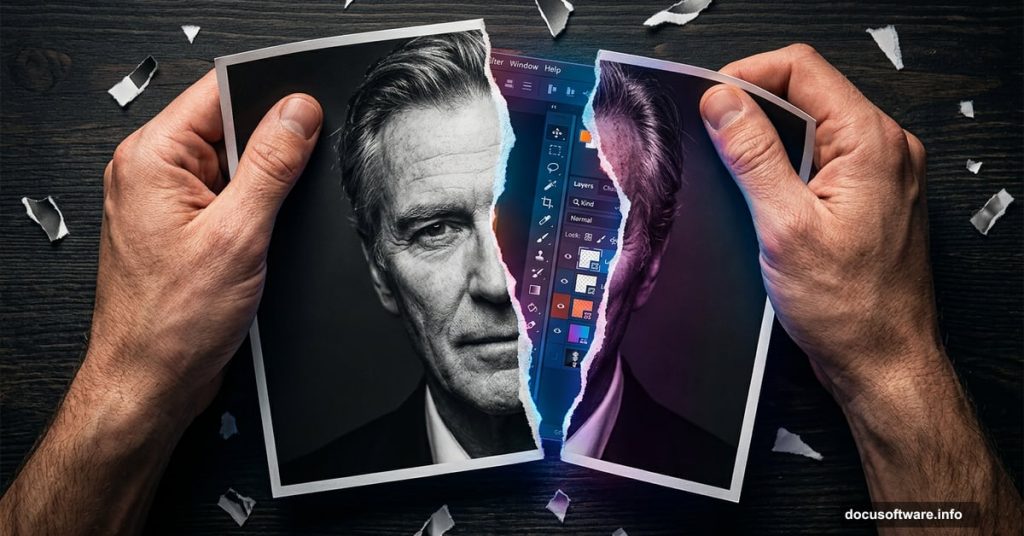
Ever noticed how some TV shows use torn photographs to create that raw, dramatic feel? The latest season of Better Call Saul did exactly that with its cast photos. Sure, you could just rip up actual prints and photograph them. But not everyone has a studio setup or photography skills handy. So here’s the good news: Photoshop can pull off this effect beautifully.
This tutorial walks you through recreating a realistic torn photo mockup using Linked Smart Objects, manual painting, and warp transformation. You can follow along using Photoshop CC 2014 or any later version.
What You Will Need Before Starting

You can absolutely use your own portrait photo here. In fact, I’d encourage it. Working with something personal keeps you more invested in getting the result just right.
For reference, here are the resource types used in this tutorial:
- A portrait photo of a person
- A torn photo reference shot on a flat surface
- A wooden pallet or flat background texture
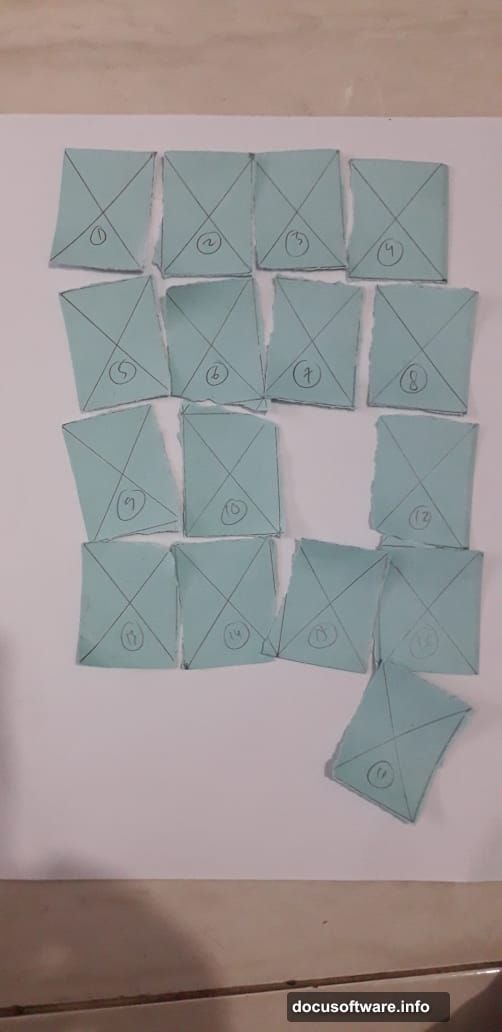
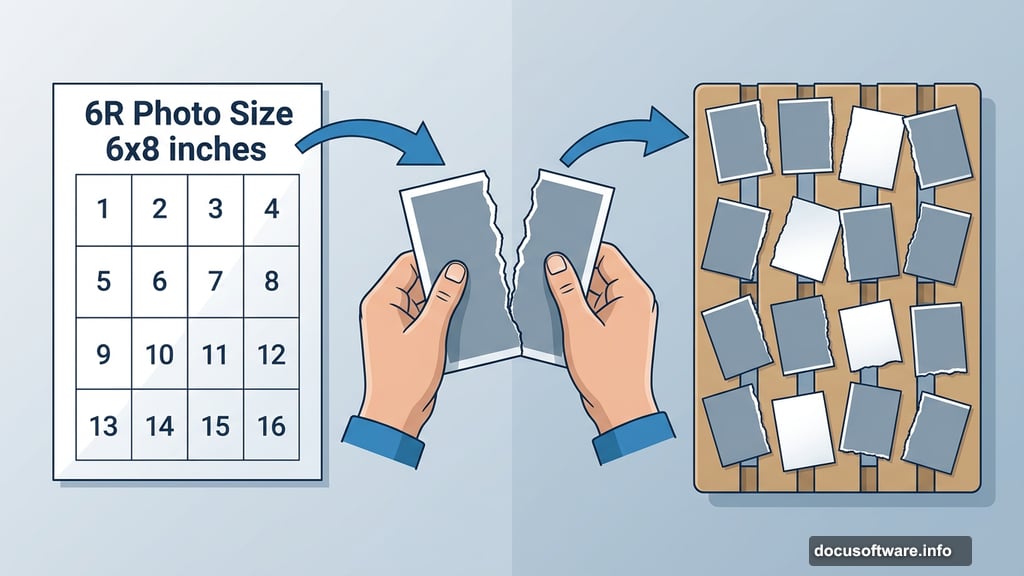
The key supporting image is a photograph of hand-torn paper rectangles laid out on a surface. That reference shot guides everything that follows.
The Physical Prep Work That Makes This Shine
Here is where this tutorial gets clever. Before opening Photoshop at all, you do some real-world prep work that makes the digital result look genuinely convincing.
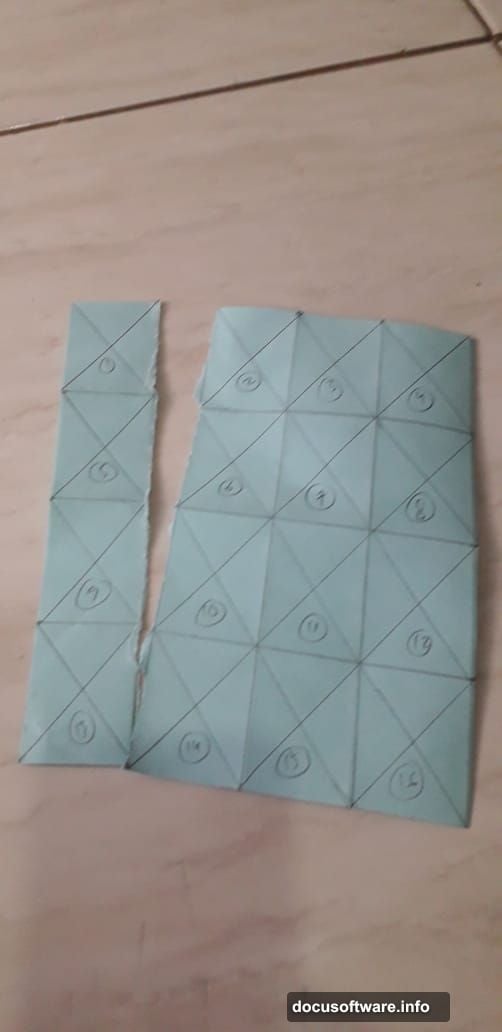
First, cut a piece of paper to 6R photo size, which is 6 inches by 8 inches. Then divide it into 16 equal rectangles and draw lines with numbers inside each one. Think of it as a physical grid you’re about to destroy.
Now comes the fun part. Tear each rectangle by hand. No scissors, no ruler, no utility knife. The goal is messy, organic edges that look natural. Forced straight lines immediately give away the effect, so resist the temptation to tidy things up.
Once you have your 16 torn pieces, arrange them on a flat surface and photograph them. This photo becomes your placement guide inside Photoshop. And you have real creative freedom here. Scatter the pieces randomly. Flip some upside down. Put rectangle 11 somewhere it definitely doesn’t belong. You could even toss the pieces in the air and photograph them mid-flight for a suspended, scattered look.
The more personality you bring to this physical step, the more unique your final mockup will feel.
Step 1: Building the Guide File in Photoshop
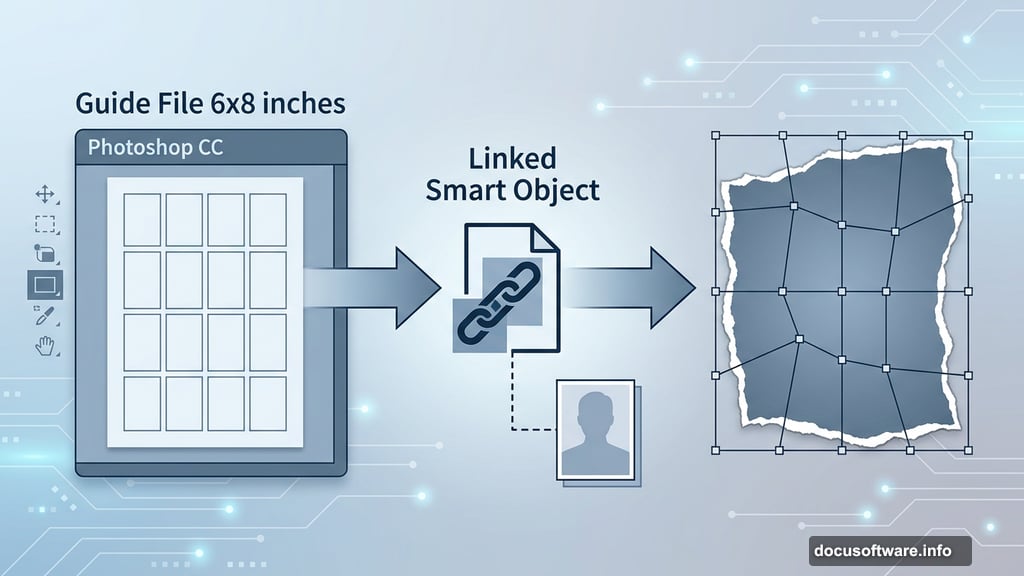
Open Photoshop and go to File > New. Set the width to 6 inches and the height to 8 inches, then click Create. This matches your physical paper exactly and gives you an accurate digital workspace to build from.
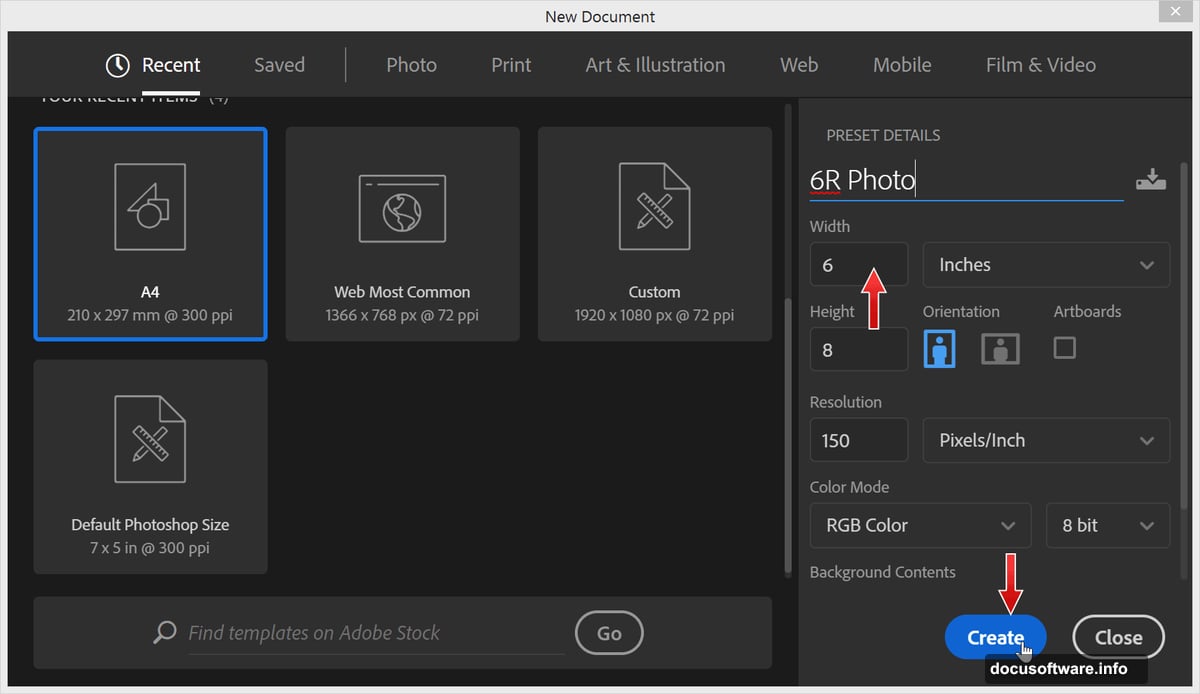
This file becomes your master guide. Everything you do in the following steps references back to this canvas size, so getting the dimensions right from the start saves a lot of headaches later.
Step 2: Drawing the Rectangle Grid
Activate the Rectangle Tool from the toolbar. In the Options Bar at the top, make sure the mode is set to Shape rather than Path or Pixels.
Now here is a handy Photoshop trick worth knowing. Instead of guessing dimensions, click directly on the canvas to open a size dialog box. Since you need 16 equal rectangles across a 6×8 inch canvas, each rectangle measures 1.5 inches wide. For the height, you can type 8/4 directly into the input field and let Photoshop do the math for you. Hit OK and your first rectangle appears at the precise right size.
Repeat this process to fill the entire canvas with your 16 rectangles, each numbered to match your physical torn pieces. This grid is what lets you accurately place each torn fragment in the right position during the later stages.
What Comes Next
The remaining steps build on this foundation using Linked Smart Objects to keep the portrait photo editable, manual brush painting to add shadow and depth along torn edges, and warp transformation to match the curl and distortion of each paper fragment.
The combination of real-world photo reference and Photoshop’s transformation tools is what separates a convincing torn photo effect from one that looks digital and flat. Taking the time to physically tear the paper and photograph it does most of the heavy lifting. Photoshop just connects the dots.
If you follow through the full technique, you end up with a mockup that genuinely looks like someone scattered printed photographs across a wooden surface. It’s the kind of effect that makes people ask whether you actually destroyed real prints to get the shot.
The answer, of course, is that you just got clever with your workflow instead.