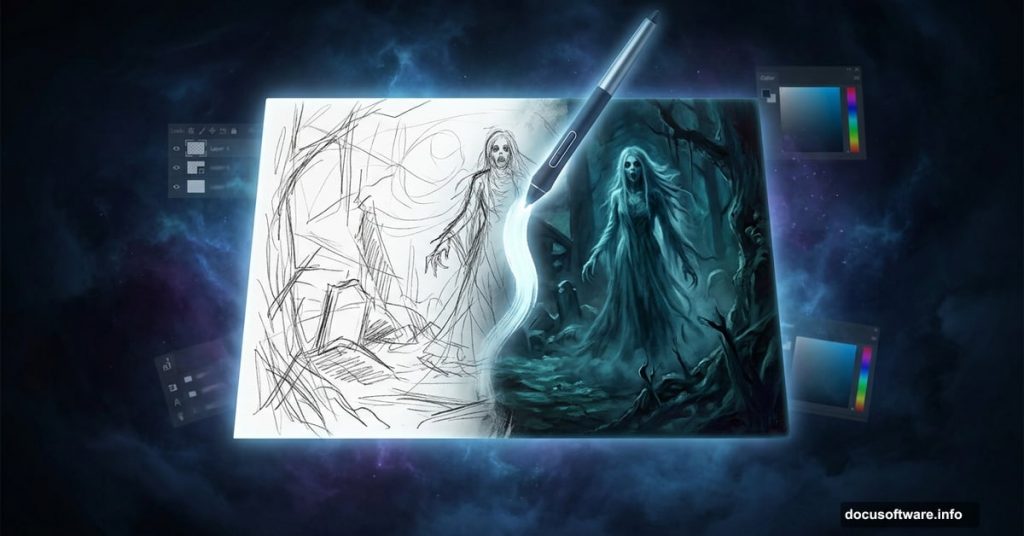
Ever wondered how digital artists create those moody, atmospheric paintings that feel almost alive? Artist Hatice Bayramoglu walks us through her entire process for painting “The Nightmare” in Photoshop, from rough sketch to finished, eerie masterpiece. Whether you’re a complete beginner or someone who’s dabbled in digital art before, this walkthrough makes the whole thing feel surprisingly approachable.
Let’s dig into exactly how she pulled it off.
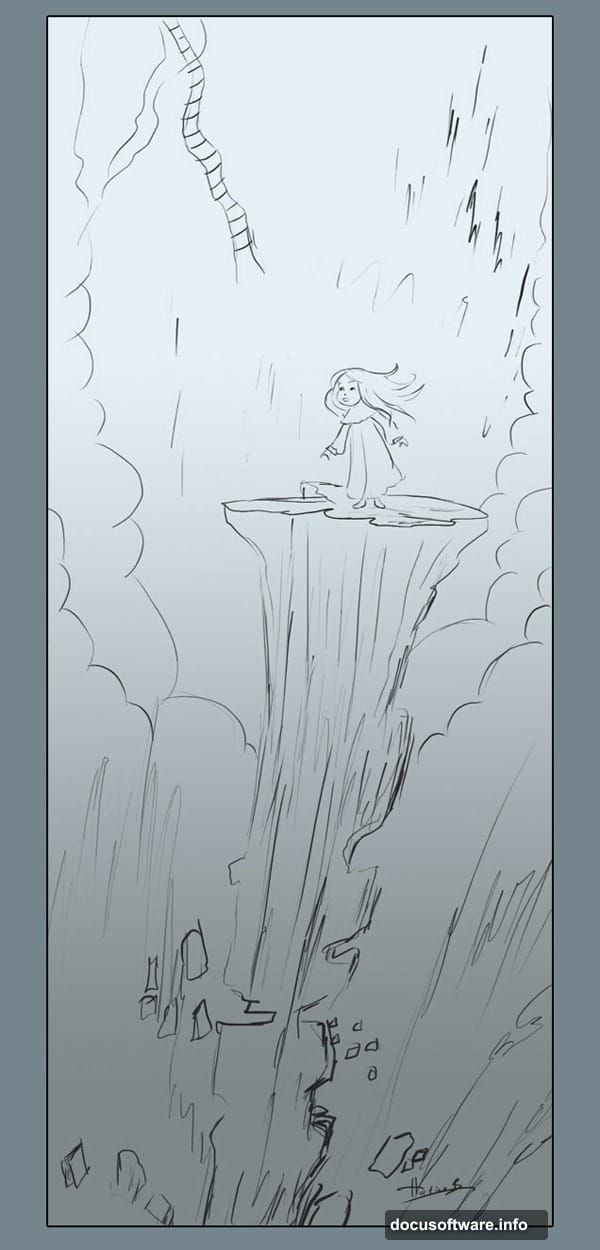
Starting With a Simple Sketch
Every great digital painting starts with an idea on paper. Or in this case, a simple sketch on a computer.
Hatice keeps a collection of old sketches that she revisits over time. For this project, she pulled out a sketch originally created for a storybook illustration that never made the cut. It’s a good reminder that nothing you create goes to waste. That unused idea might become your best work later.
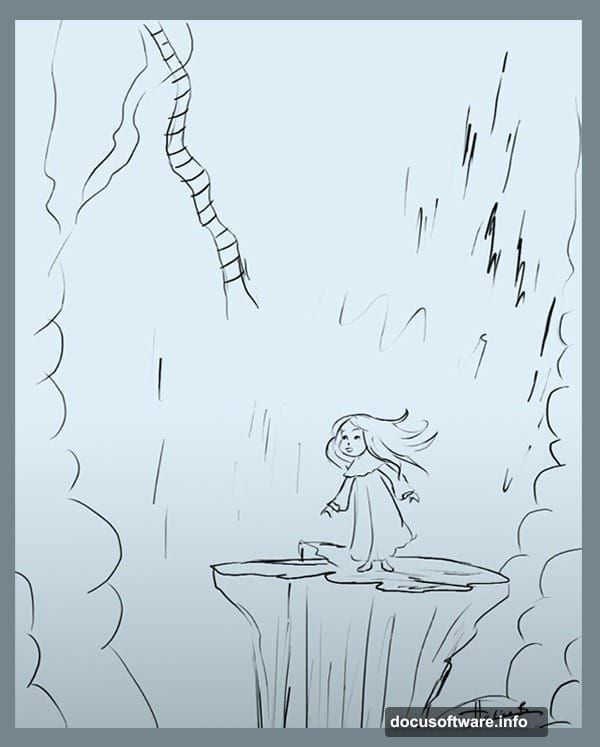
The original sketch was simple and loose. Nothing fancy, just enough to capture the concept and figure placement. You can use her sketch directly if you want to follow along exactly.
Setting Up Your Photoshop Canvas
Before touching a single brush, getting your canvas right matters more than most beginners realize.
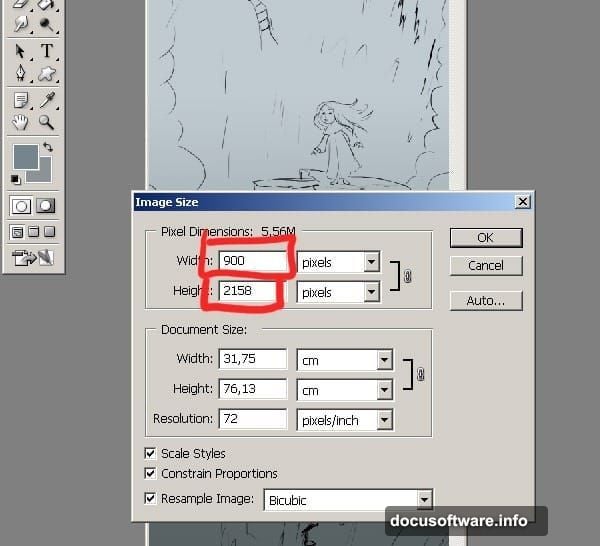
Hatice starts with these settings for this project:
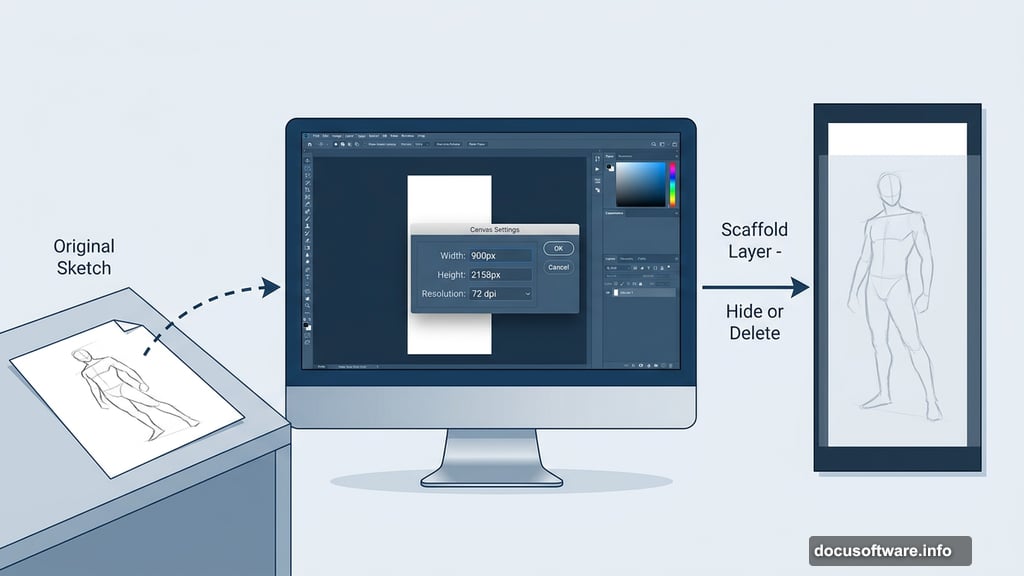
- Width: 900 pixels
- Height: 2158 pixels
- Resolution: 72 dpi
Here’s the smart part of her approach. She deliberately keeps the resolution low at first. Starting small lets you work quickly without bogging down your computer. You can always scale up and add finer details later once the overall composition feels solid.
Also worth noting: your sketch layer is purely a reference tool. Once the painting takes shape, you can hide it or delete it entirely. It’s scaffolding, not a permanent structure.
Choosing the Right Brush Setup
This is where a lot of digital painters get overwhelmed. There are hundreds of brushes available in Photoshop, and it’s easy to waste an hour just browsing through them.
Hatice keeps it simple. She uses only standard Photoshop brushes for this entire painting. No fancy third-party packs needed.
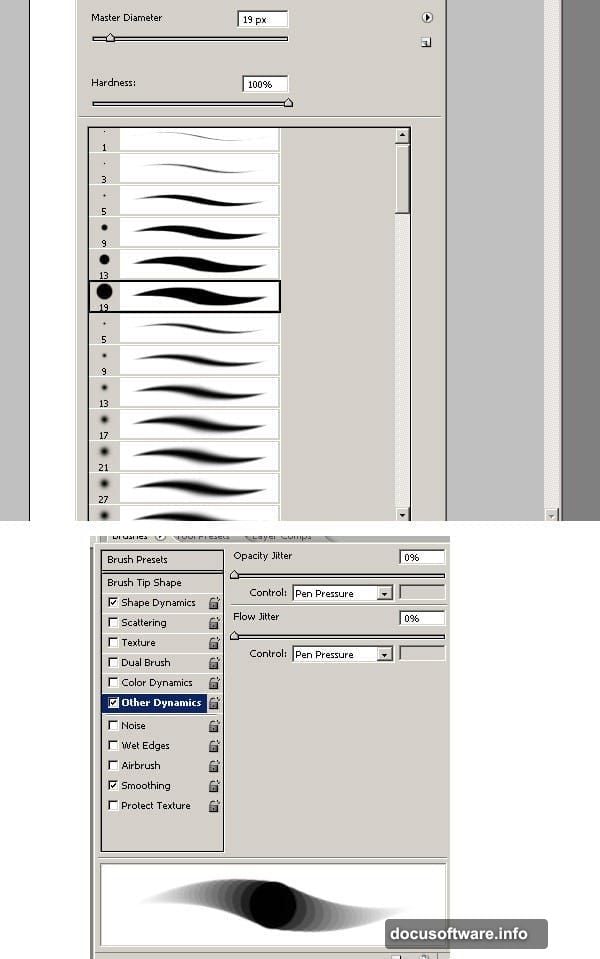
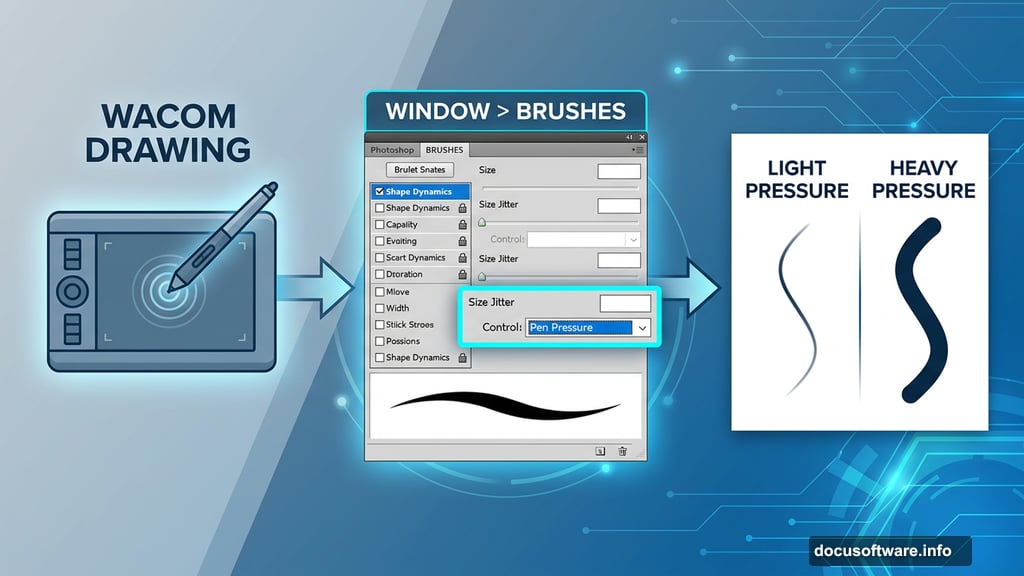
The key is configuring pen pressure correctly. Head to Window > Brushes to open the Brushes palette. Inside Other Dynamic Settings, set the control to Pen Pressure. If you’re using a Wacom tablet or similar device, this setting makes your strokes respond to how hard you press down. Light pressure creates thin, soft strokes. Heavy pressure creates bold, confident lines.
Some tablets also let you adjust stroke angle, which gives you even more expressive control. It sounds technical, but once you try it, the difference feels completely natural.
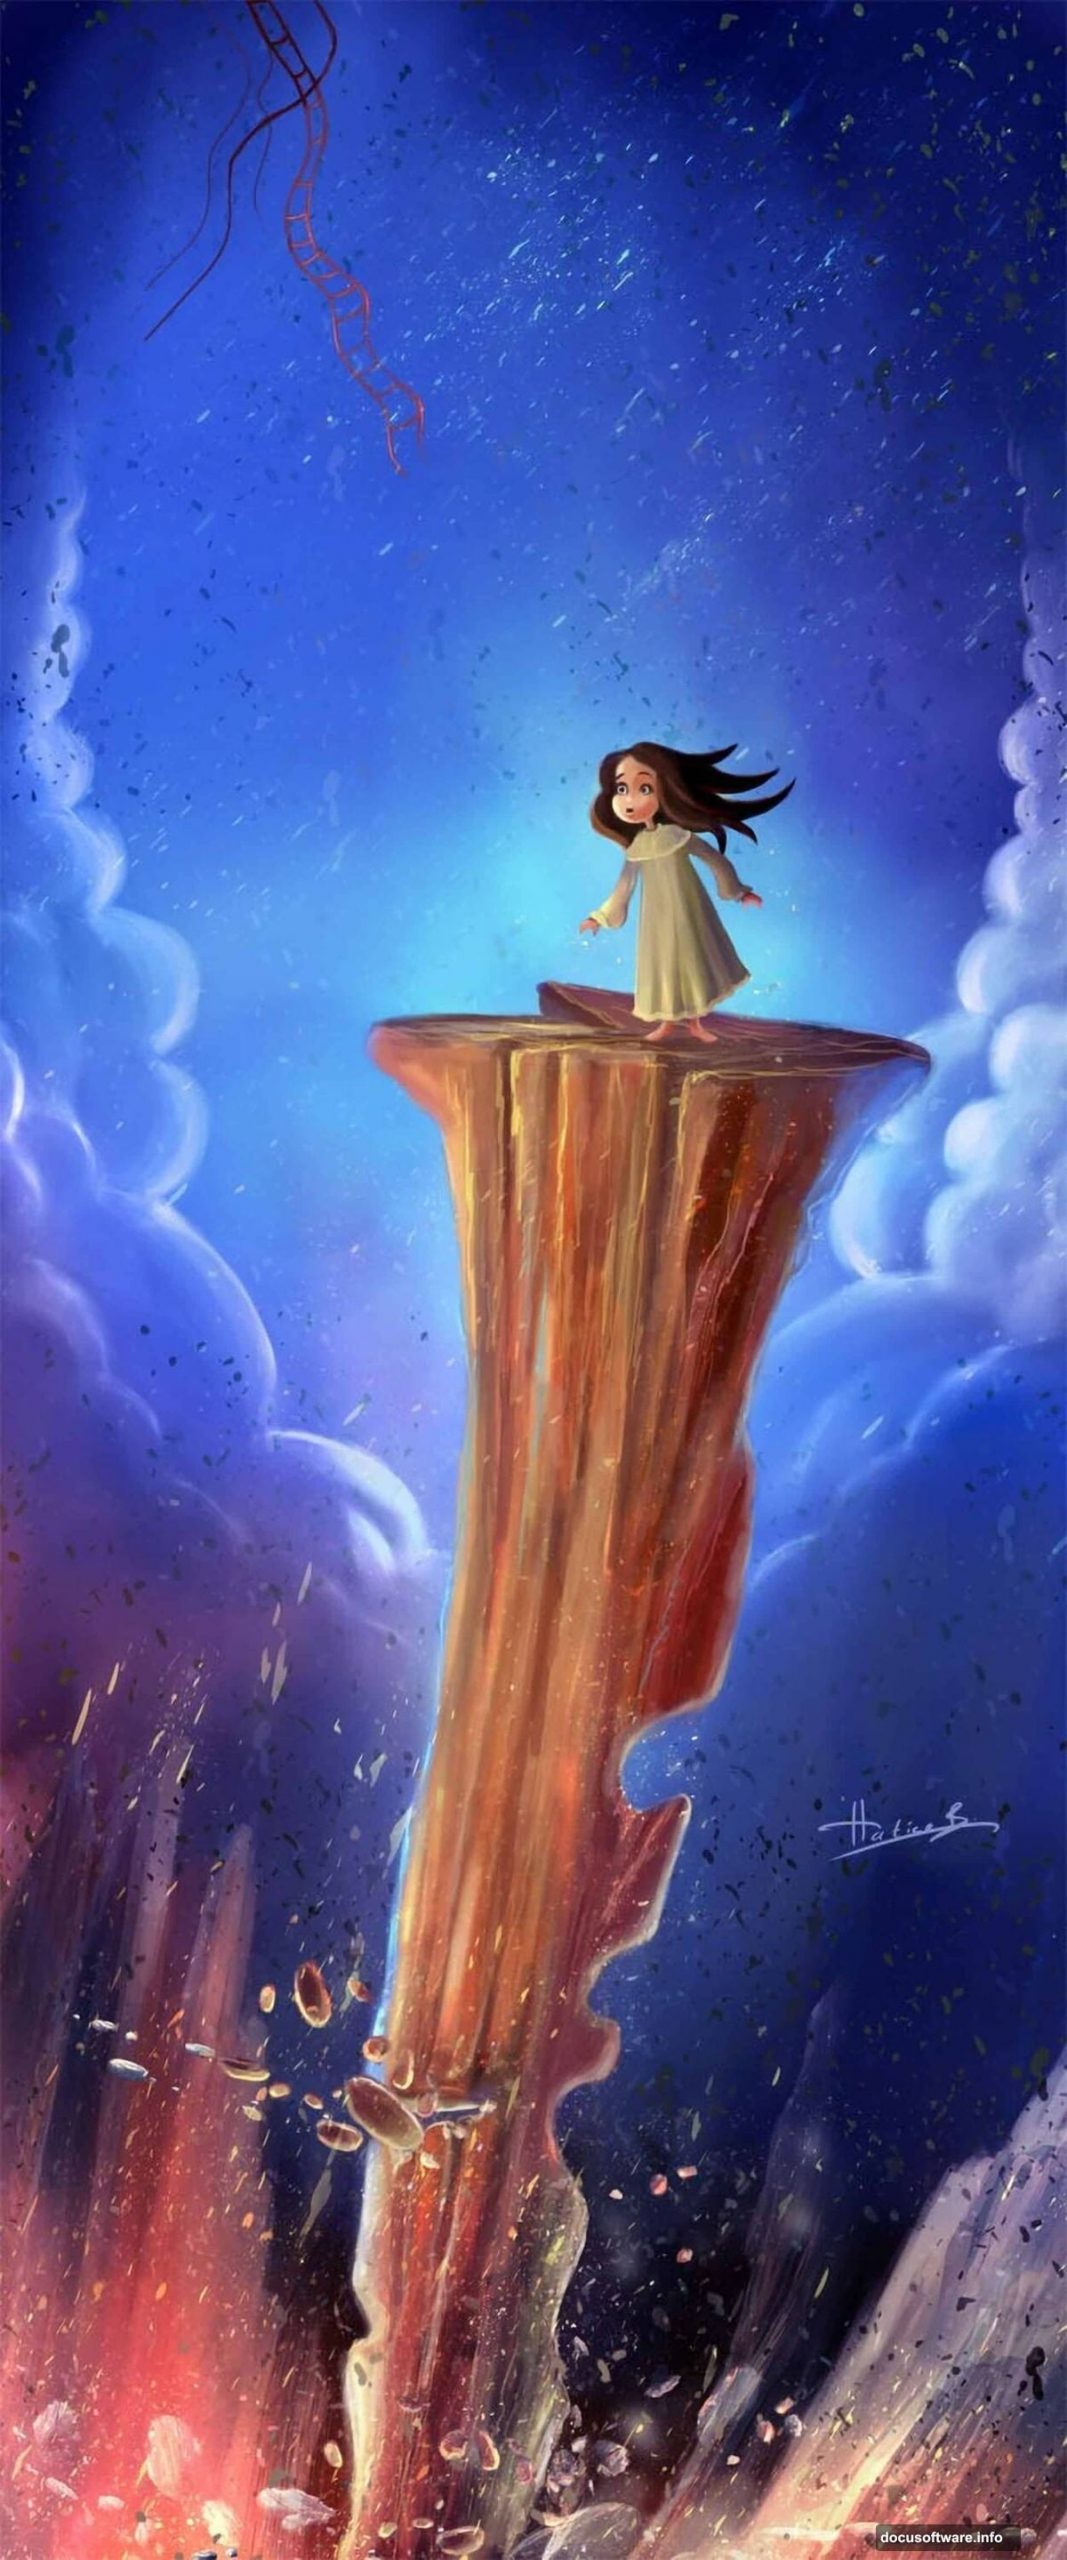
Building a Color Palette That Sells the Mood
Color choices make or break a mood-driven painting like this one. Pick the wrong tones and your nightmare scene looks more like a pleasant afternoon.
Hatice chose a deliberately cold, unsettling palette built around dark blues, murky browns mixed with green, and softer blue-purple highlights. The background leans into a deep navy blue that feels both vast and suffocating. Exactly what a nightmare should feel like.
She loads these colors directly into the Swatches palette (Window > Swatches) so they stay easily accessible throughout the painting process. No digging through color pickers mid-stroke.
That said, nothing is locked in at this stage. If a color isn’t working after you’ve laid down some base tones, you can always adjust it. Digital painting gives you that flexibility, so don’t stress over getting it perfect immediately.
Why This Technique Works for Beginners
What makes Hatice’s approach particularly friendly for newer artists is the deliberate pacing. She builds the painting in stages rather than trying to finish everything at once.
Start small and rough. Get the composition right before worrying about details. Add detail passes later when the foundation is solid. It’s a workflow that mirrors how traditional painters approach canvas, just with the added safety net of unlimited undo.
Plus, using only standard brushes means you’re learning the fundamentals of pressure, opacity, and layering rather than hiding behind specialty tools. Those fundamentals transfer to every future painting you create.
The nightmare aesthetic she’s going for, strange clouds, cold colors, an unsettling atmosphere, comes entirely from deliberate choices made at each stage. Not from filters or shortcuts. That’s what makes the finished piece feel genuinely crafted rather than generated.
If you’ve been nervous about tackling digital painting, this kind of structured, step-by-step approach is exactly the right place to start. Keep that old sketch you never used. You might need it sooner than you think.